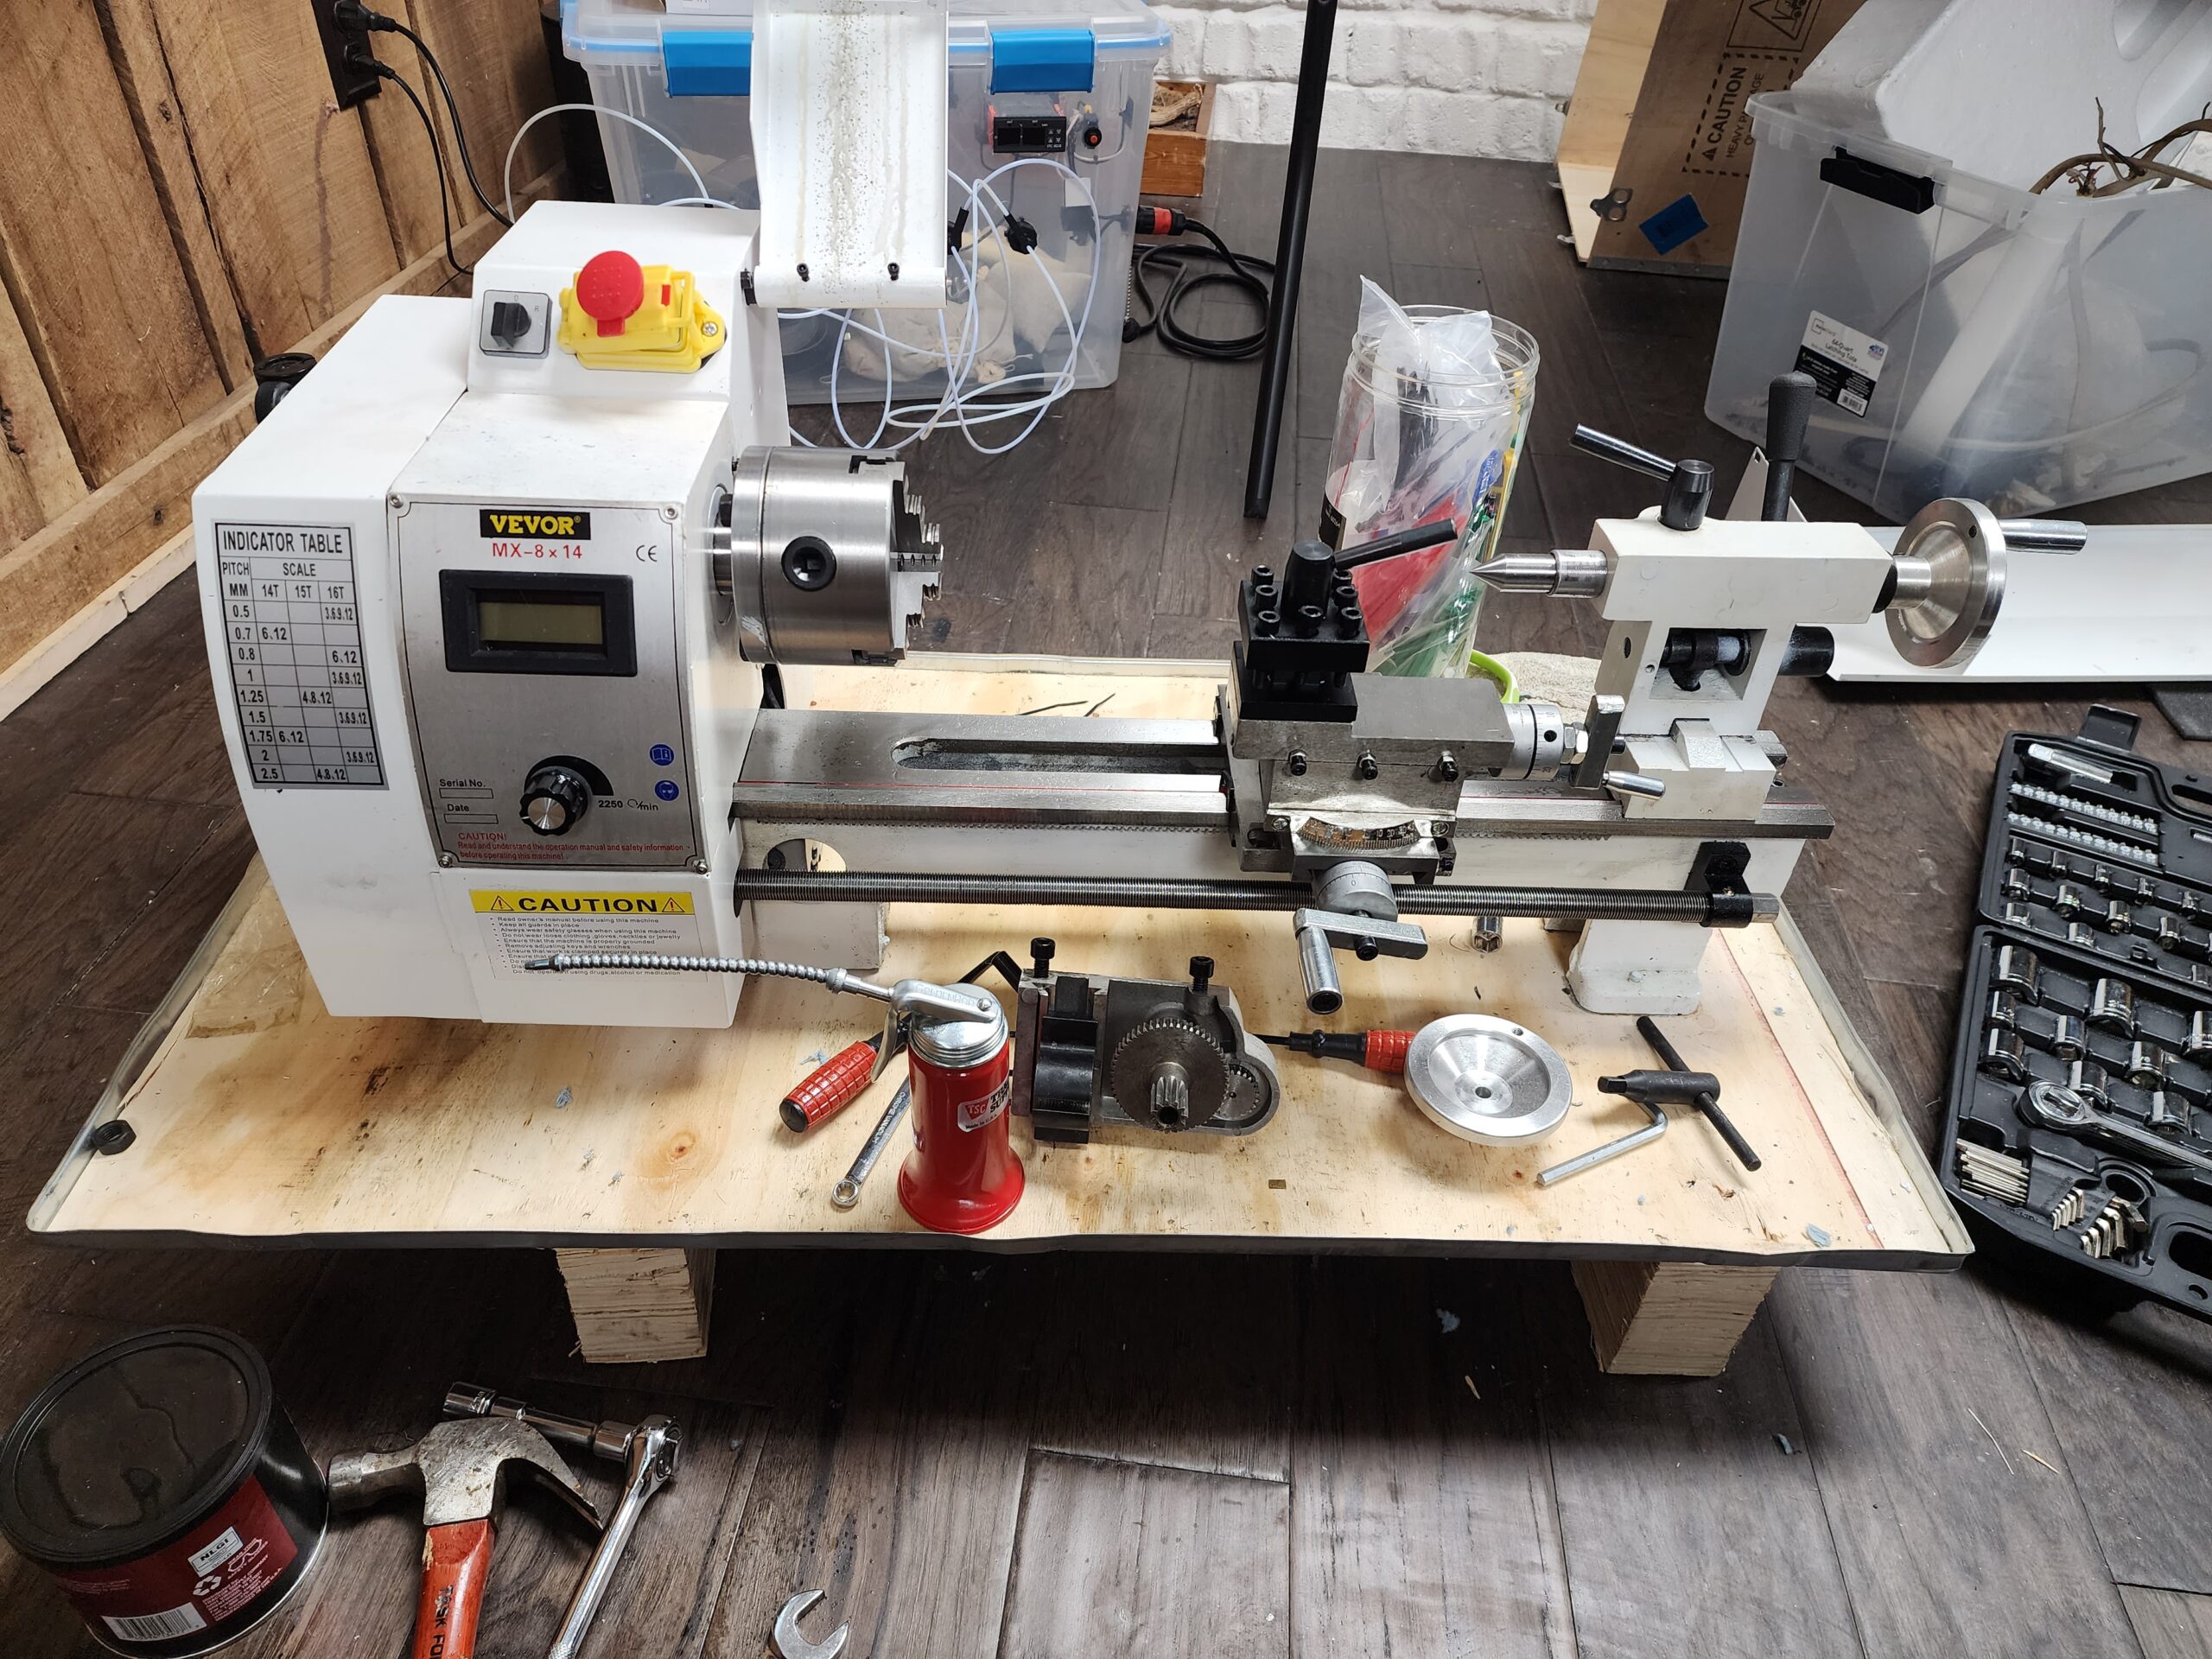
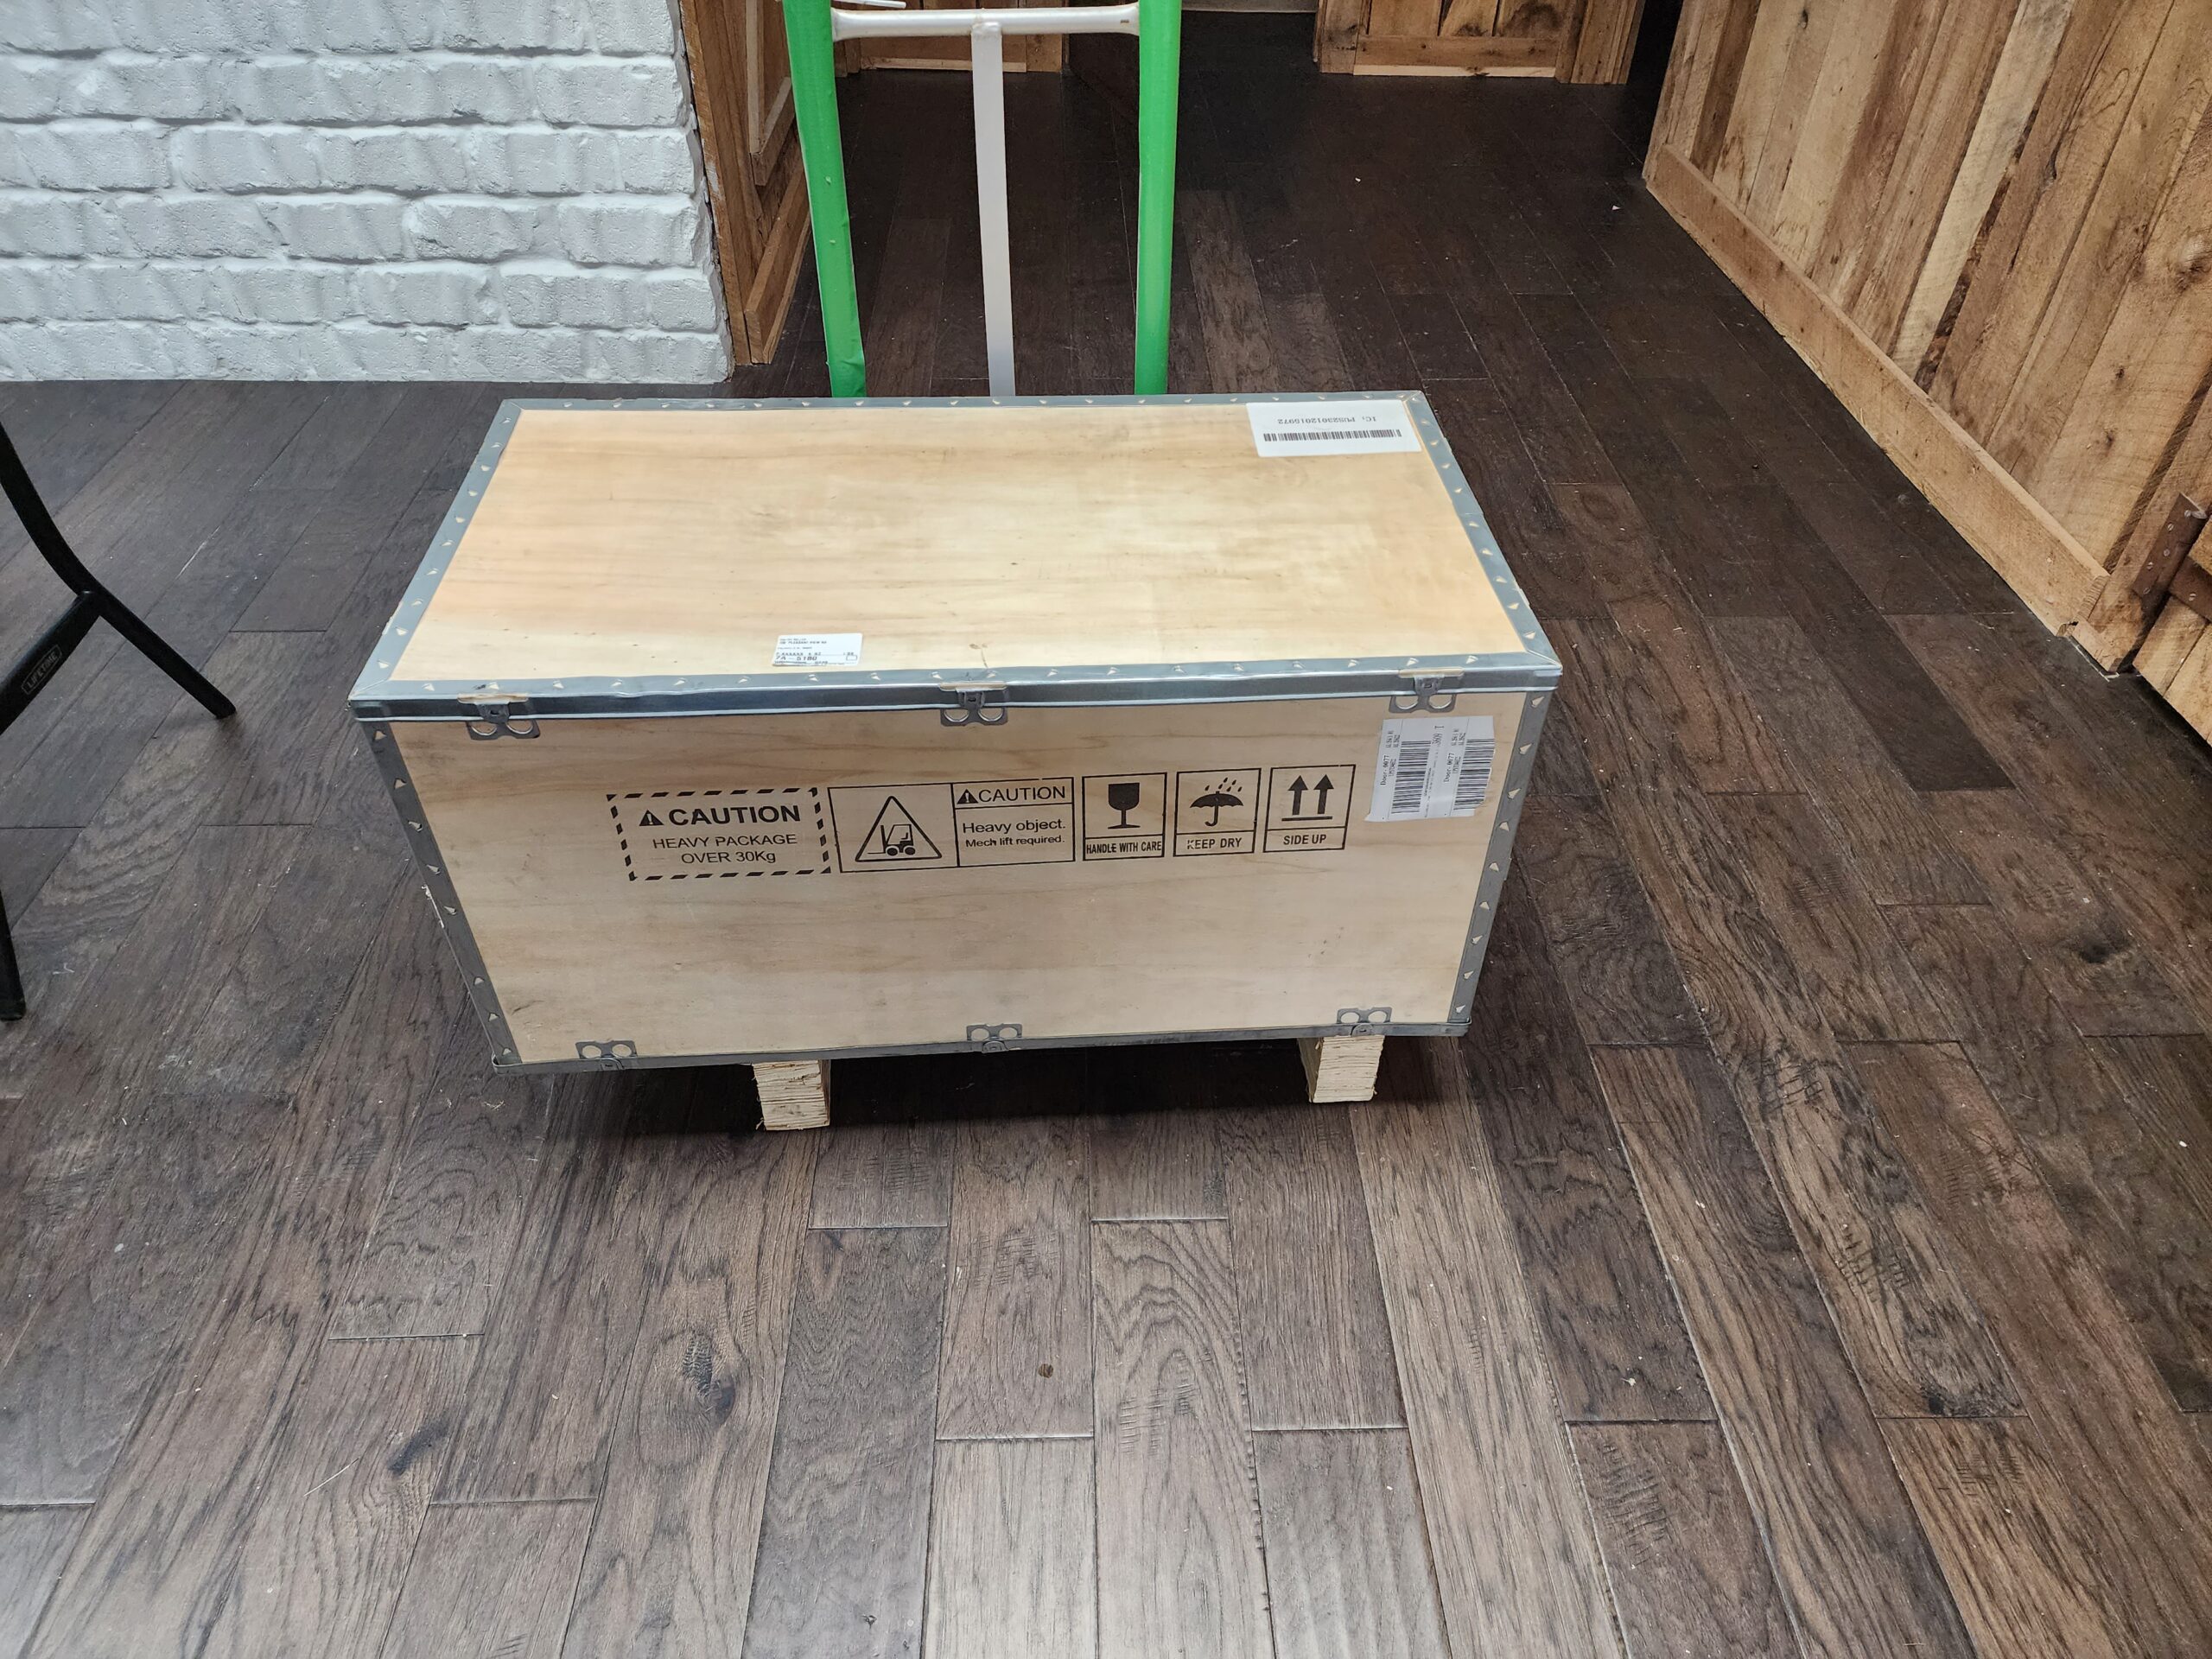
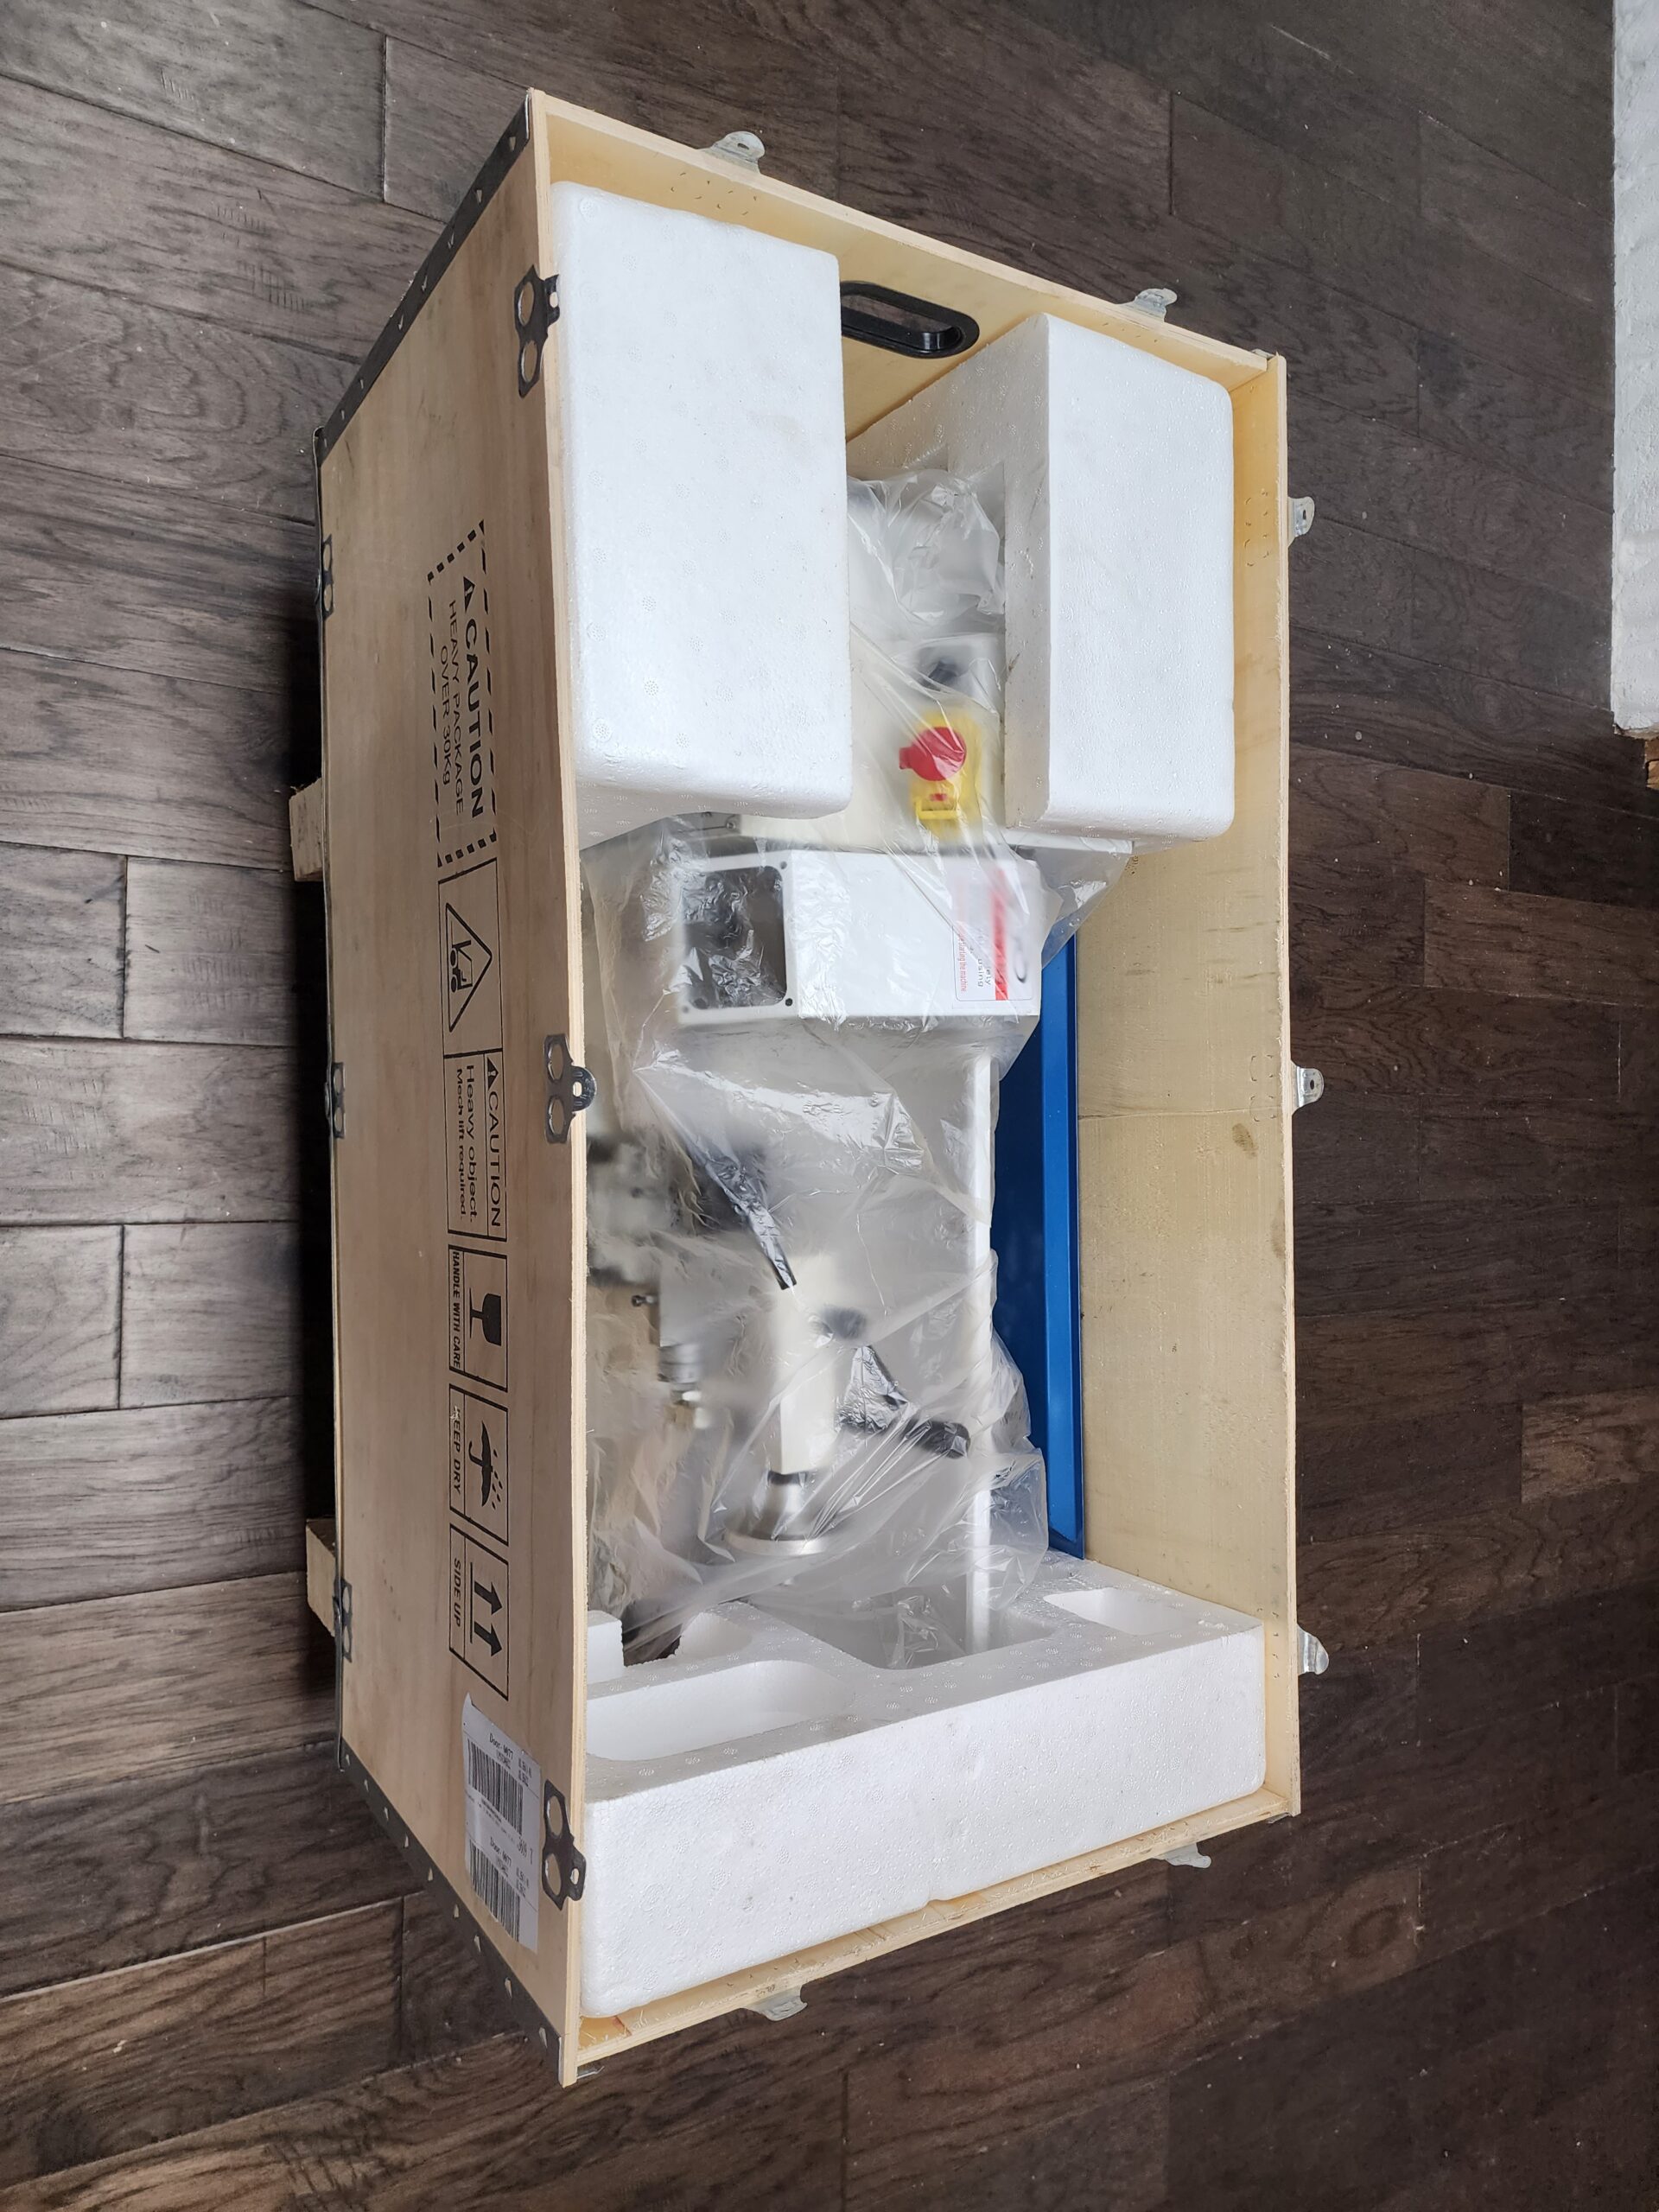
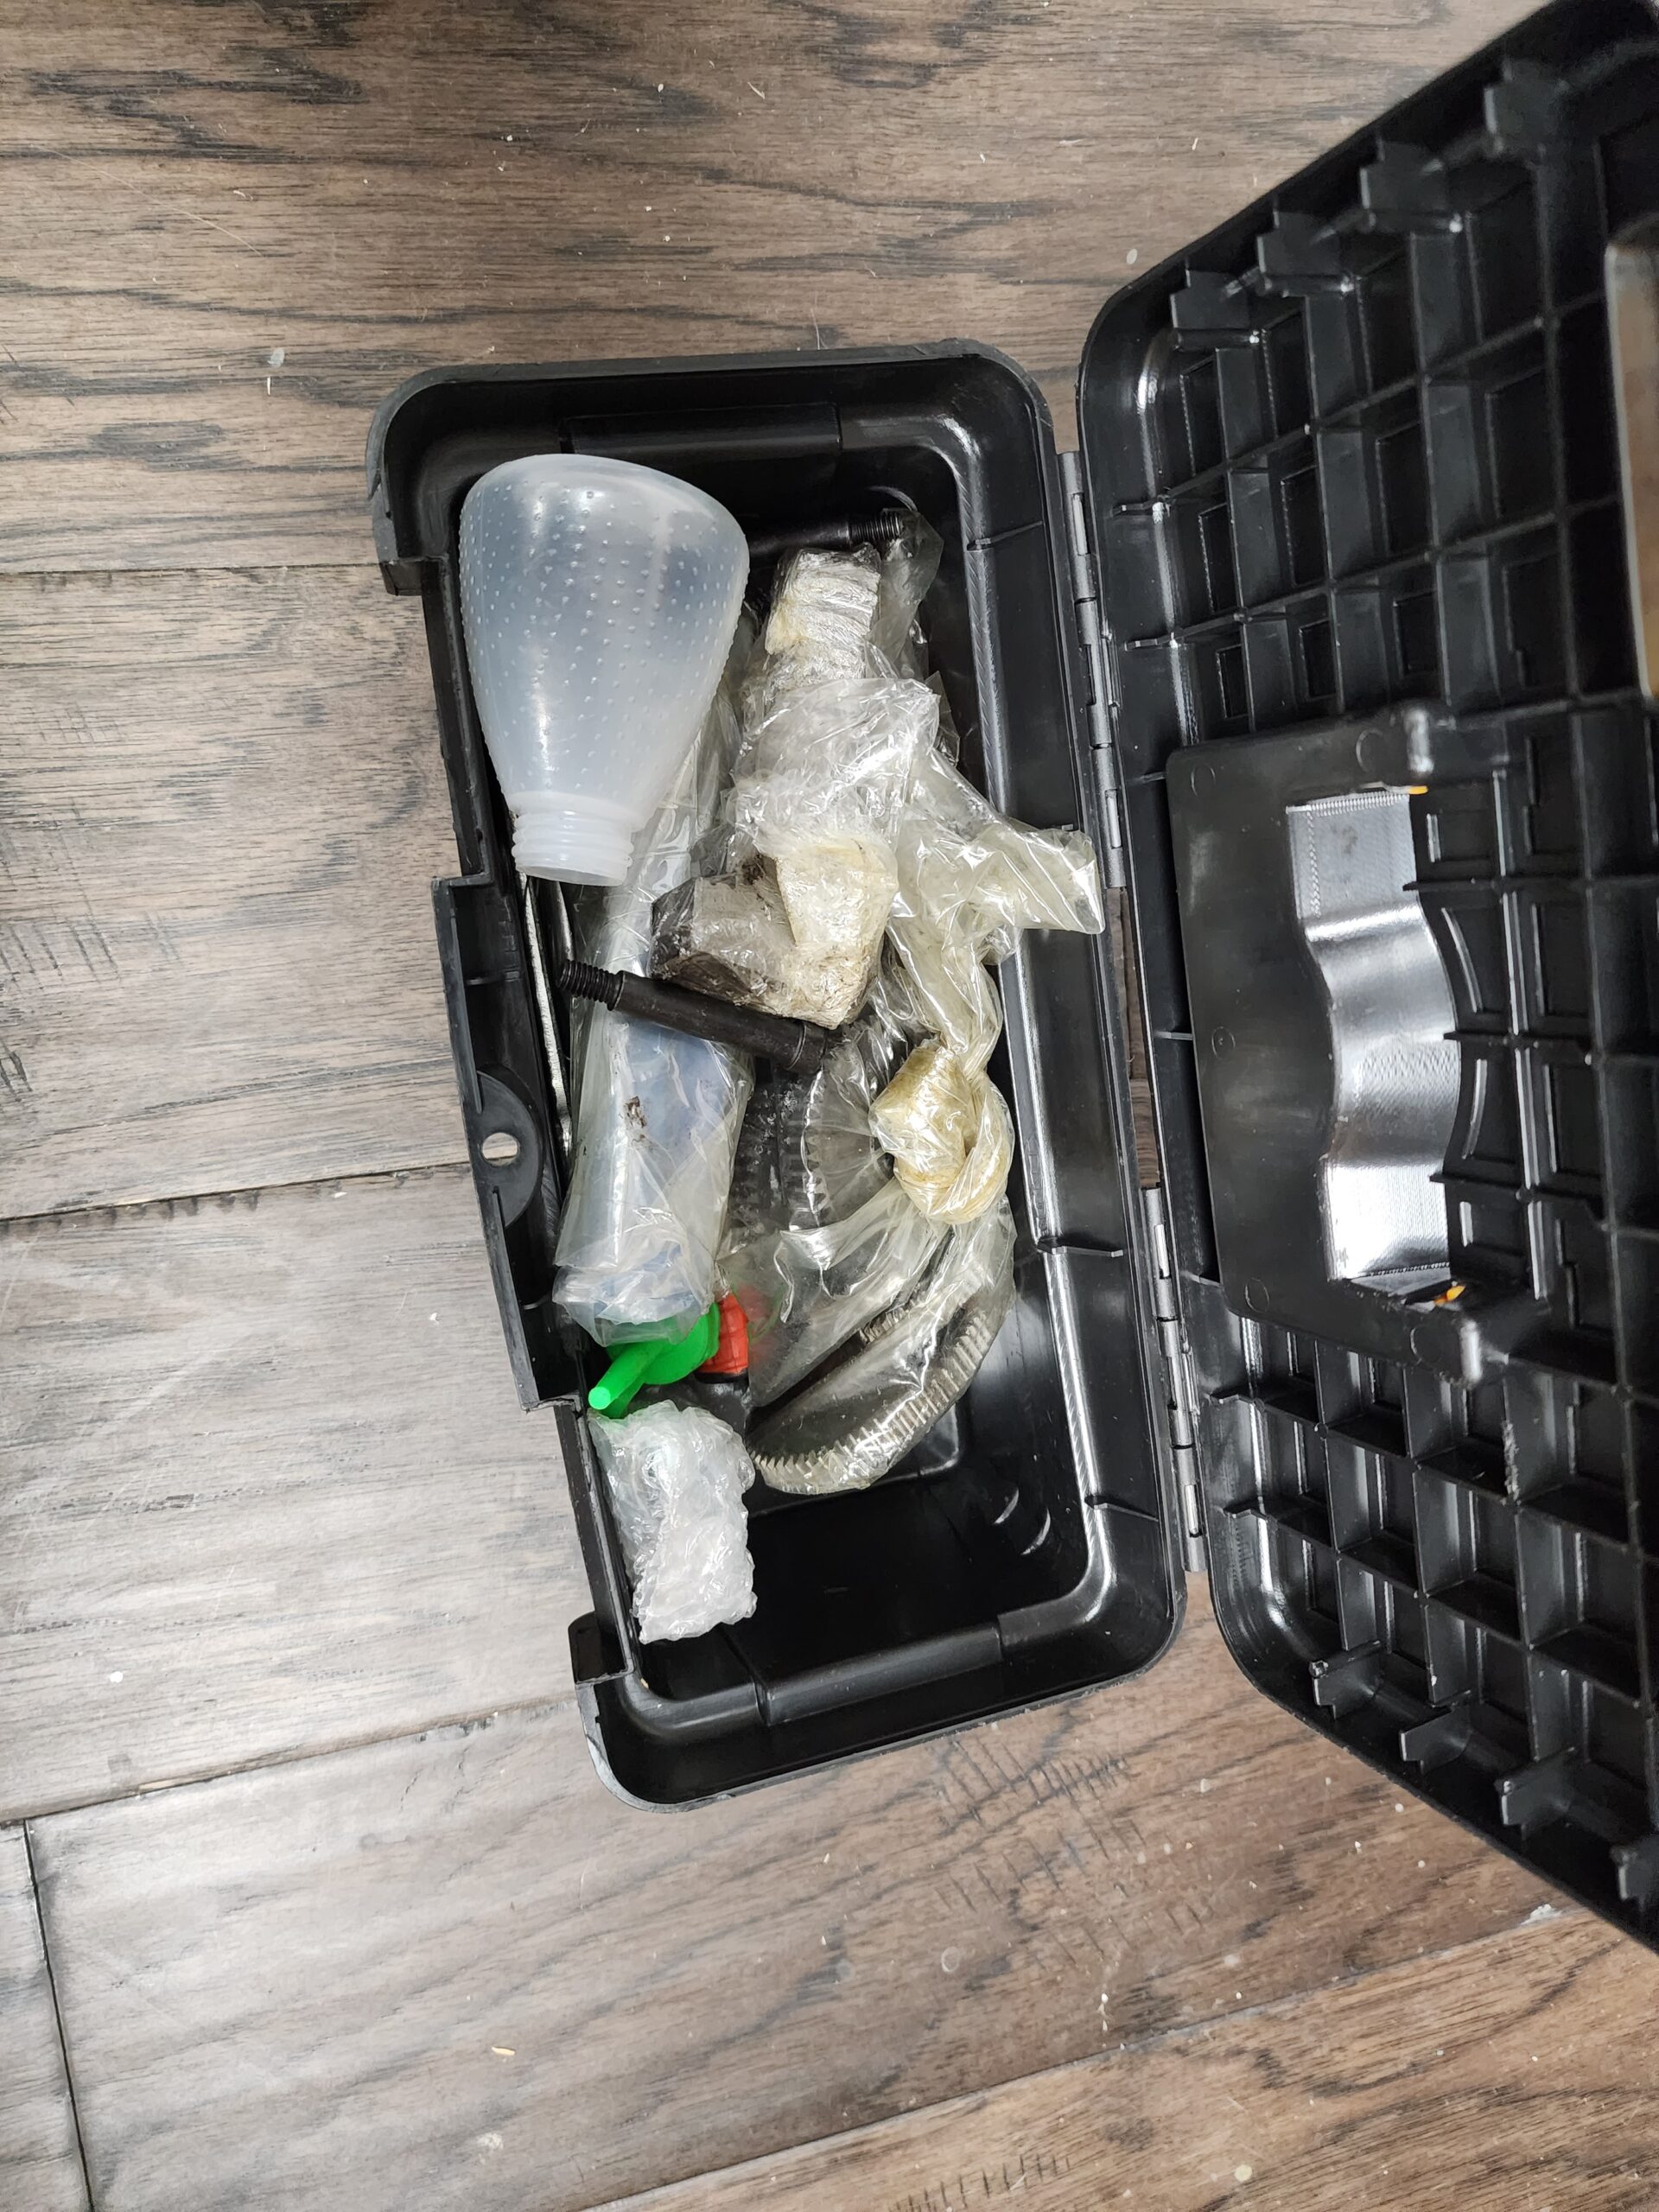
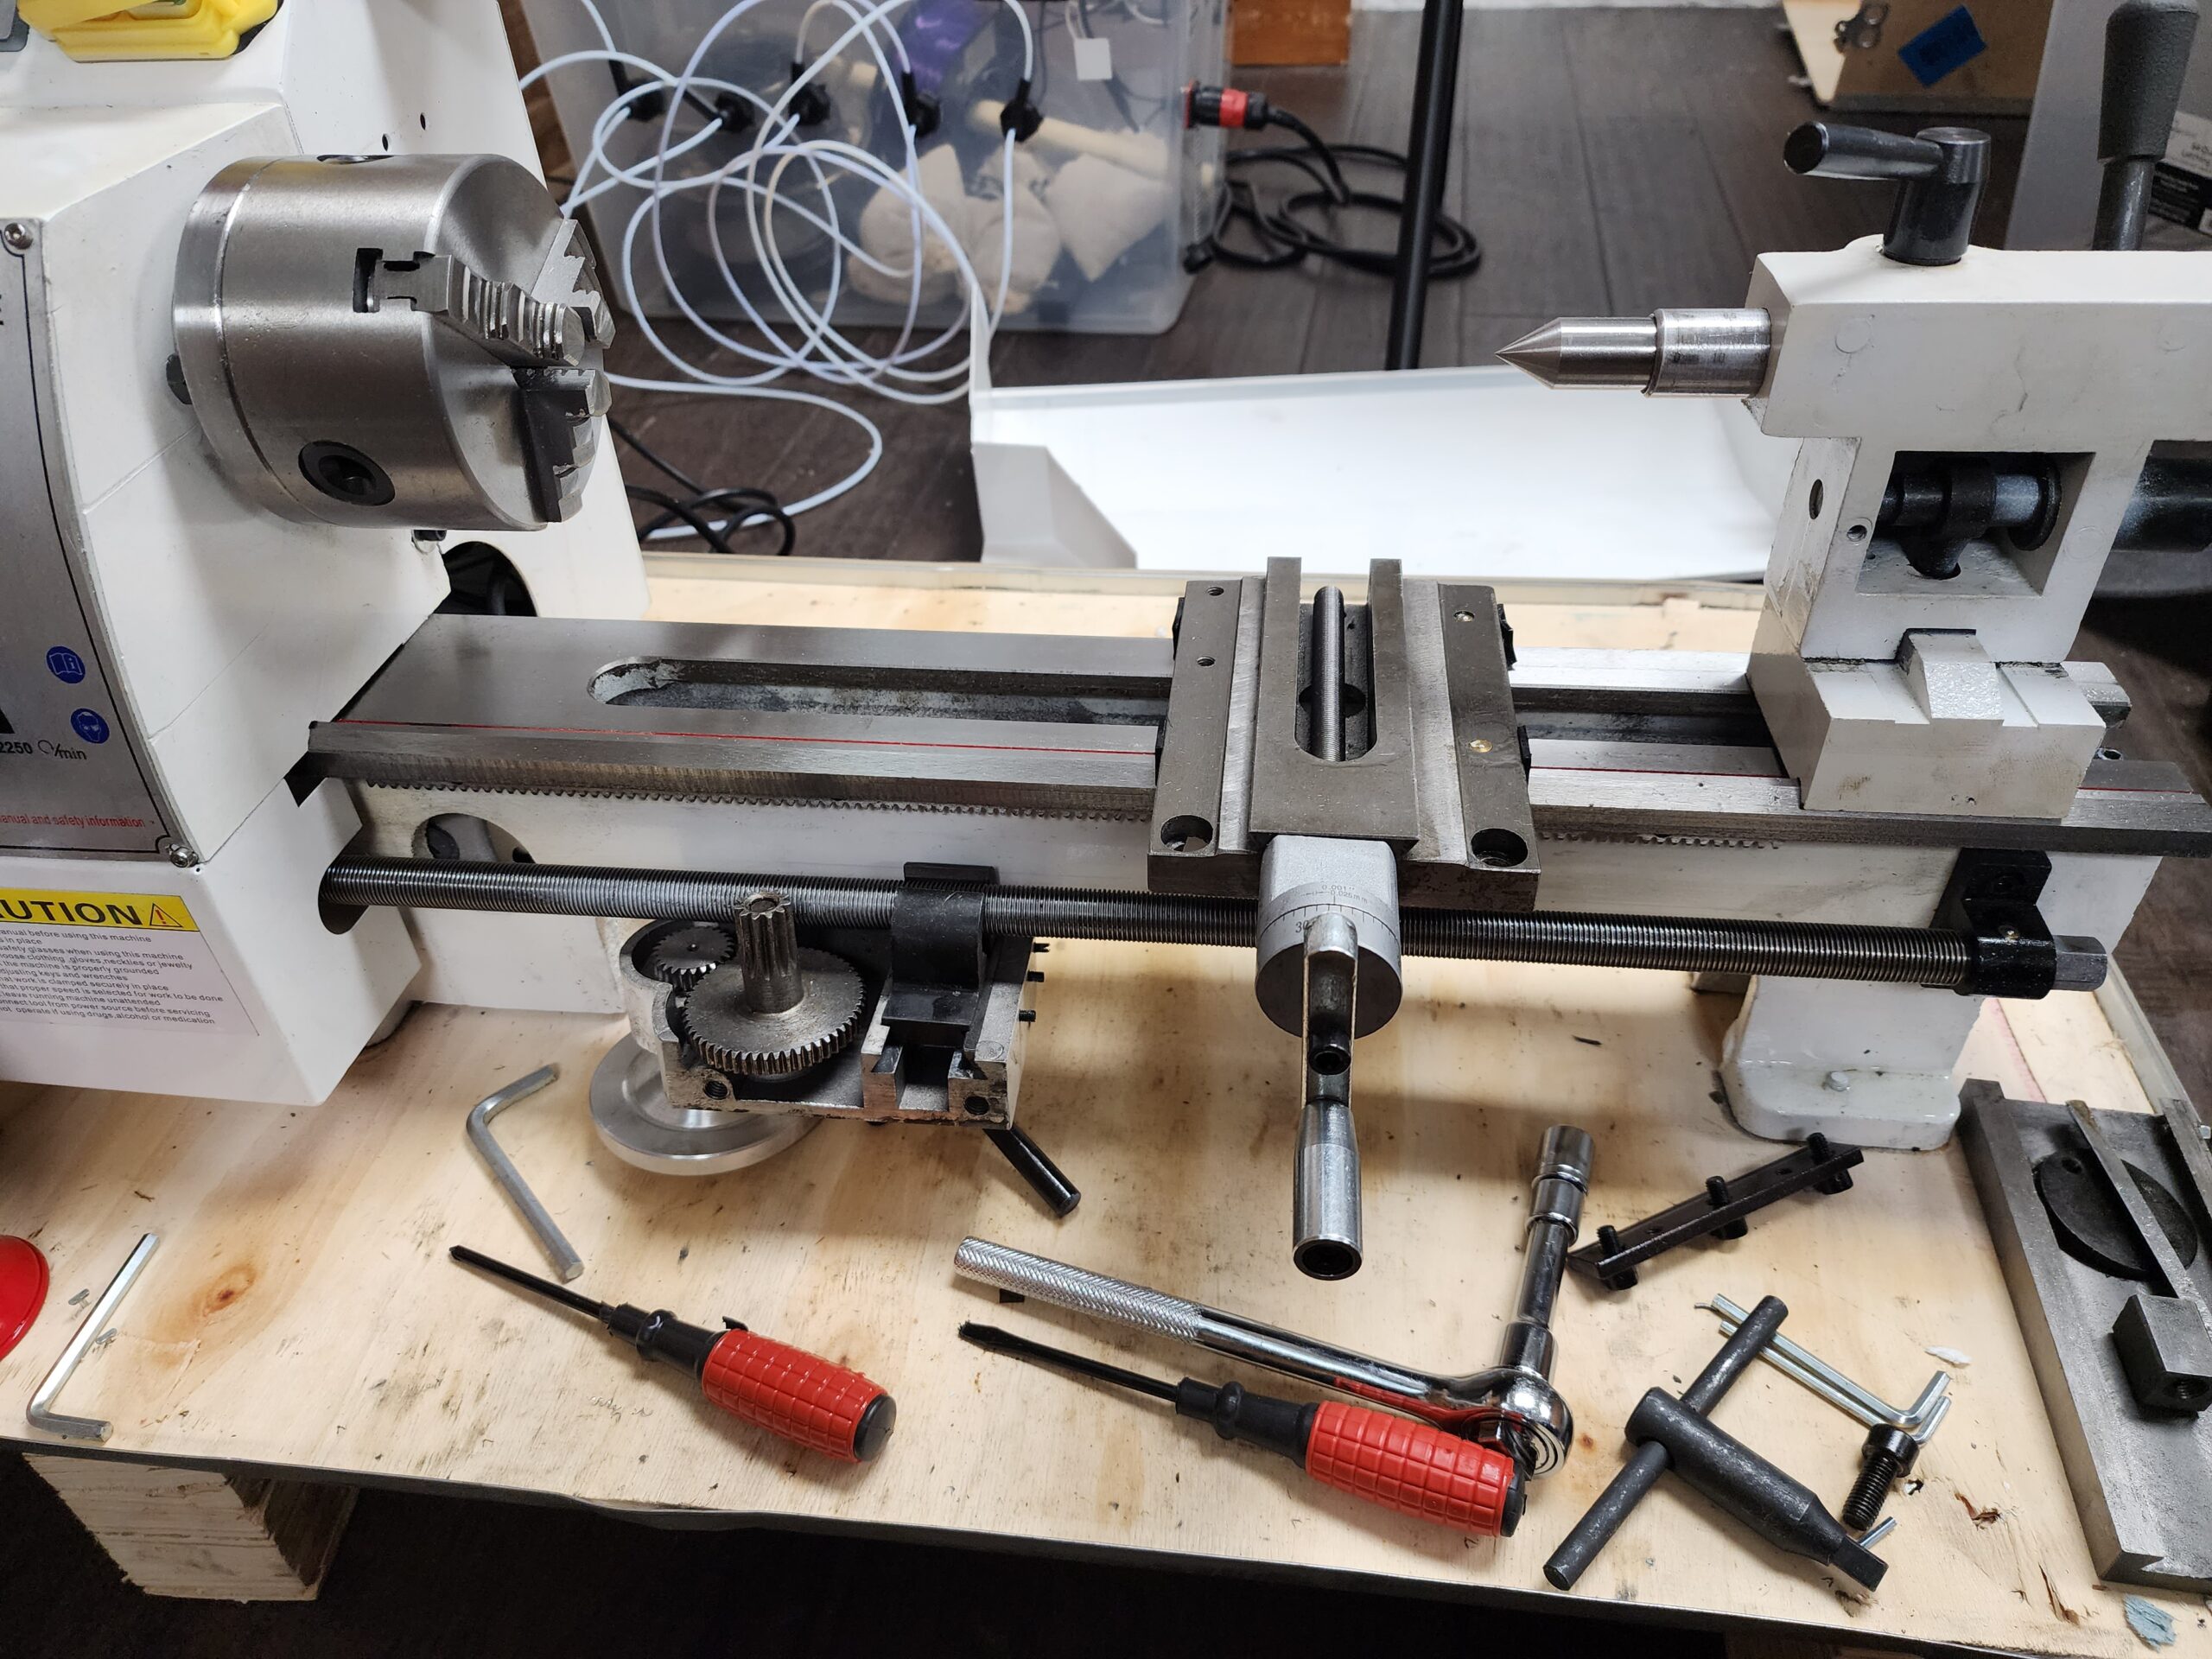
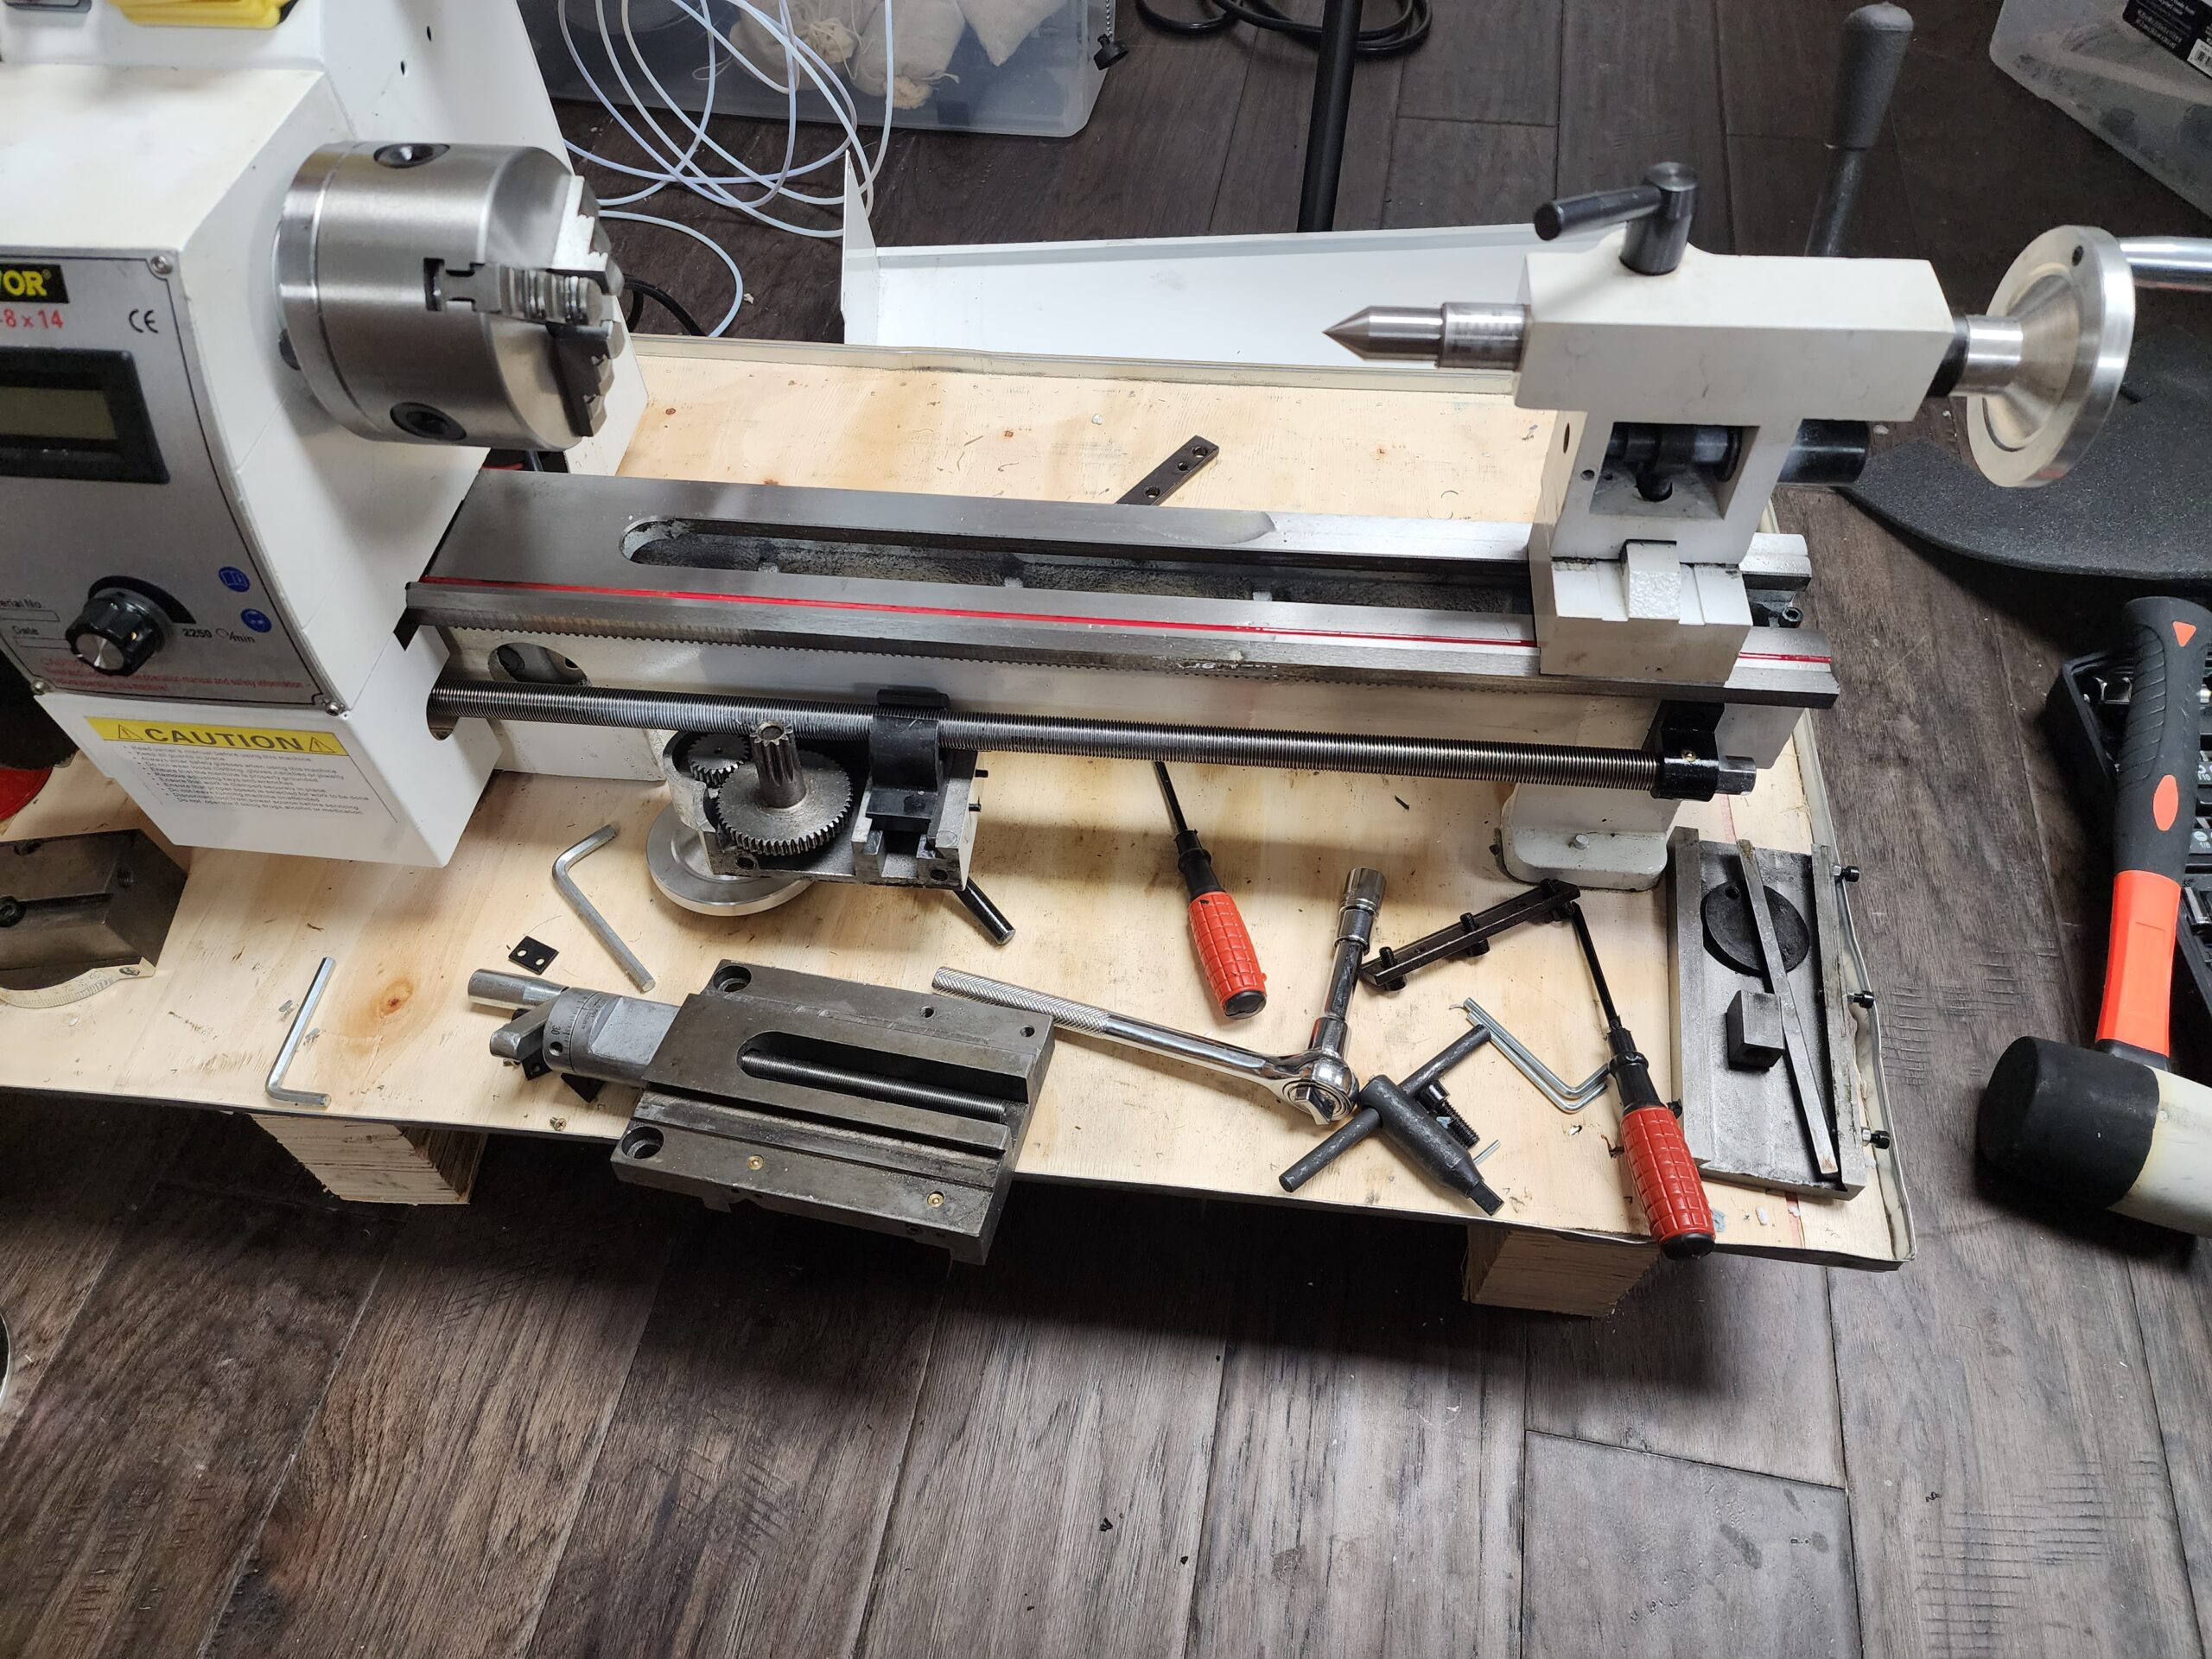
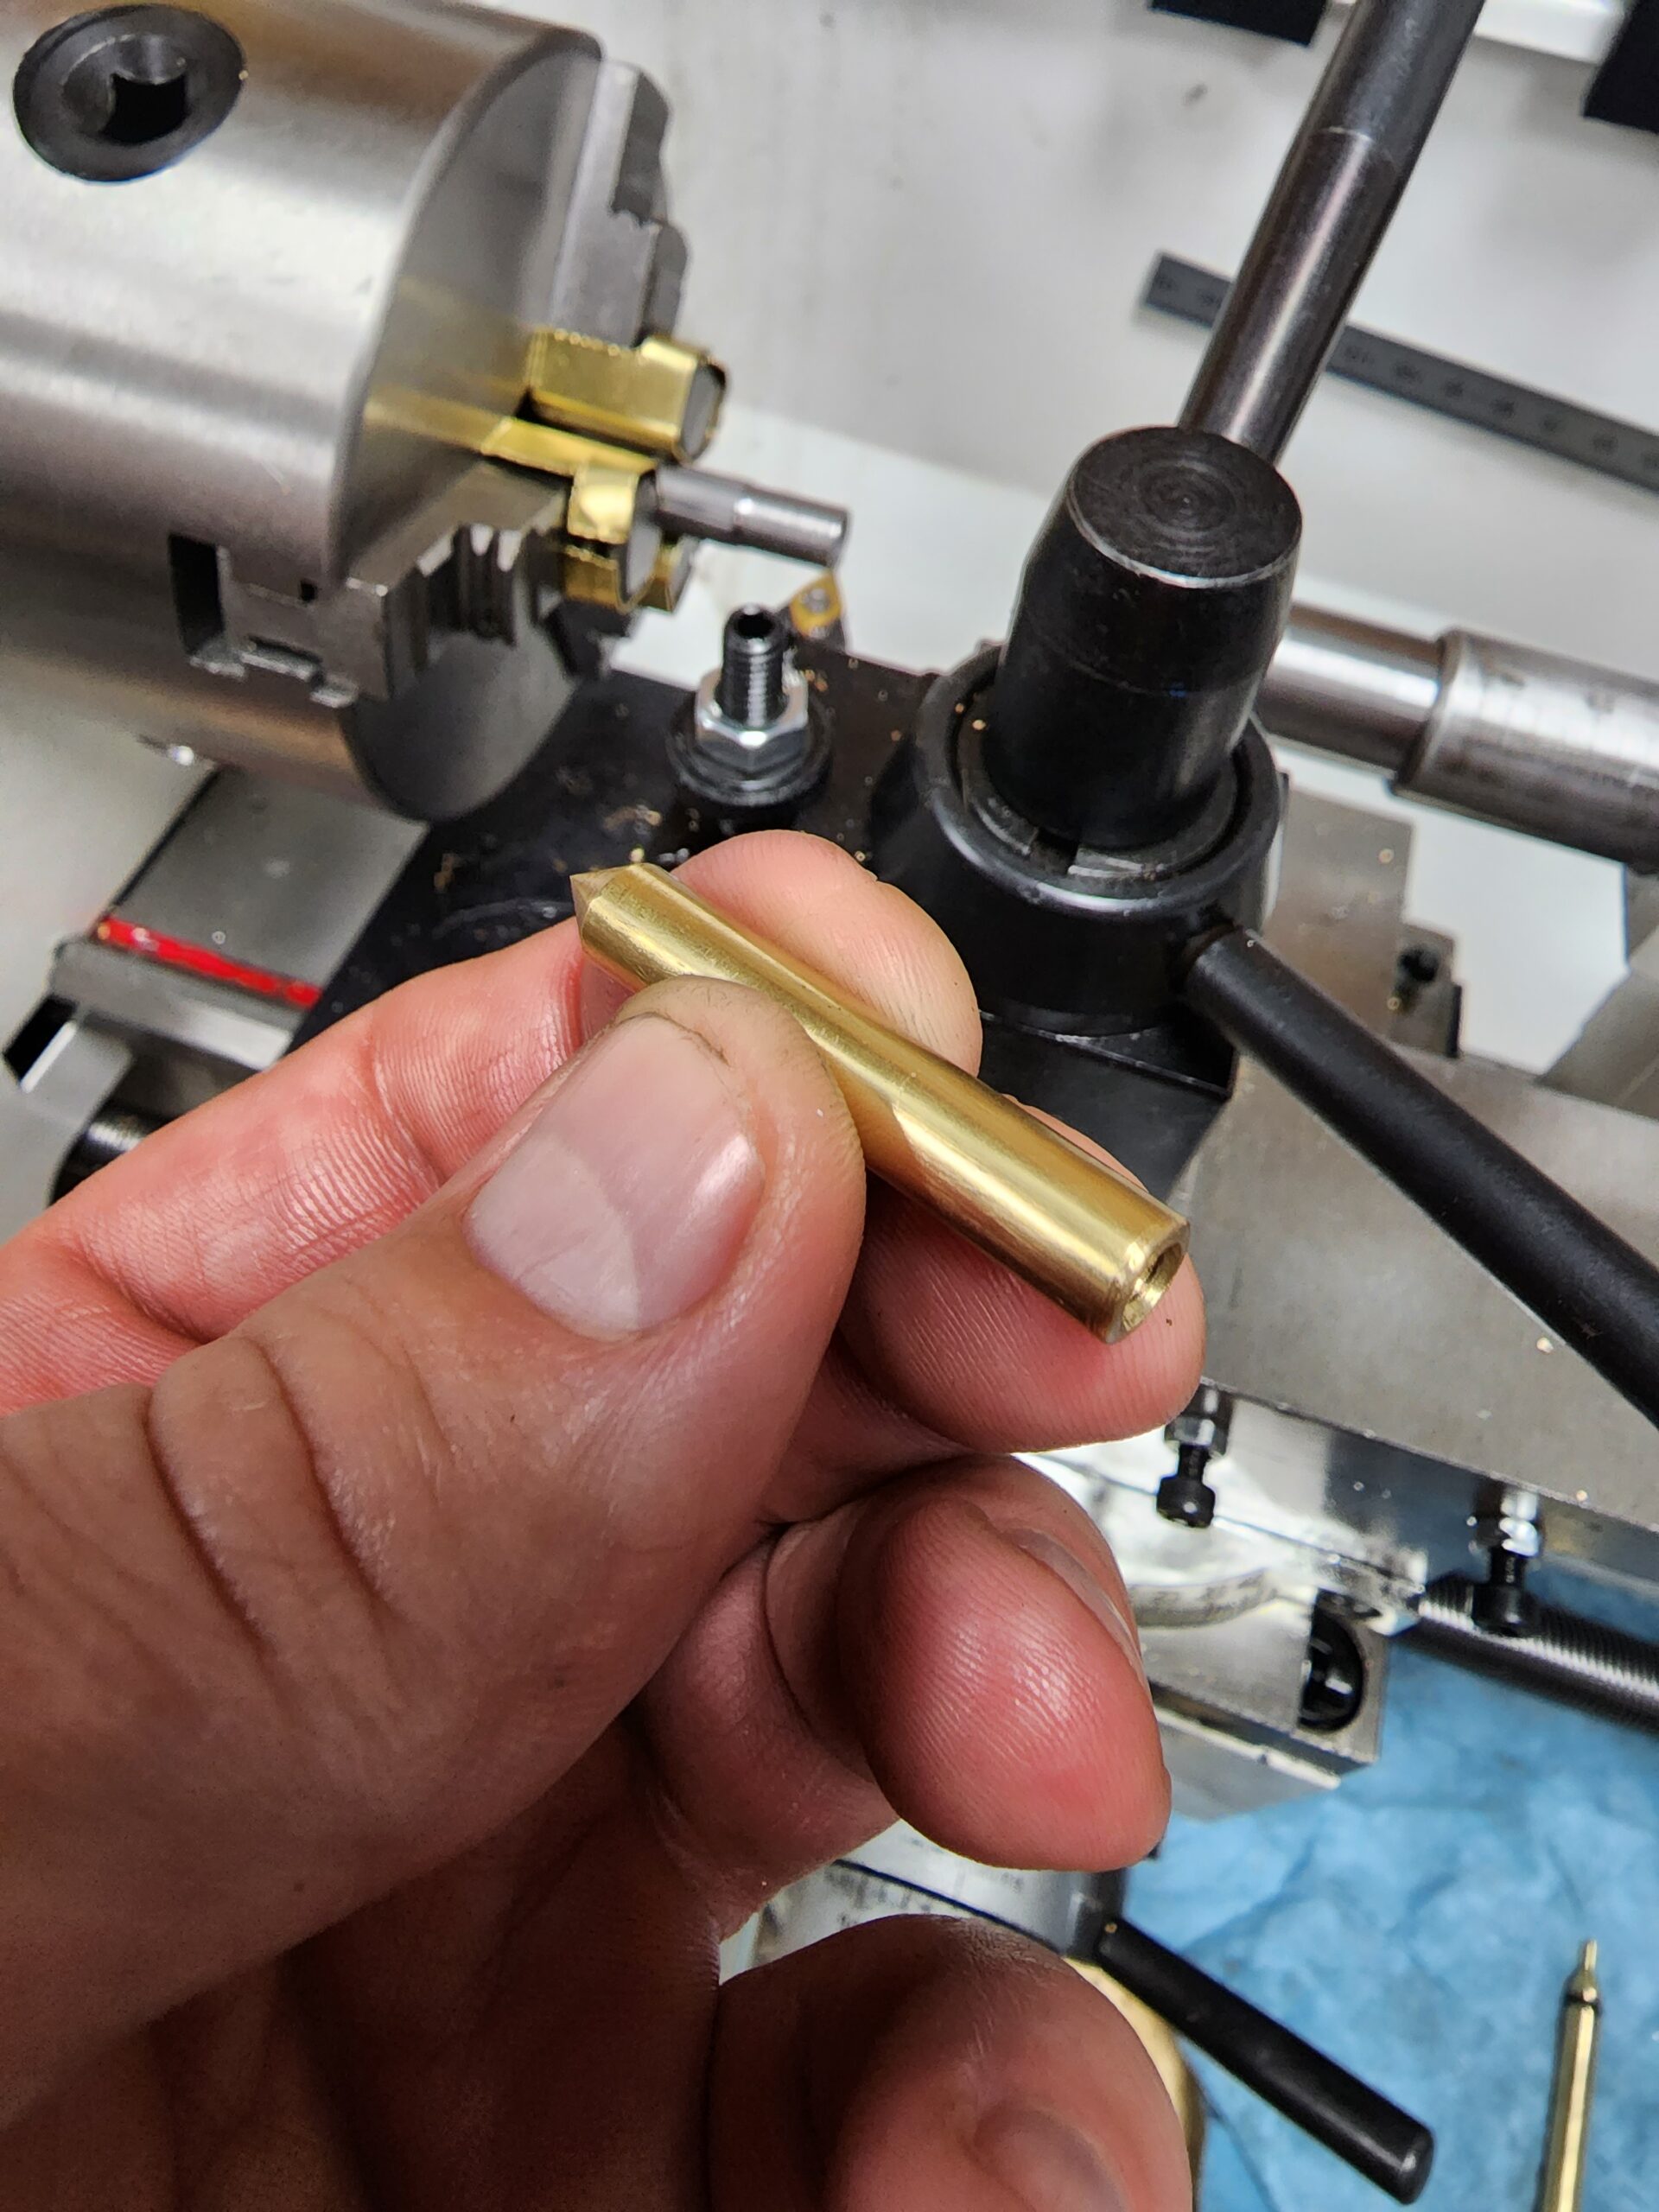
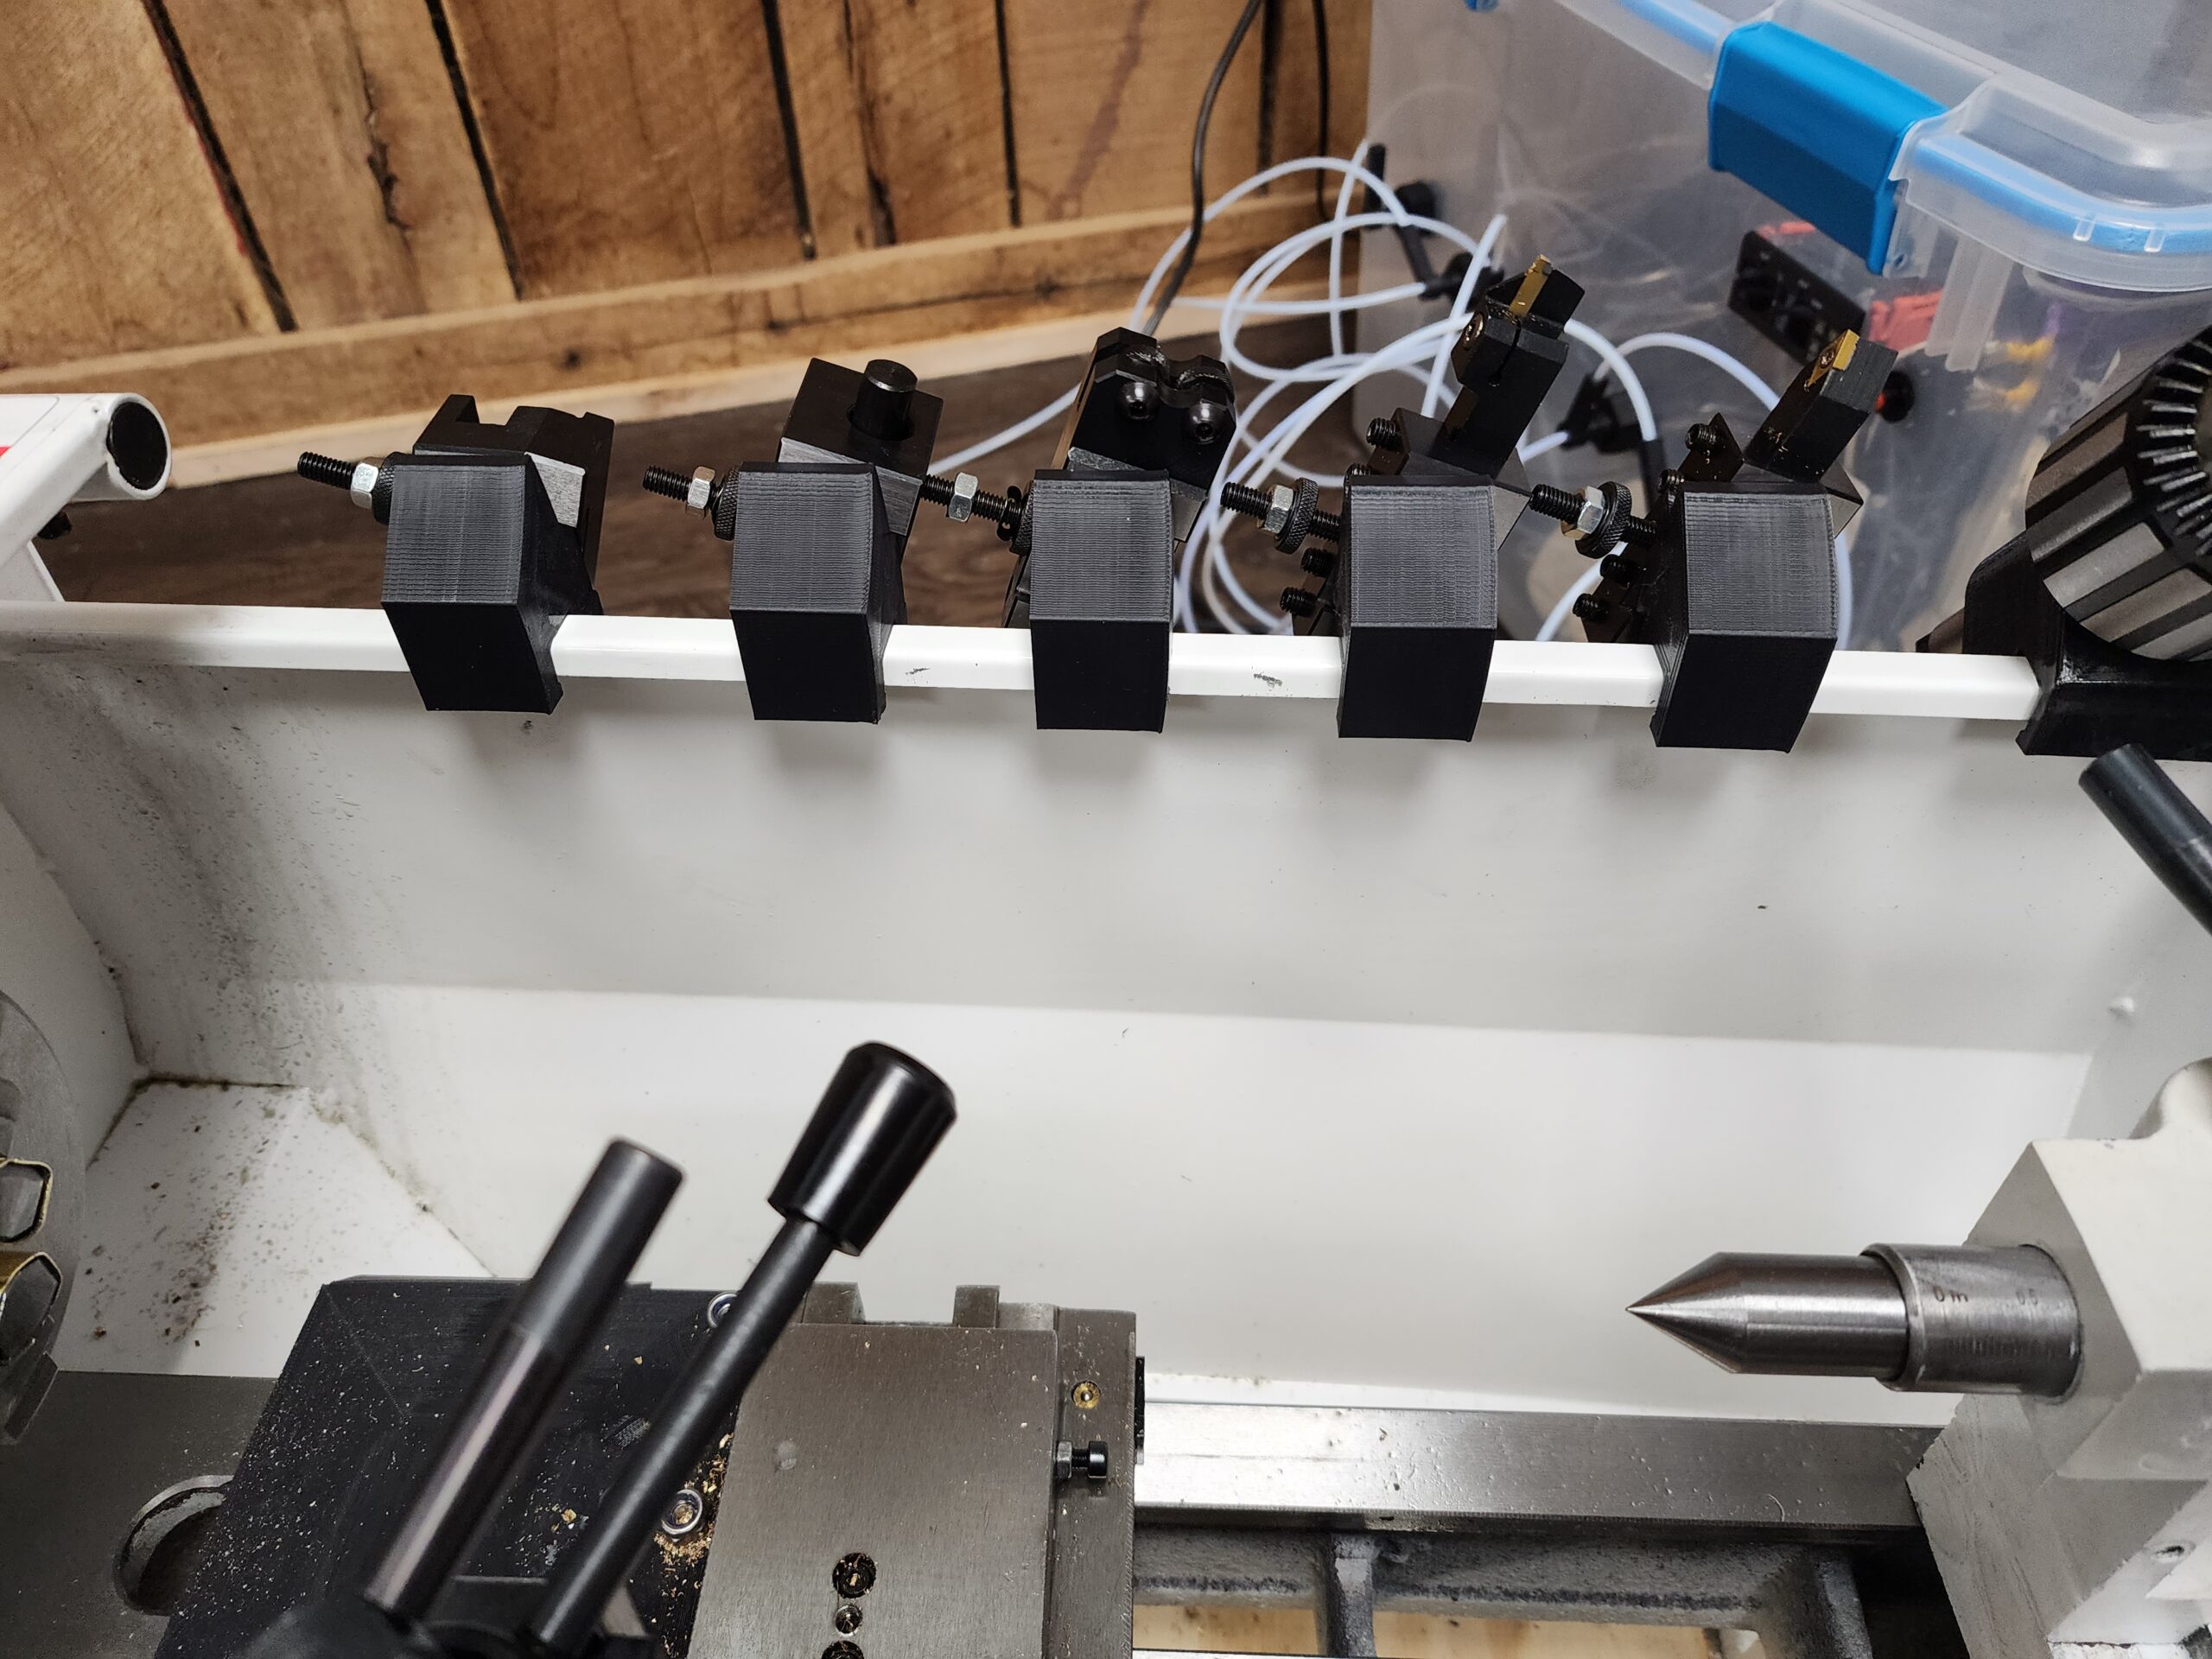
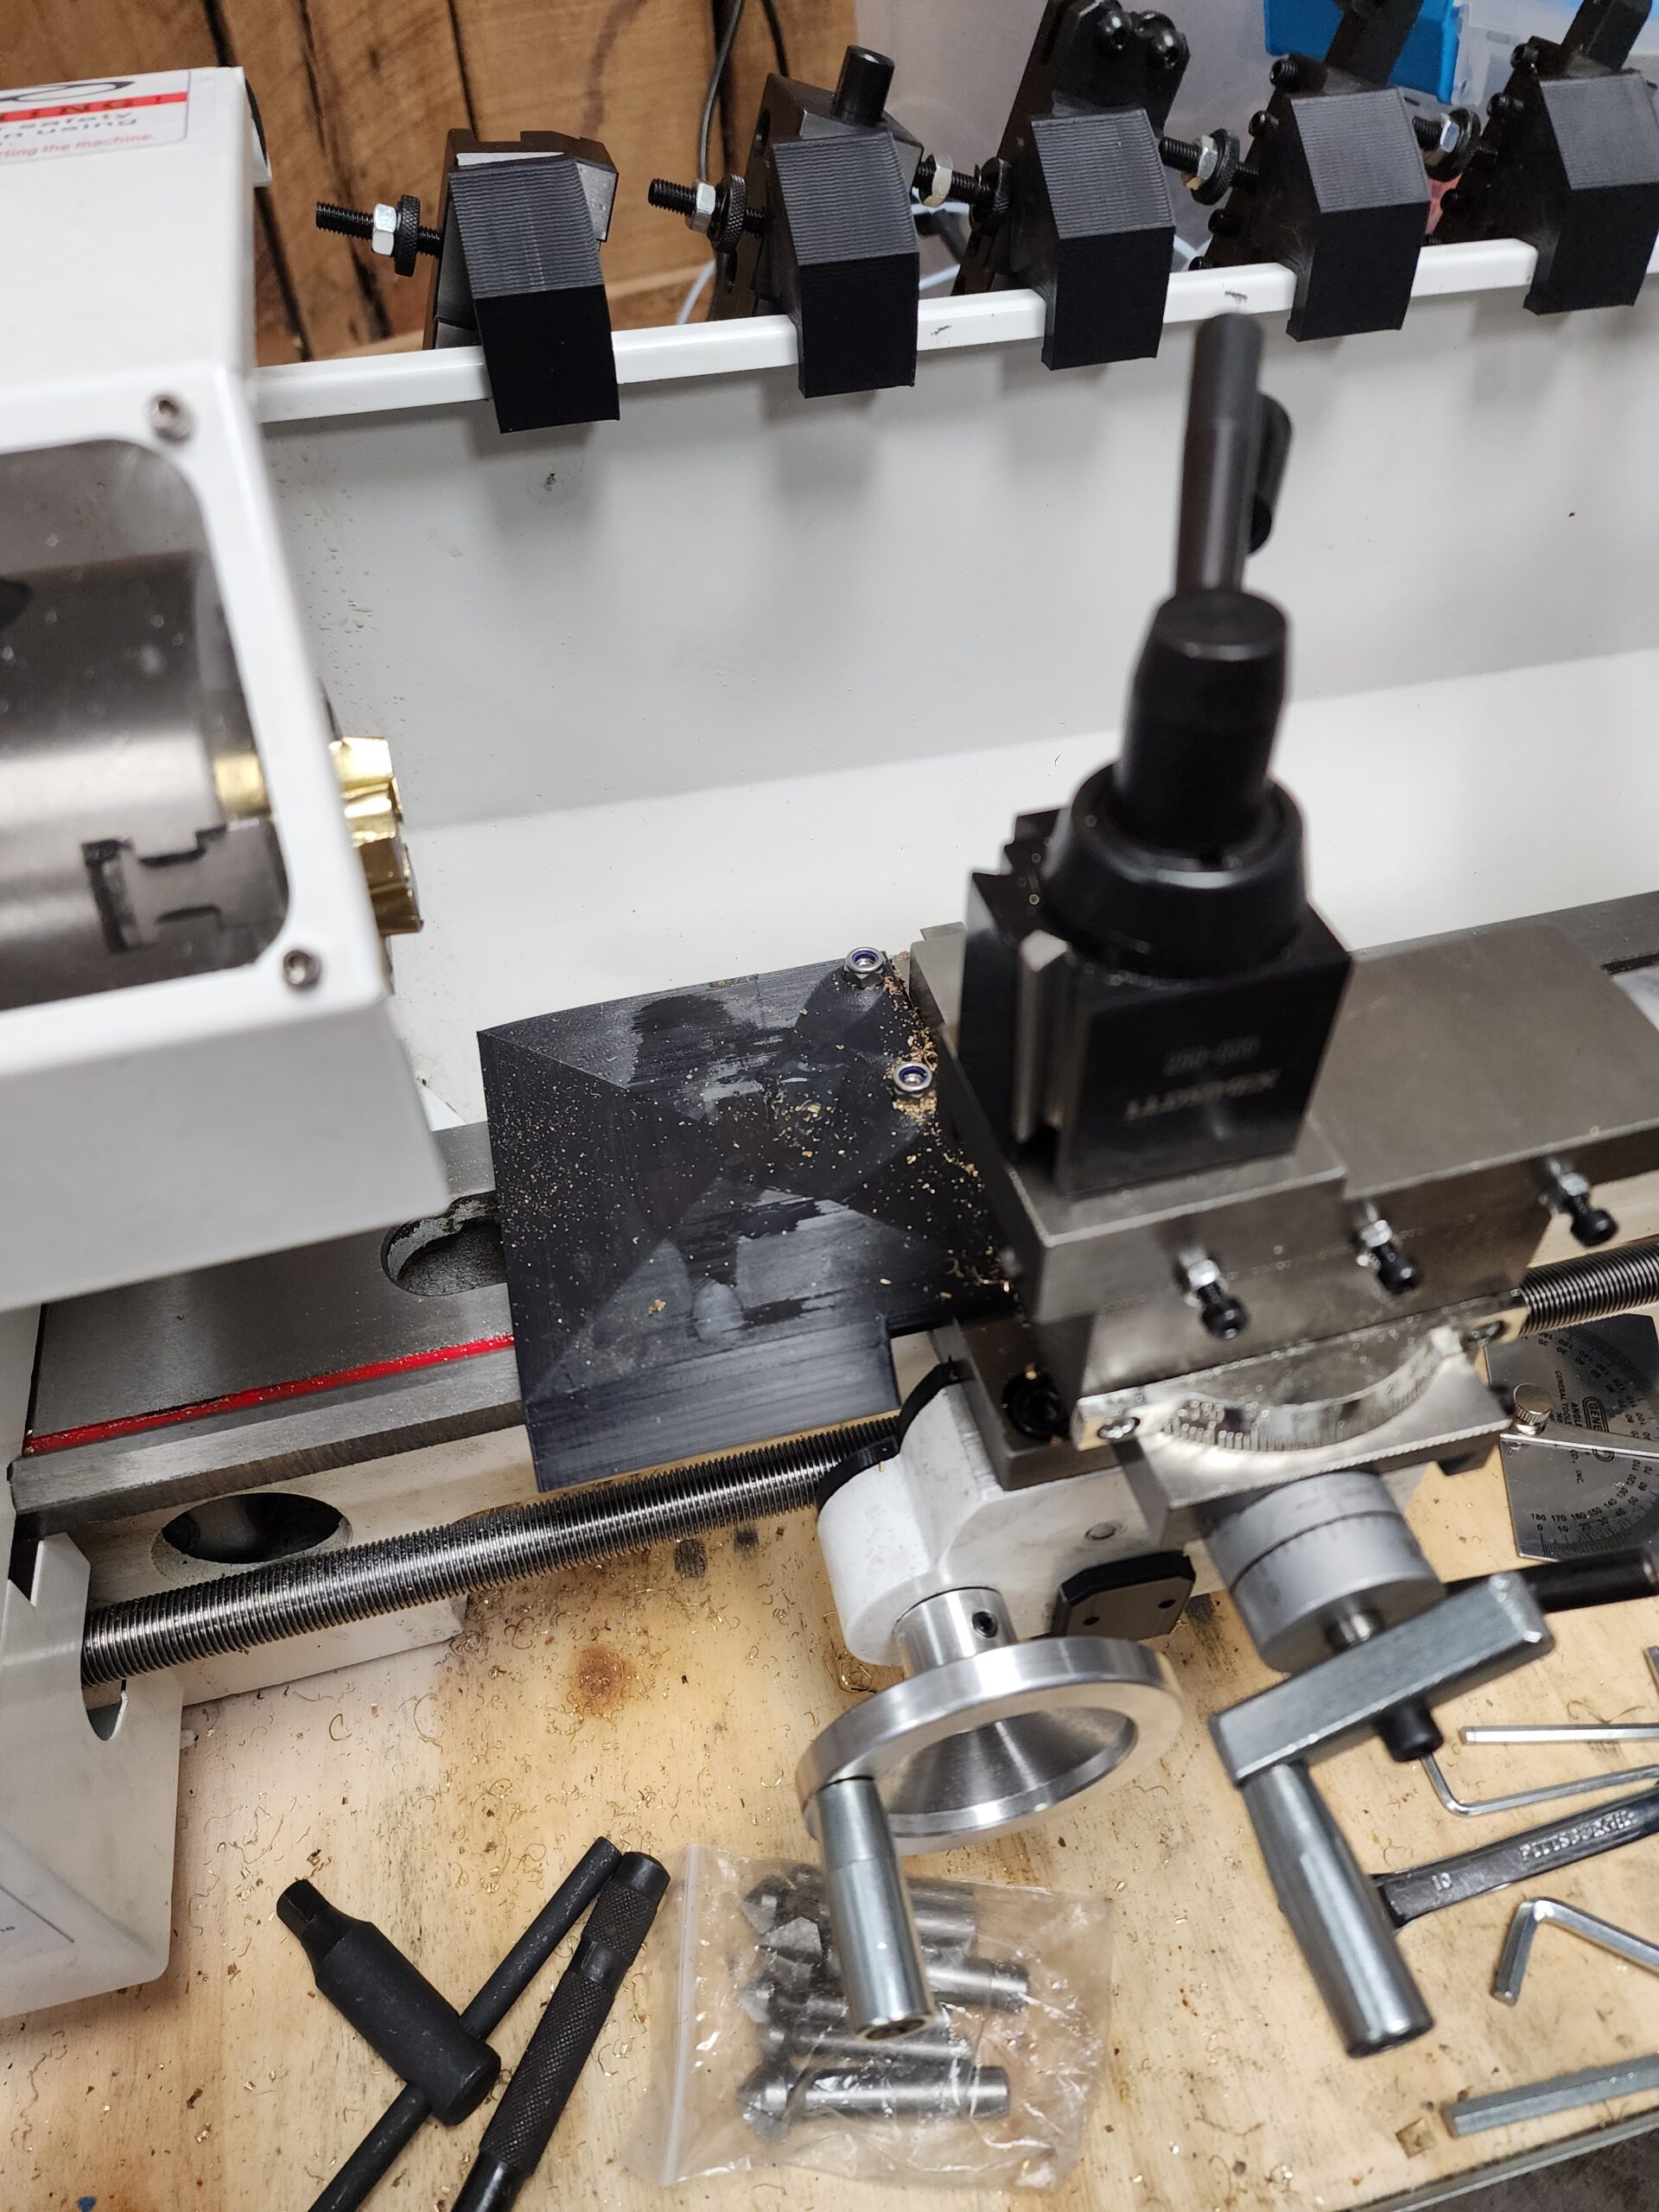
I ordered the Vevor MX 8X14 because it came with a more powerful motor and metal gears, most lathes in its class have 150W less powerful motor and plastic drive gears. The lathe has a 1.5mm pitch lead screw and is geared to cut metric threads. The lathe was well packaged and without any broken parts, but there were some loose pieces of hardware and the guard window laying in the bottom of the crate.
The lathe was very dirty and the gibs were not adjusted properly. I disassembled the the tailstock, compound rest and cross slide. Everything was covered in grime. After cleaning all the hardware and components I reoiled with ISO 68 hydraulic oil. I ran the spindle up and cycled through the RPM range a few times. The tooling that came with the lathe is extremely dull. I tried making some test cuts with the provided tooling and was not impressed with the tooling.
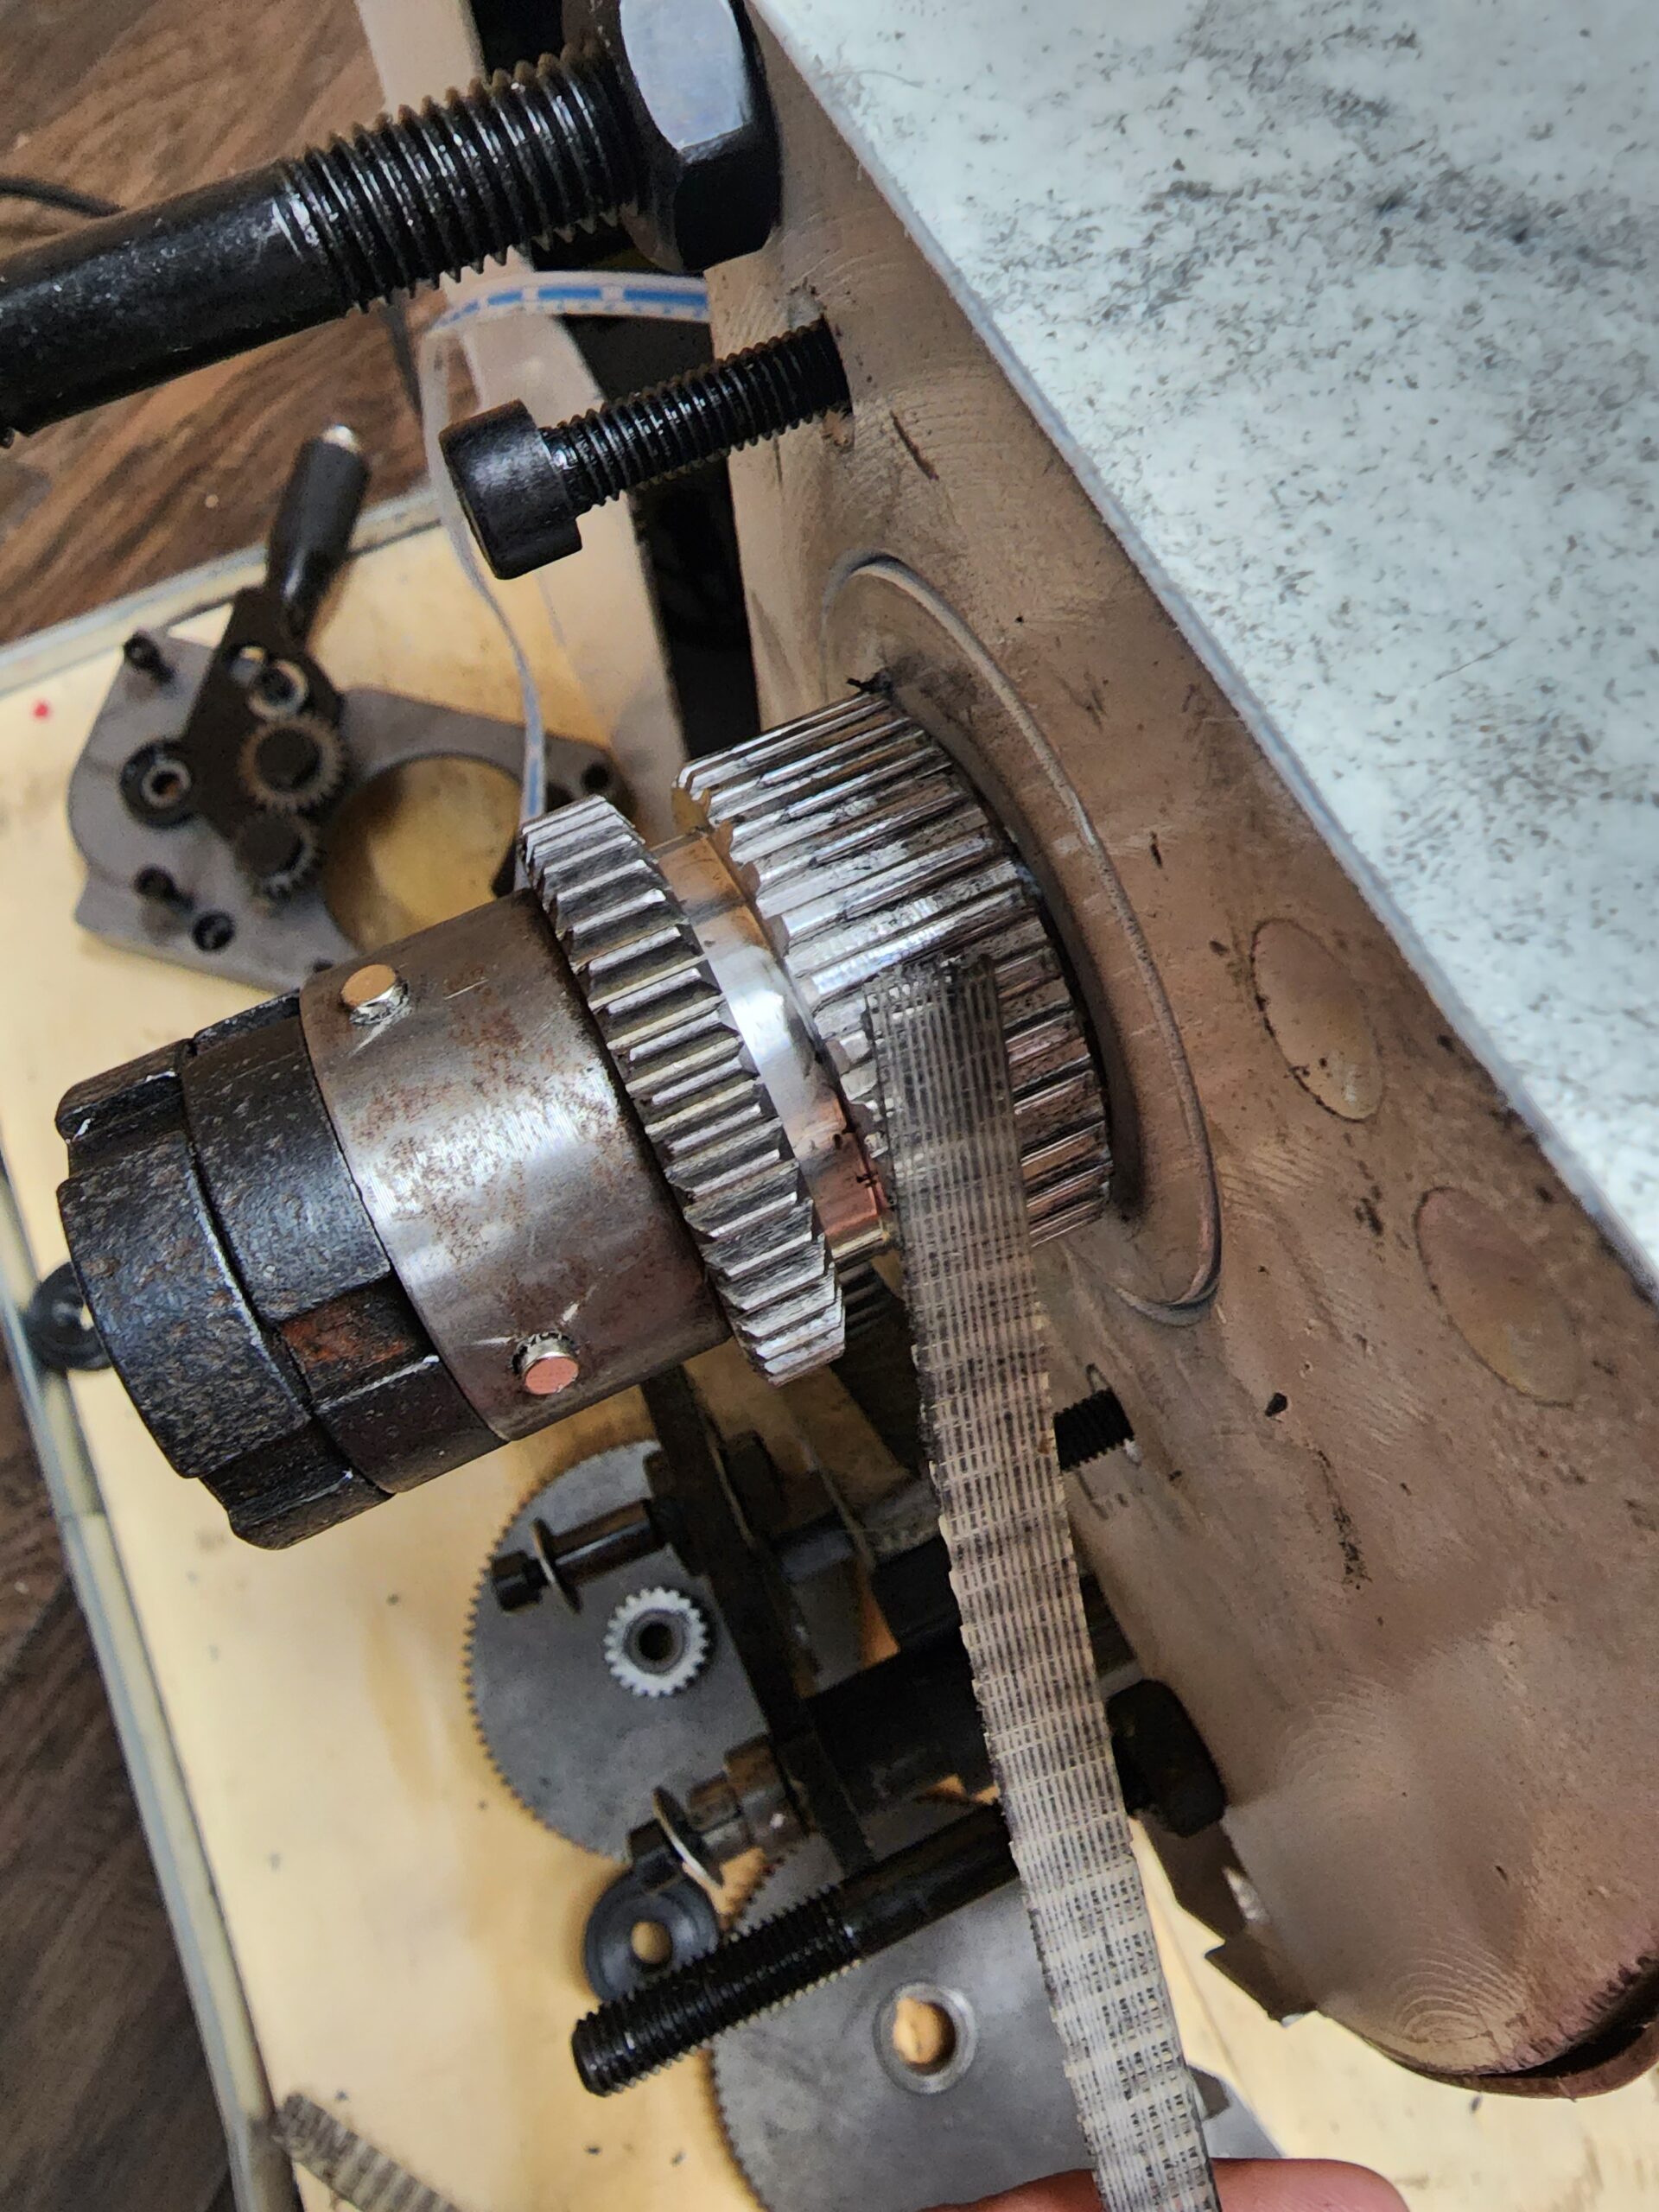
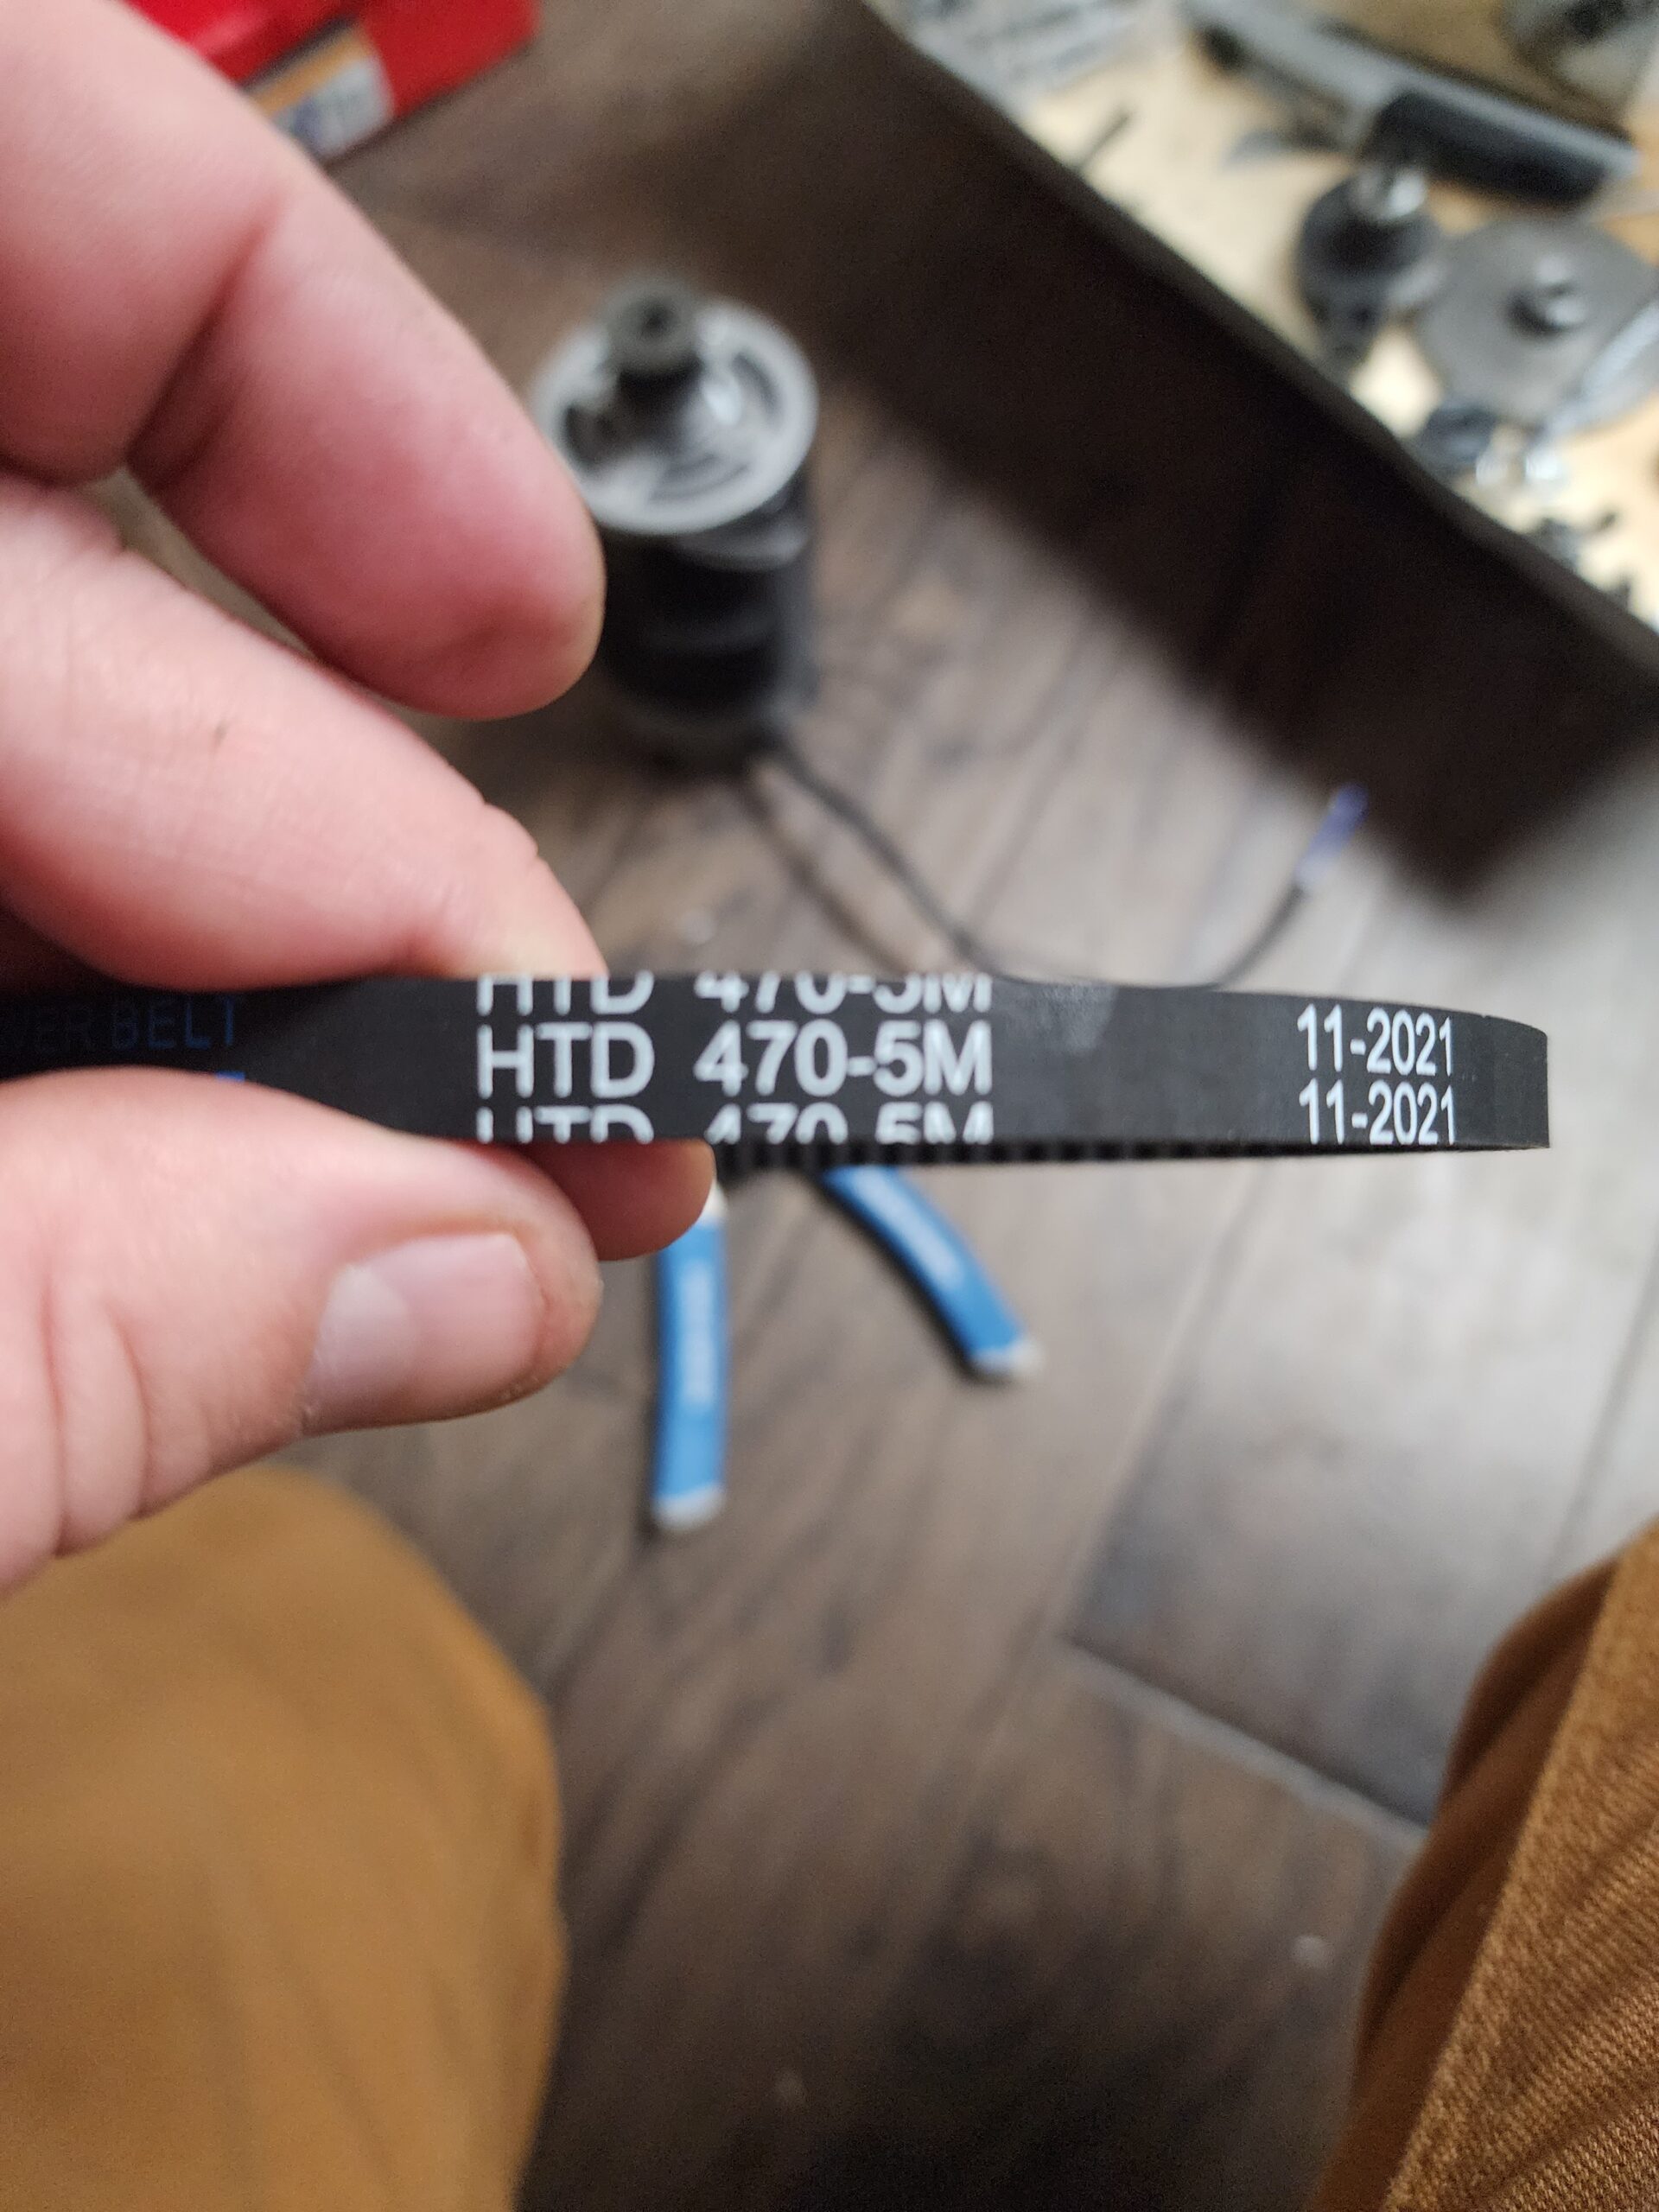
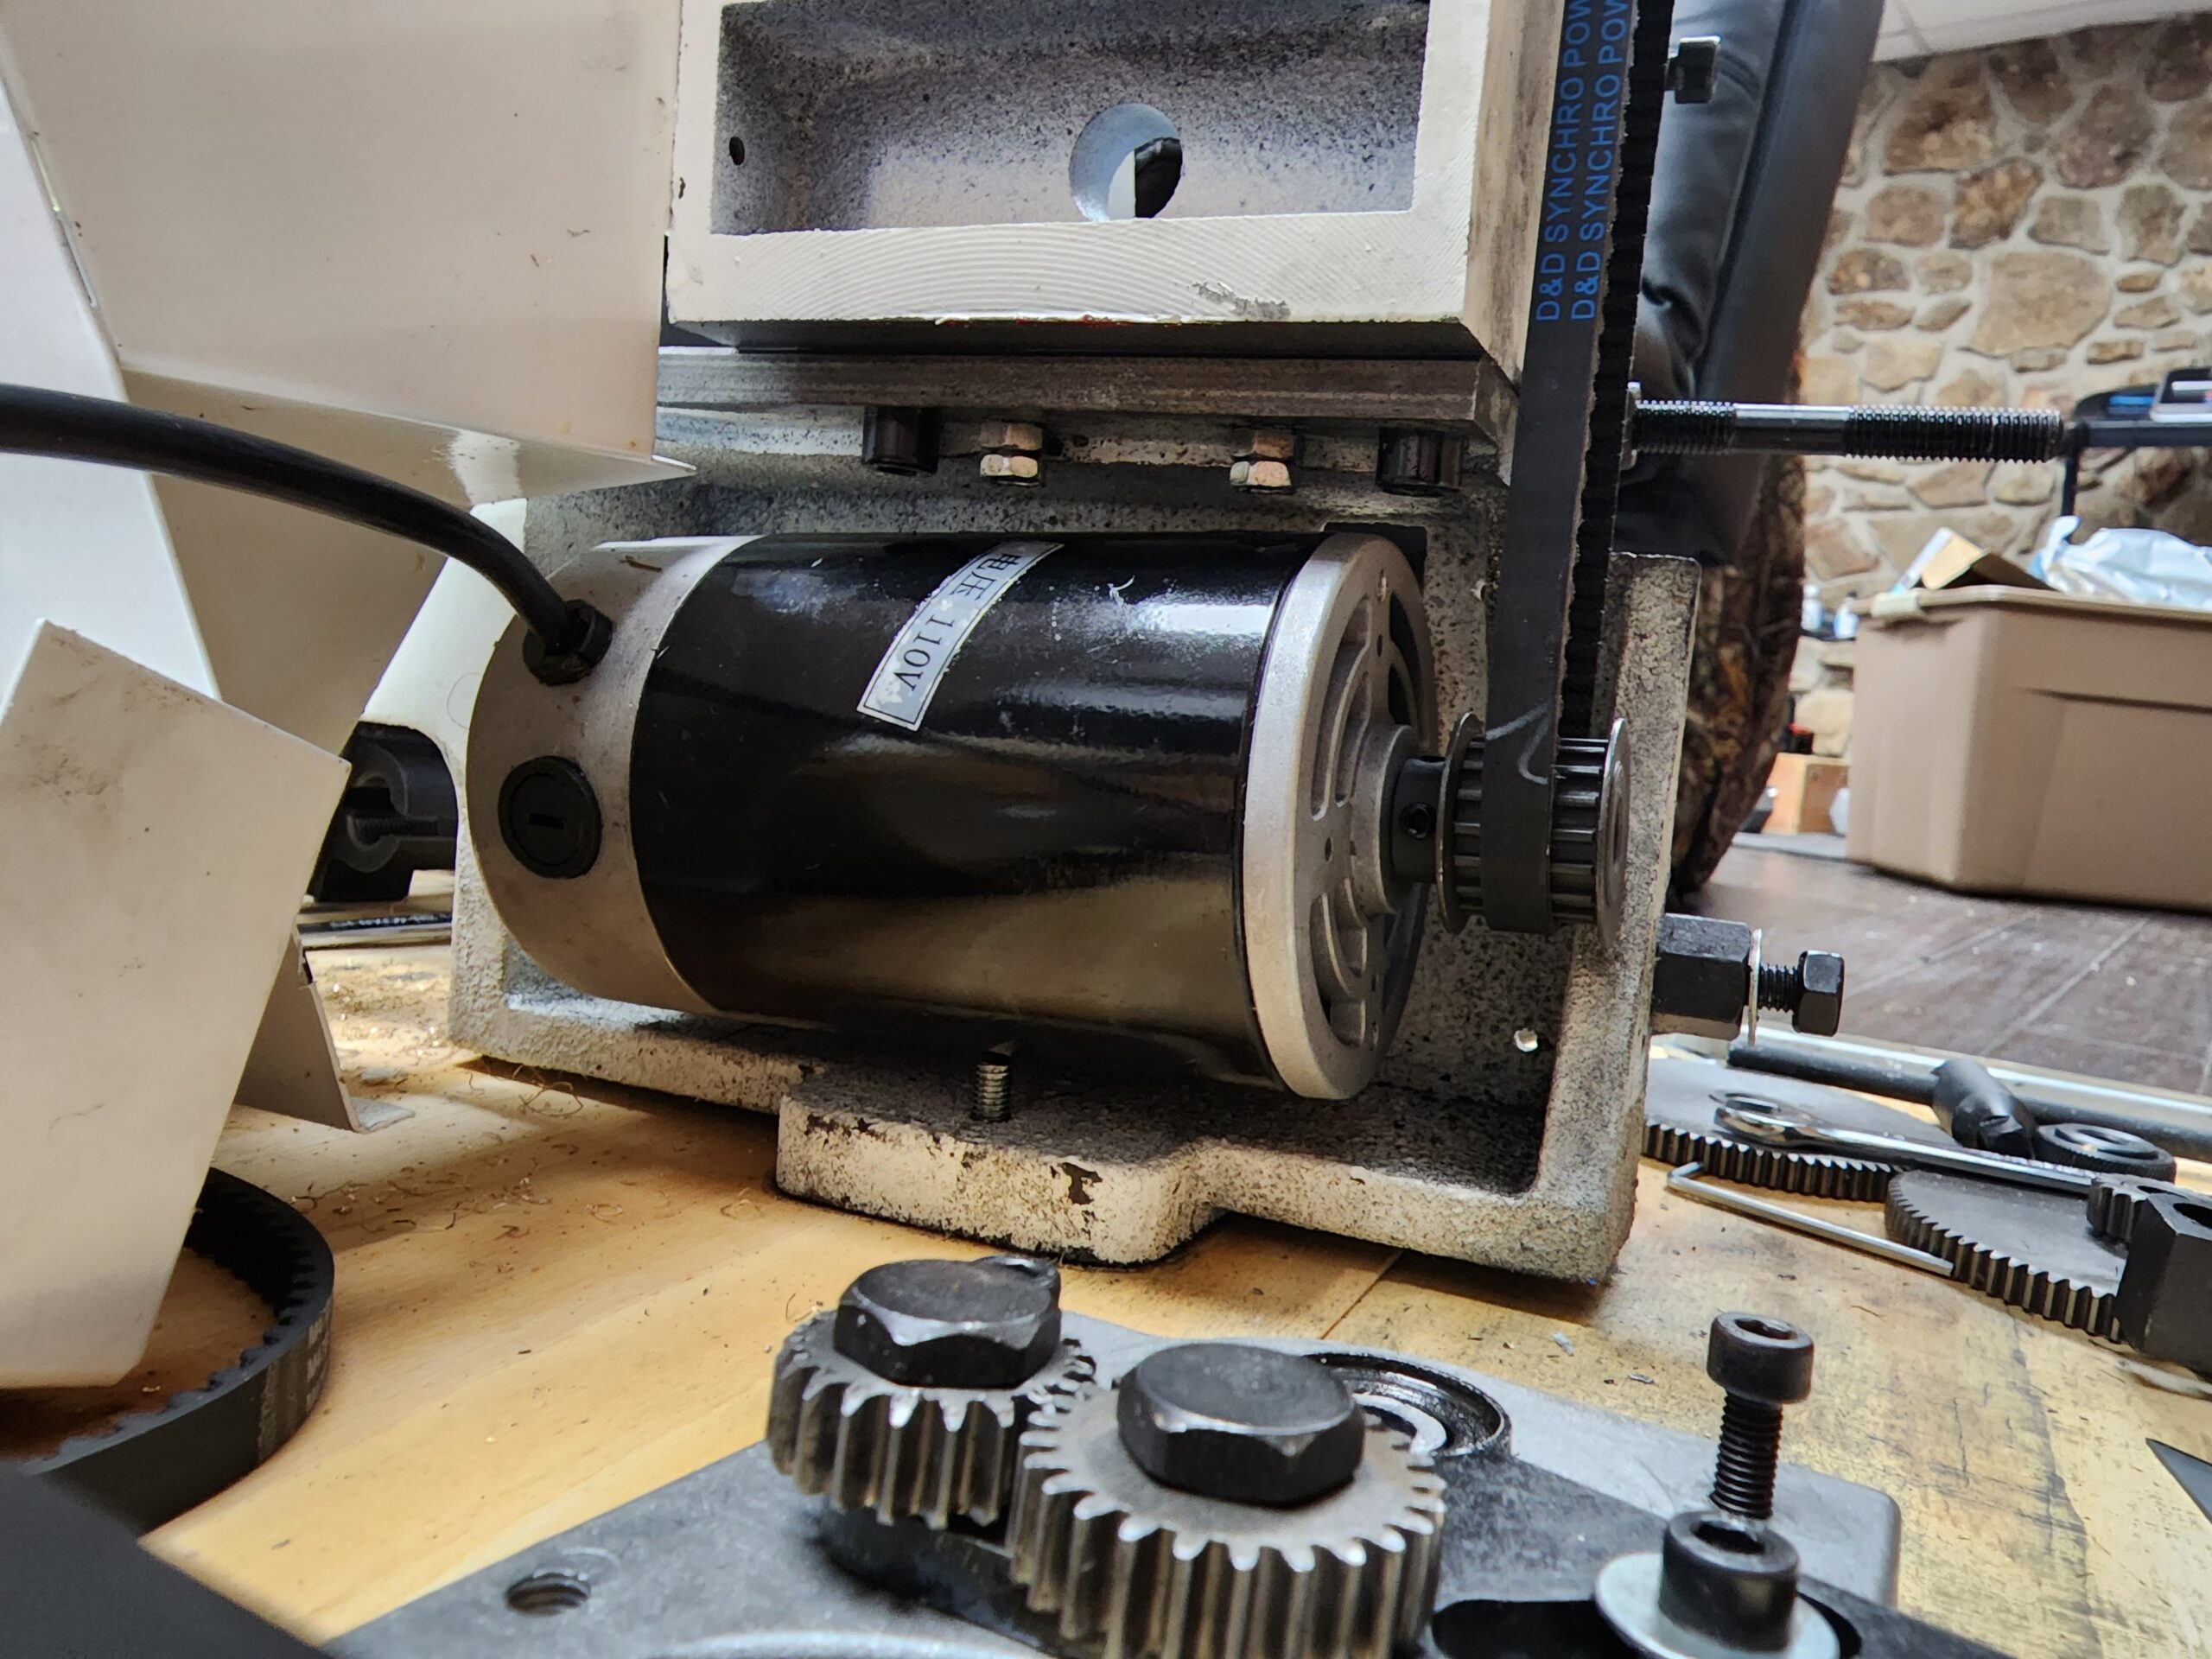
The drive belt seemed way too tight and was significantly worn just from the run in and test cuts I made. This seems to be a common problem with these model lathes. I found a video online where someone had the same problem and replaced the belt and motor pulley with a standard 5mm pitch 425mm circumference belt and 5mm pitch 17T motor pulley. The factory belt is not a standard belt and I was unable to find a generic replacement. There are a few places I found online (Amazon, ebay) that sold replacement belts advertised for the MX 8X14 but I'm afraid they would suffer the same fate as the original belt so I ordered the 5mm pitch pulley and belt which according to the video I saw are a much better fit.
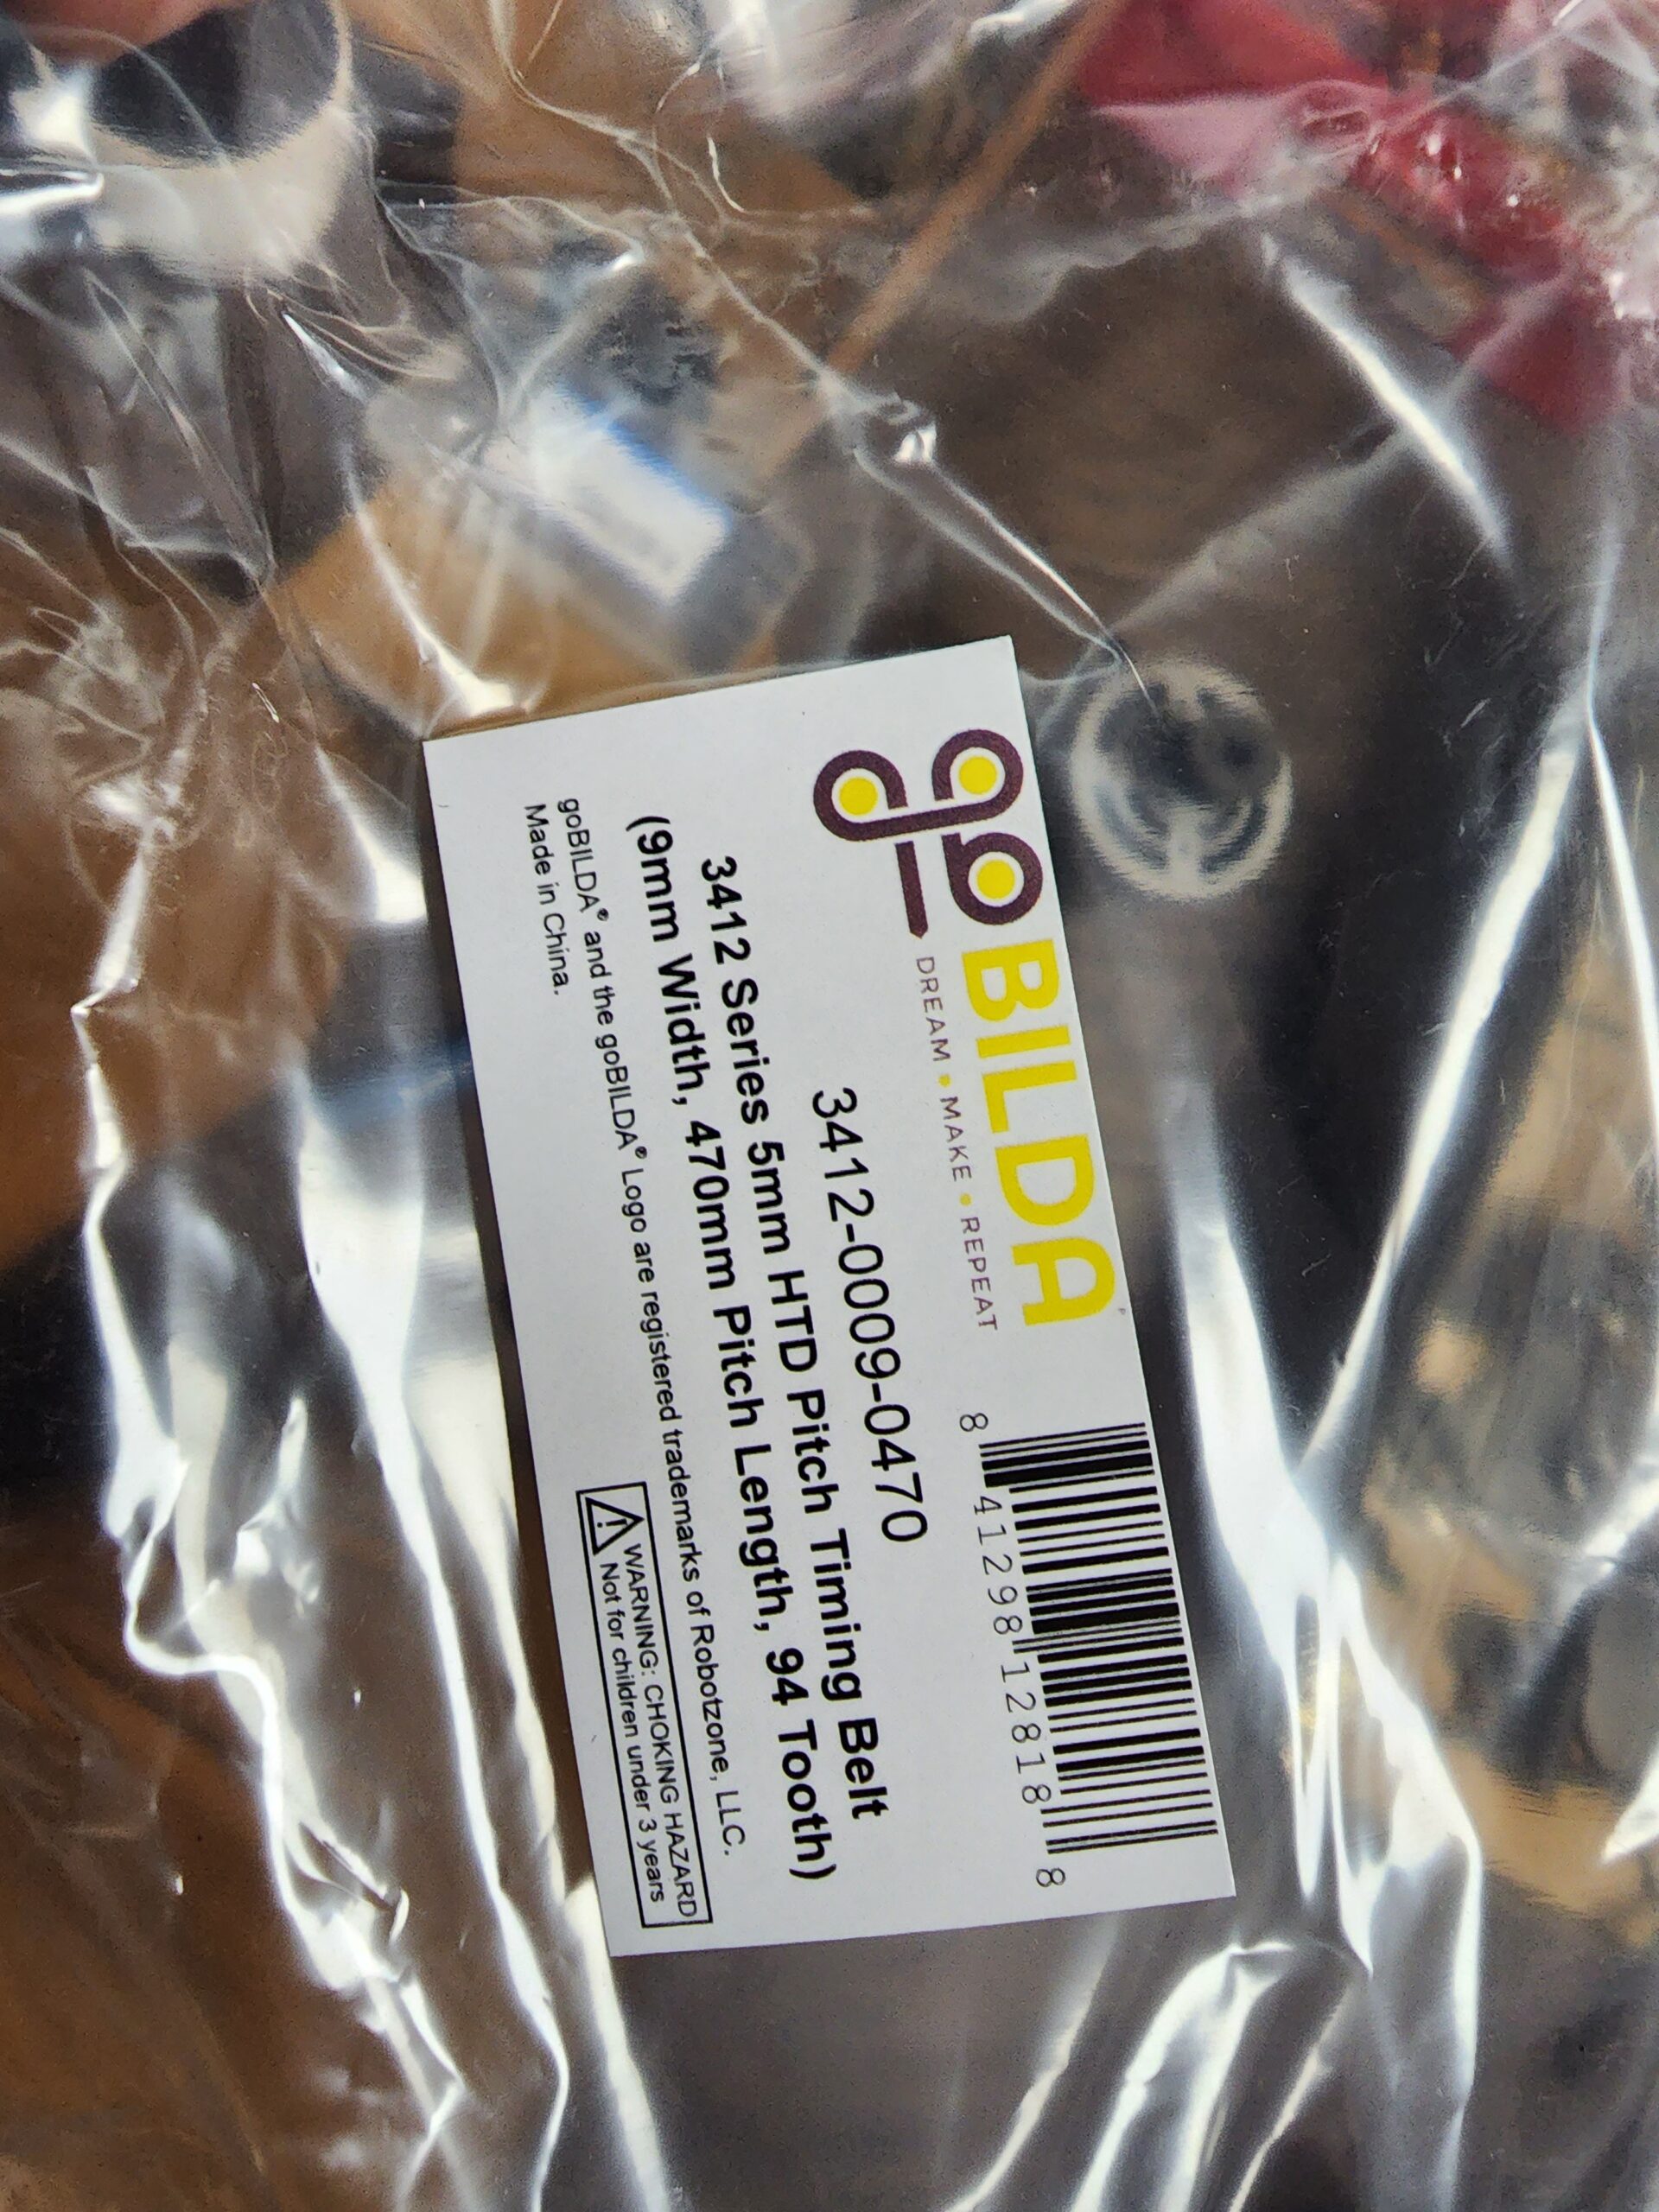
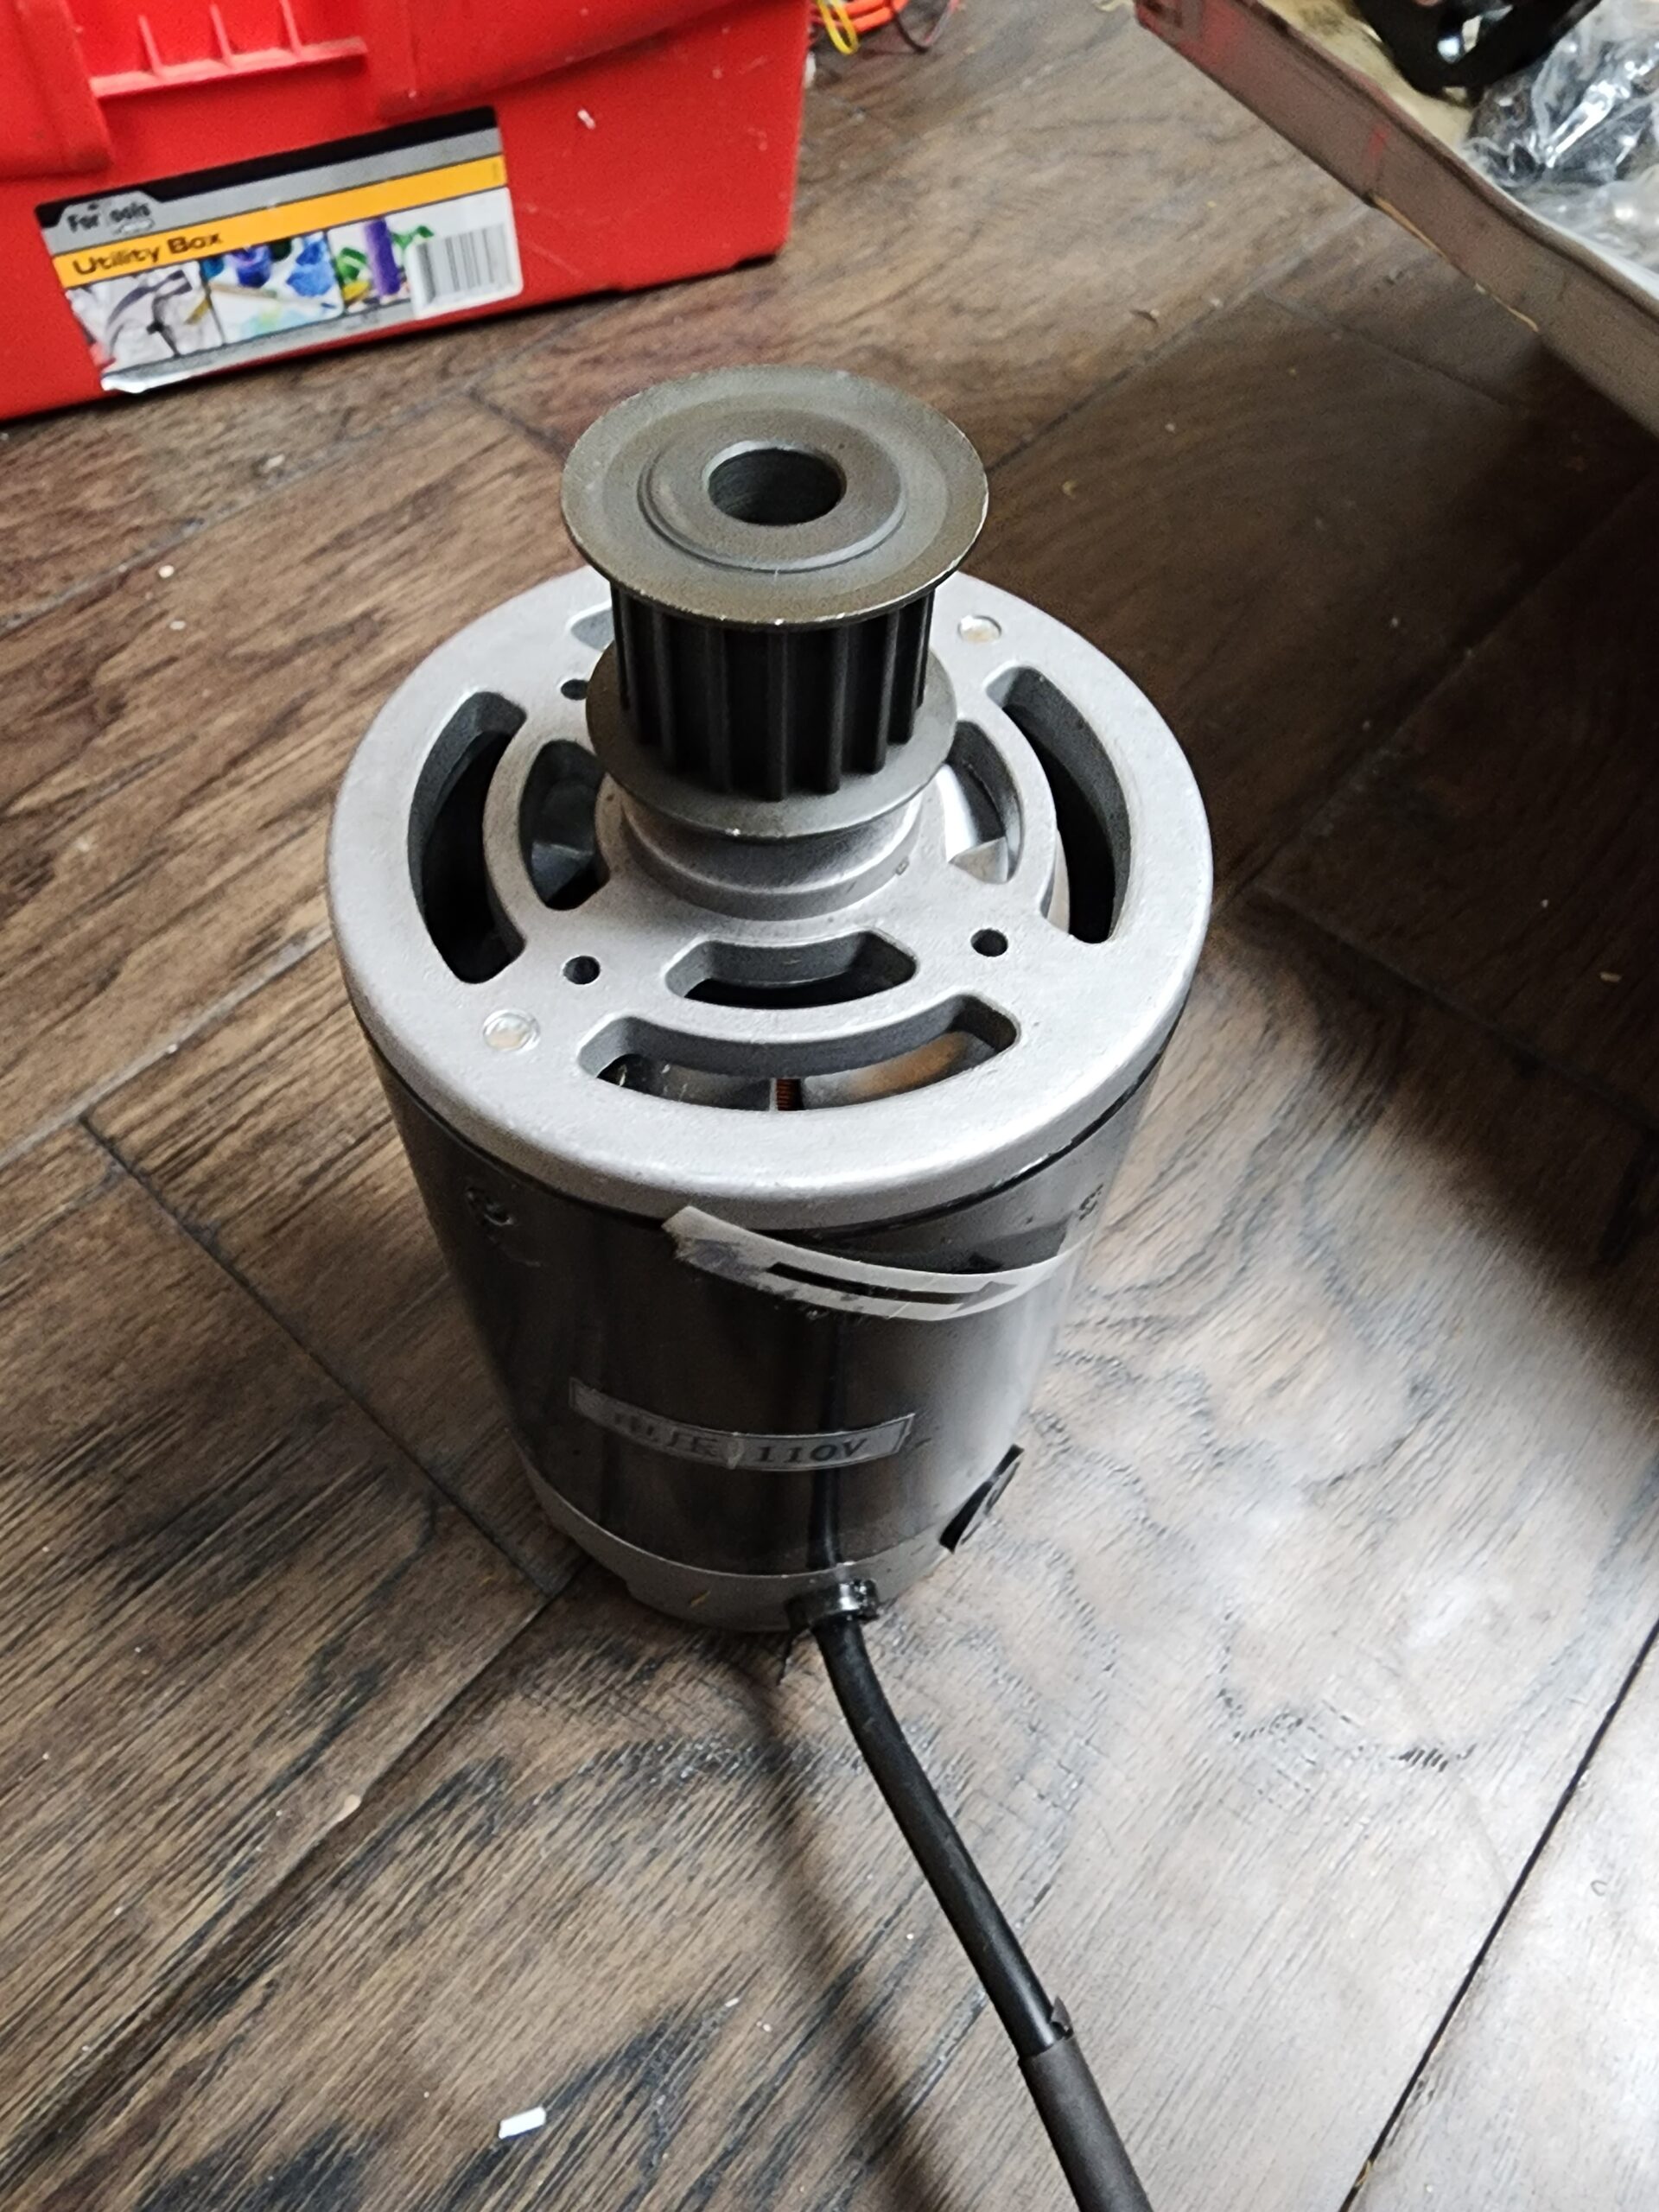
I ordered a 5mm pitch 470mm belt and a 17T 10mm bore pulley to replace the old belt and motor pulley.
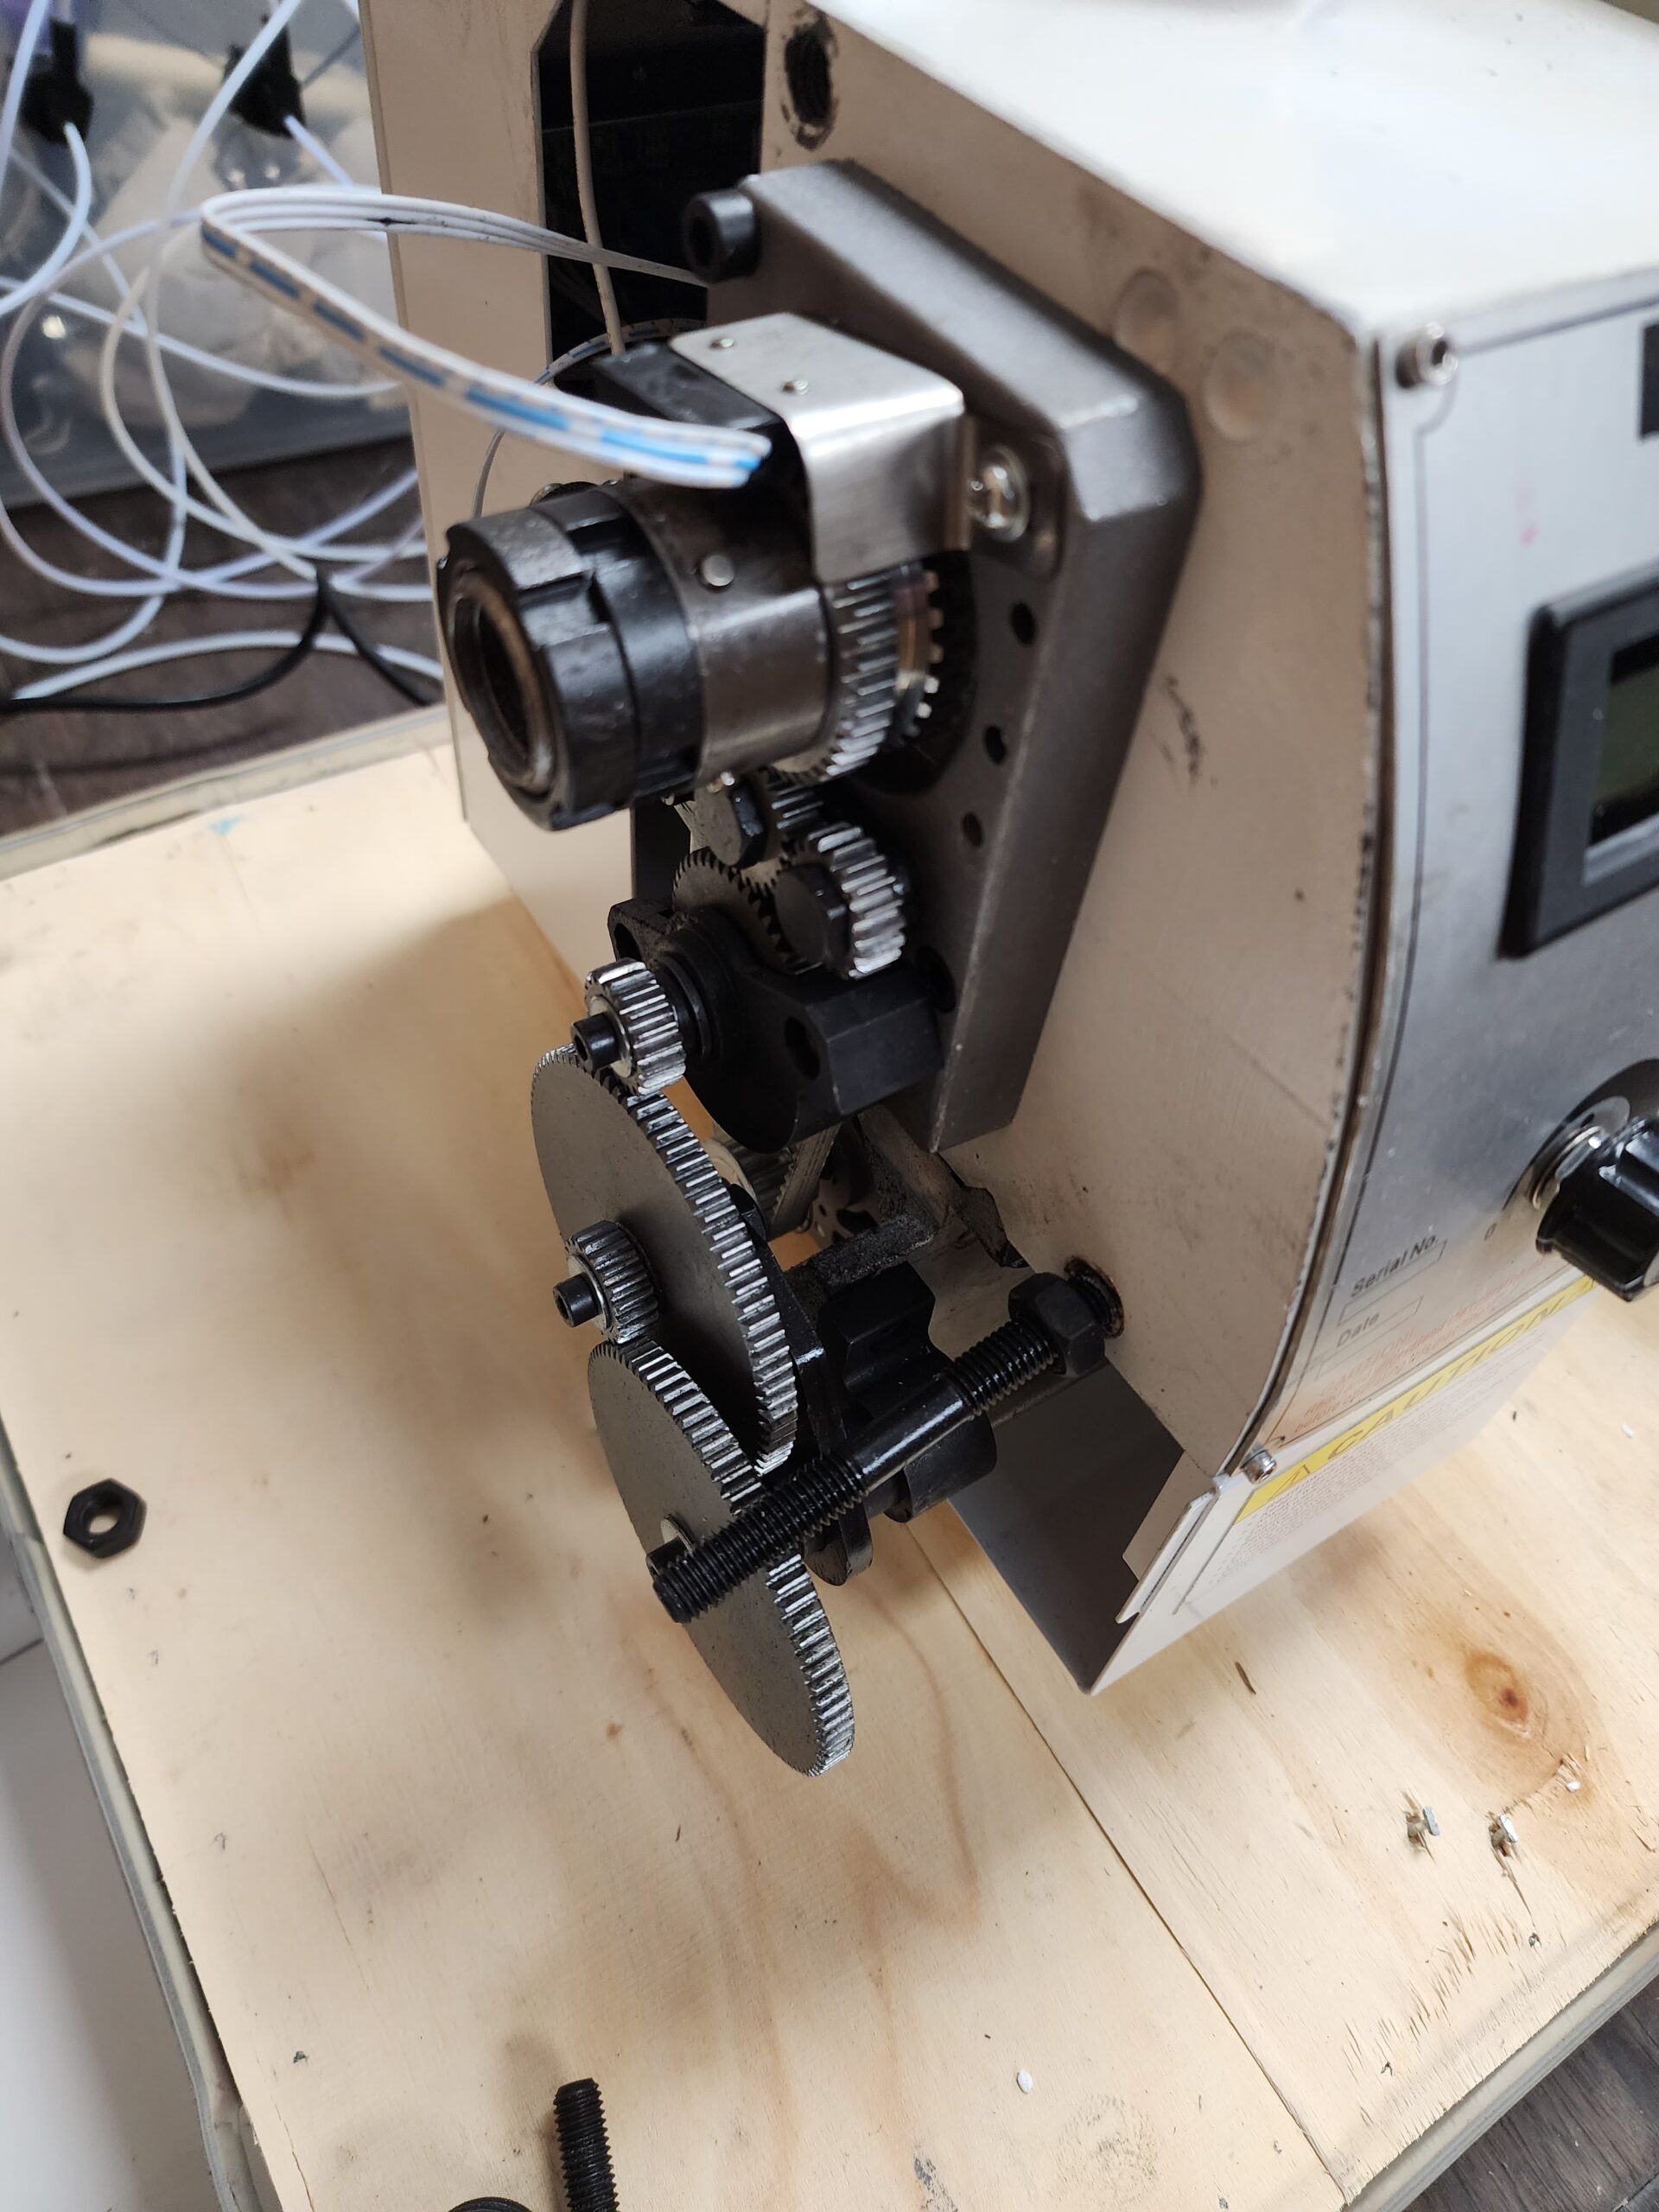
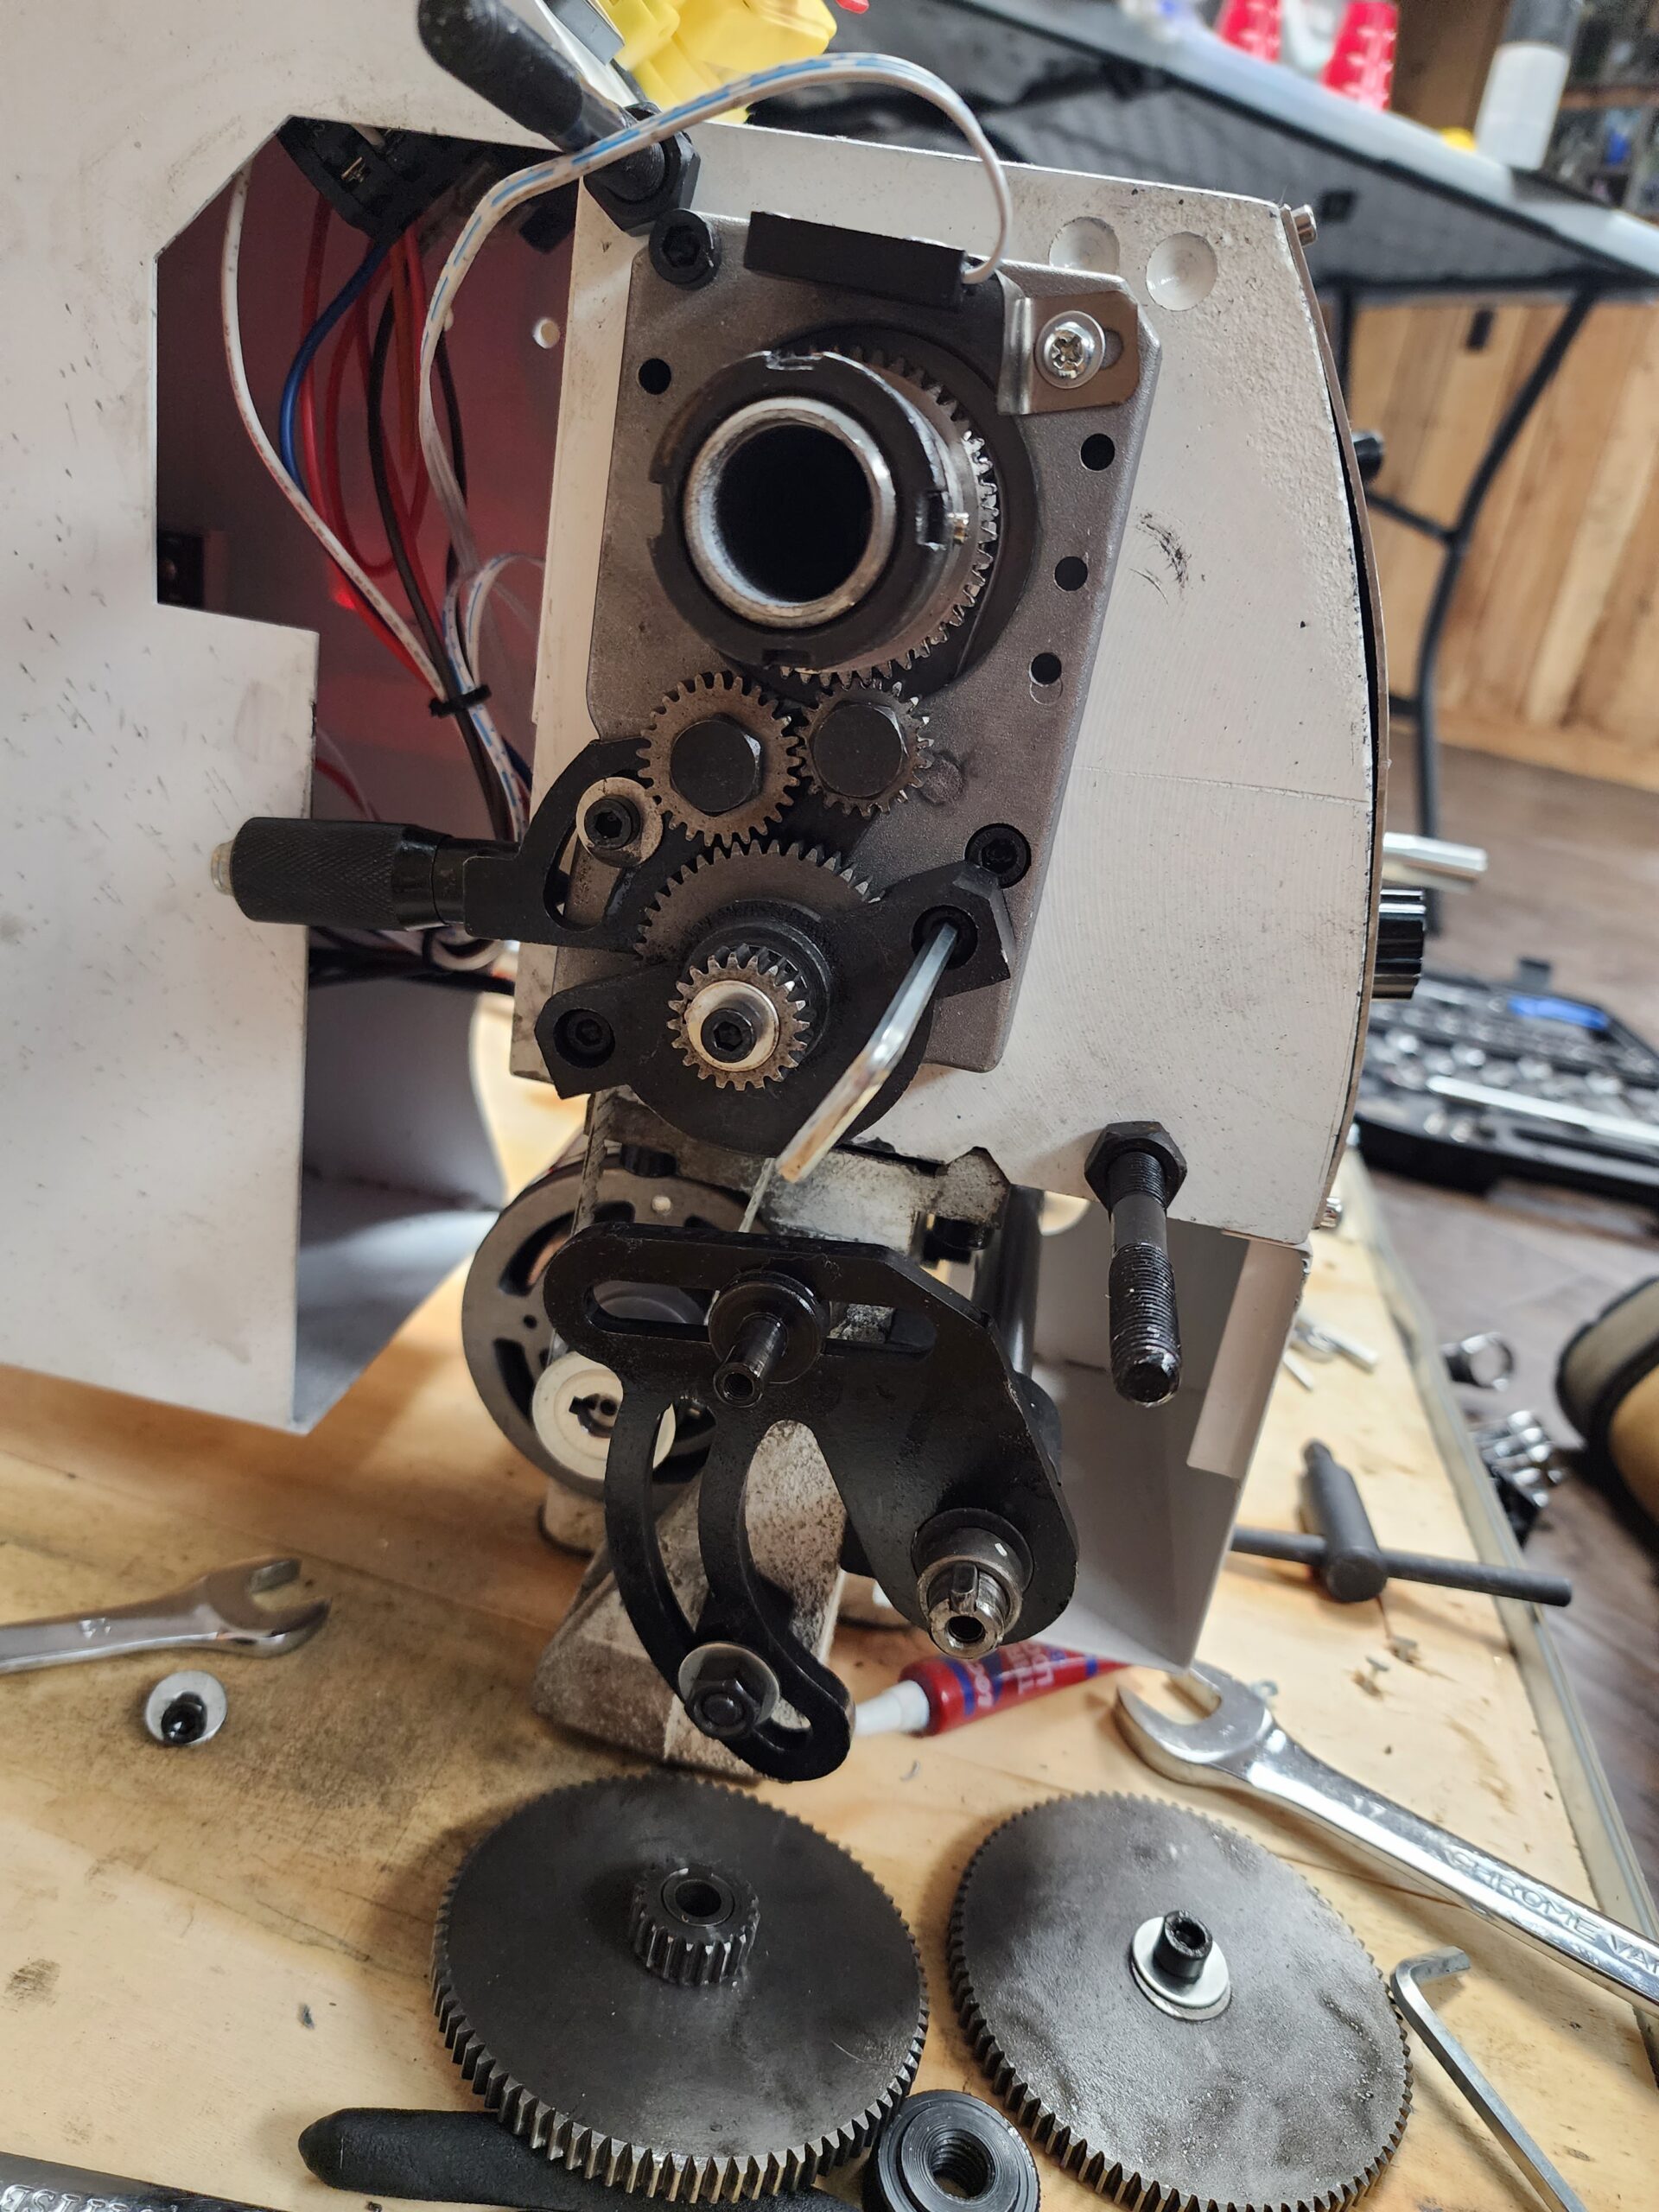
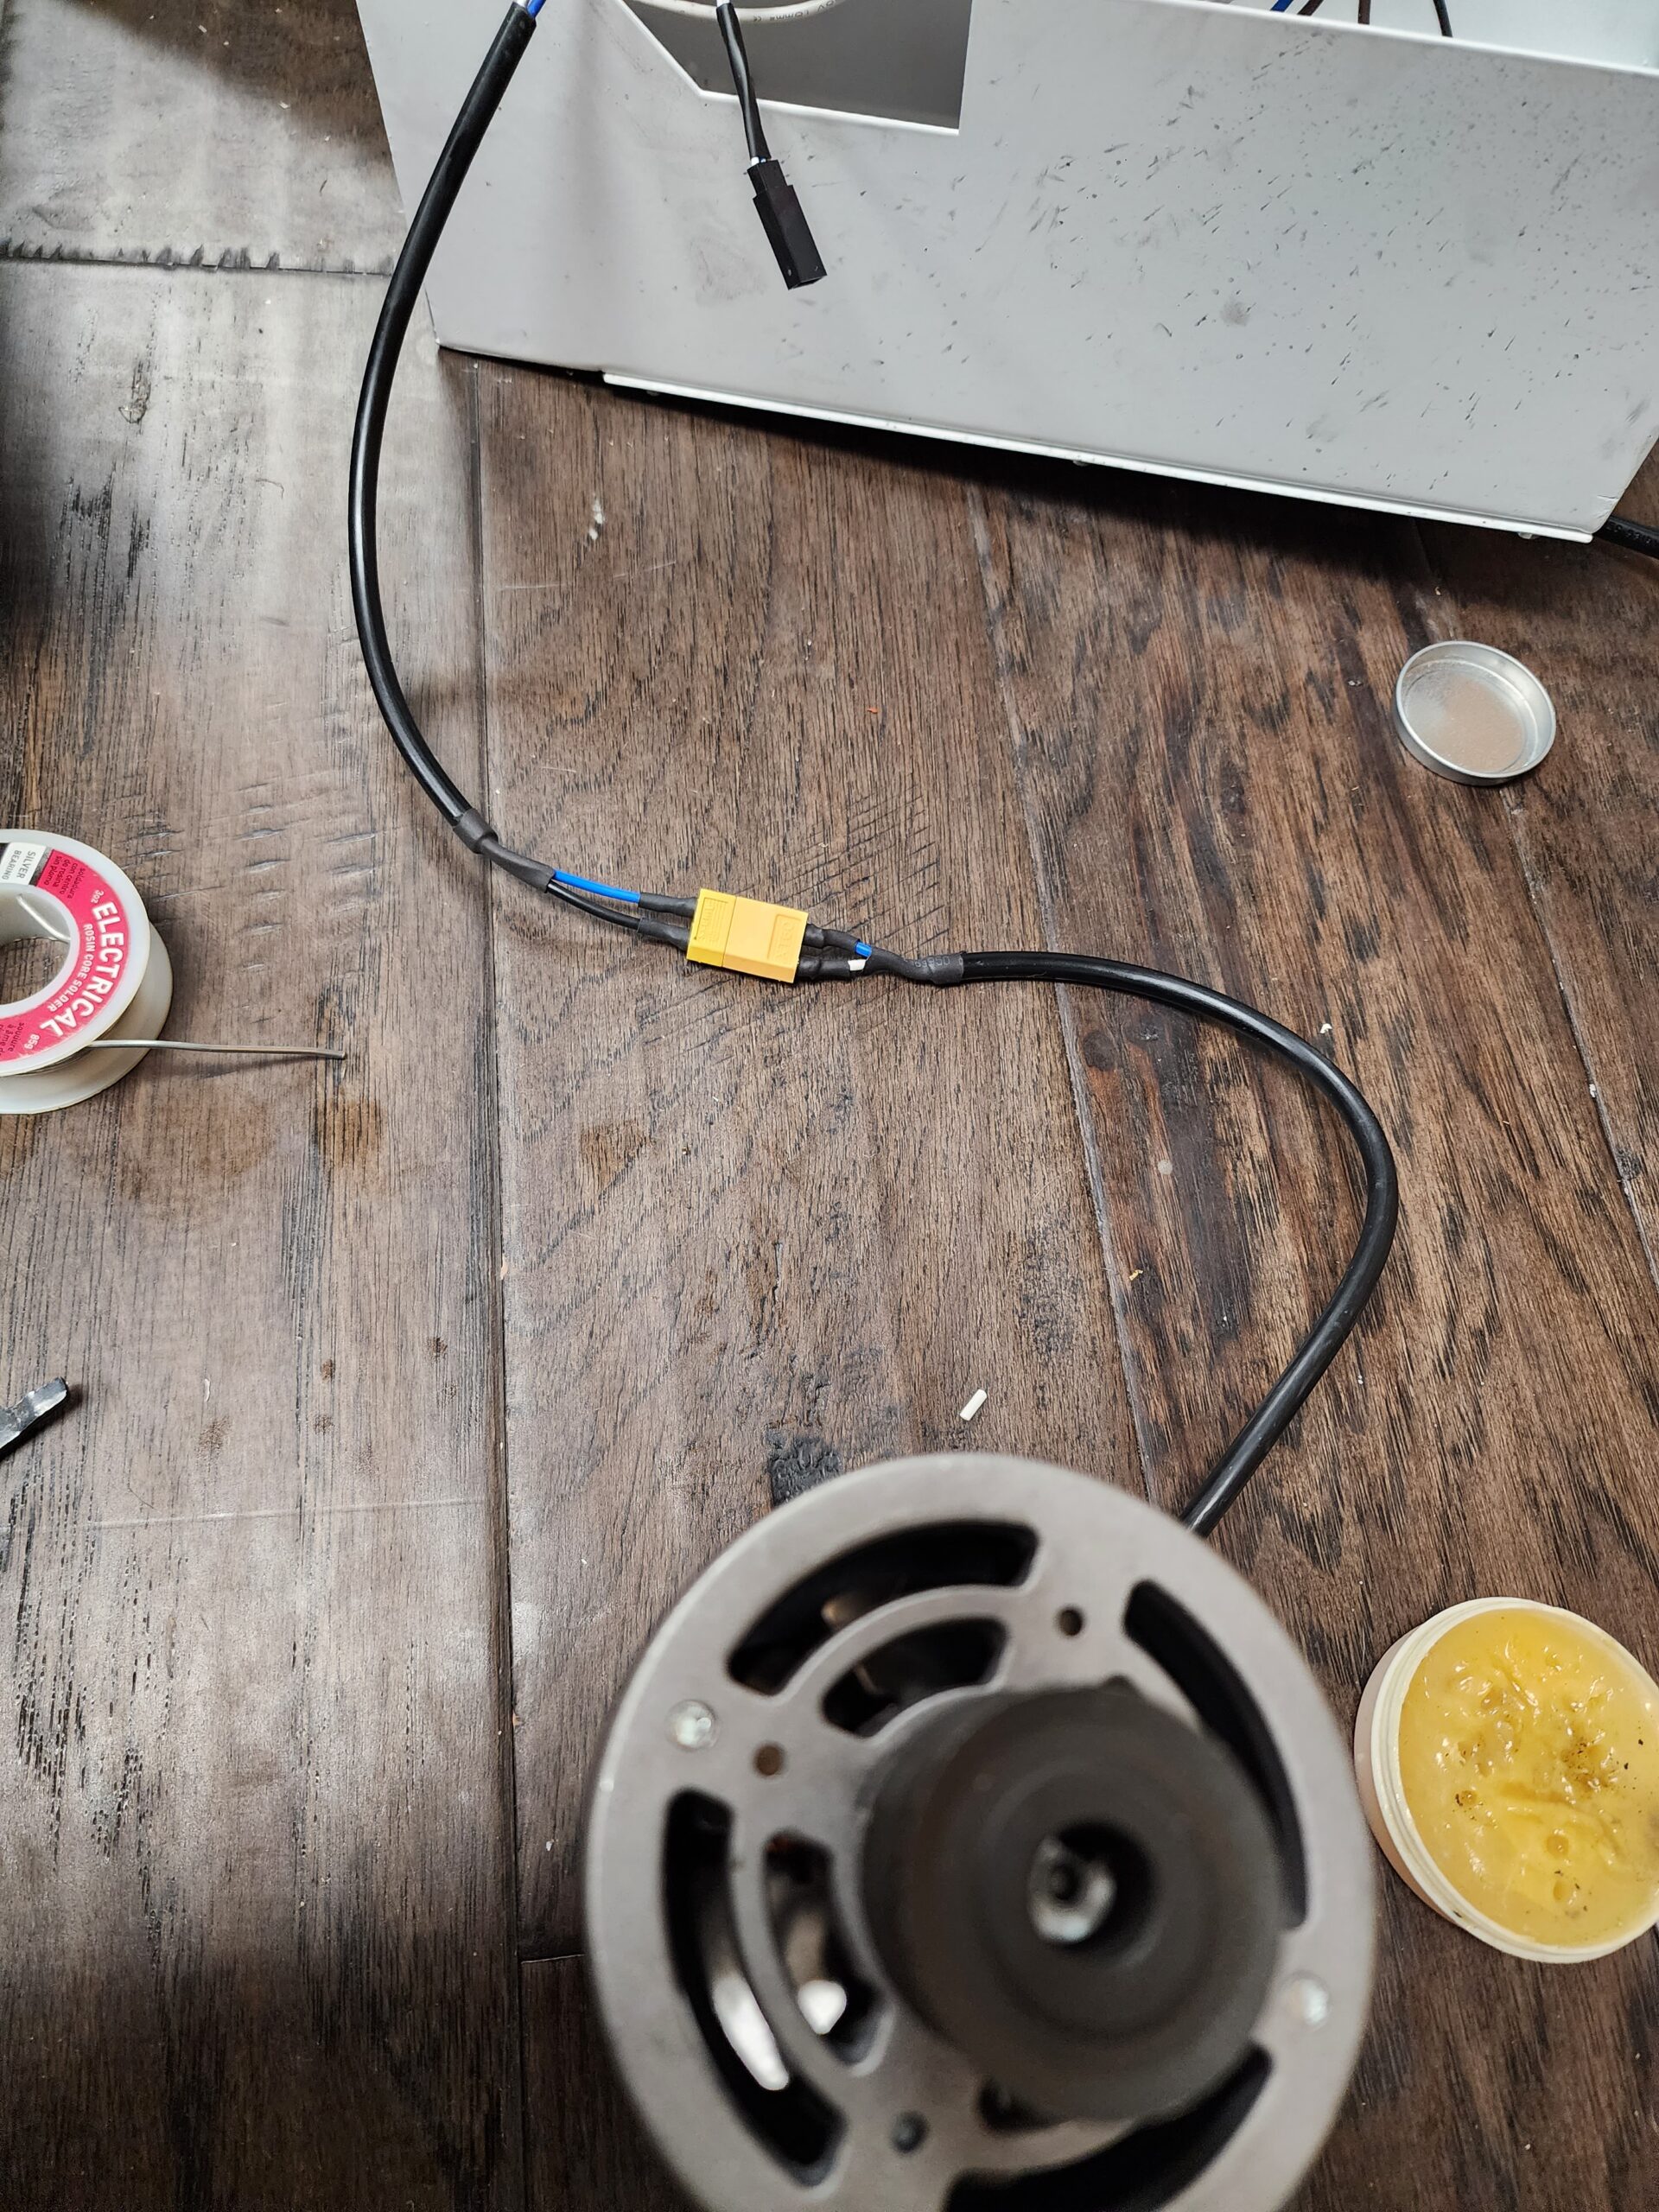
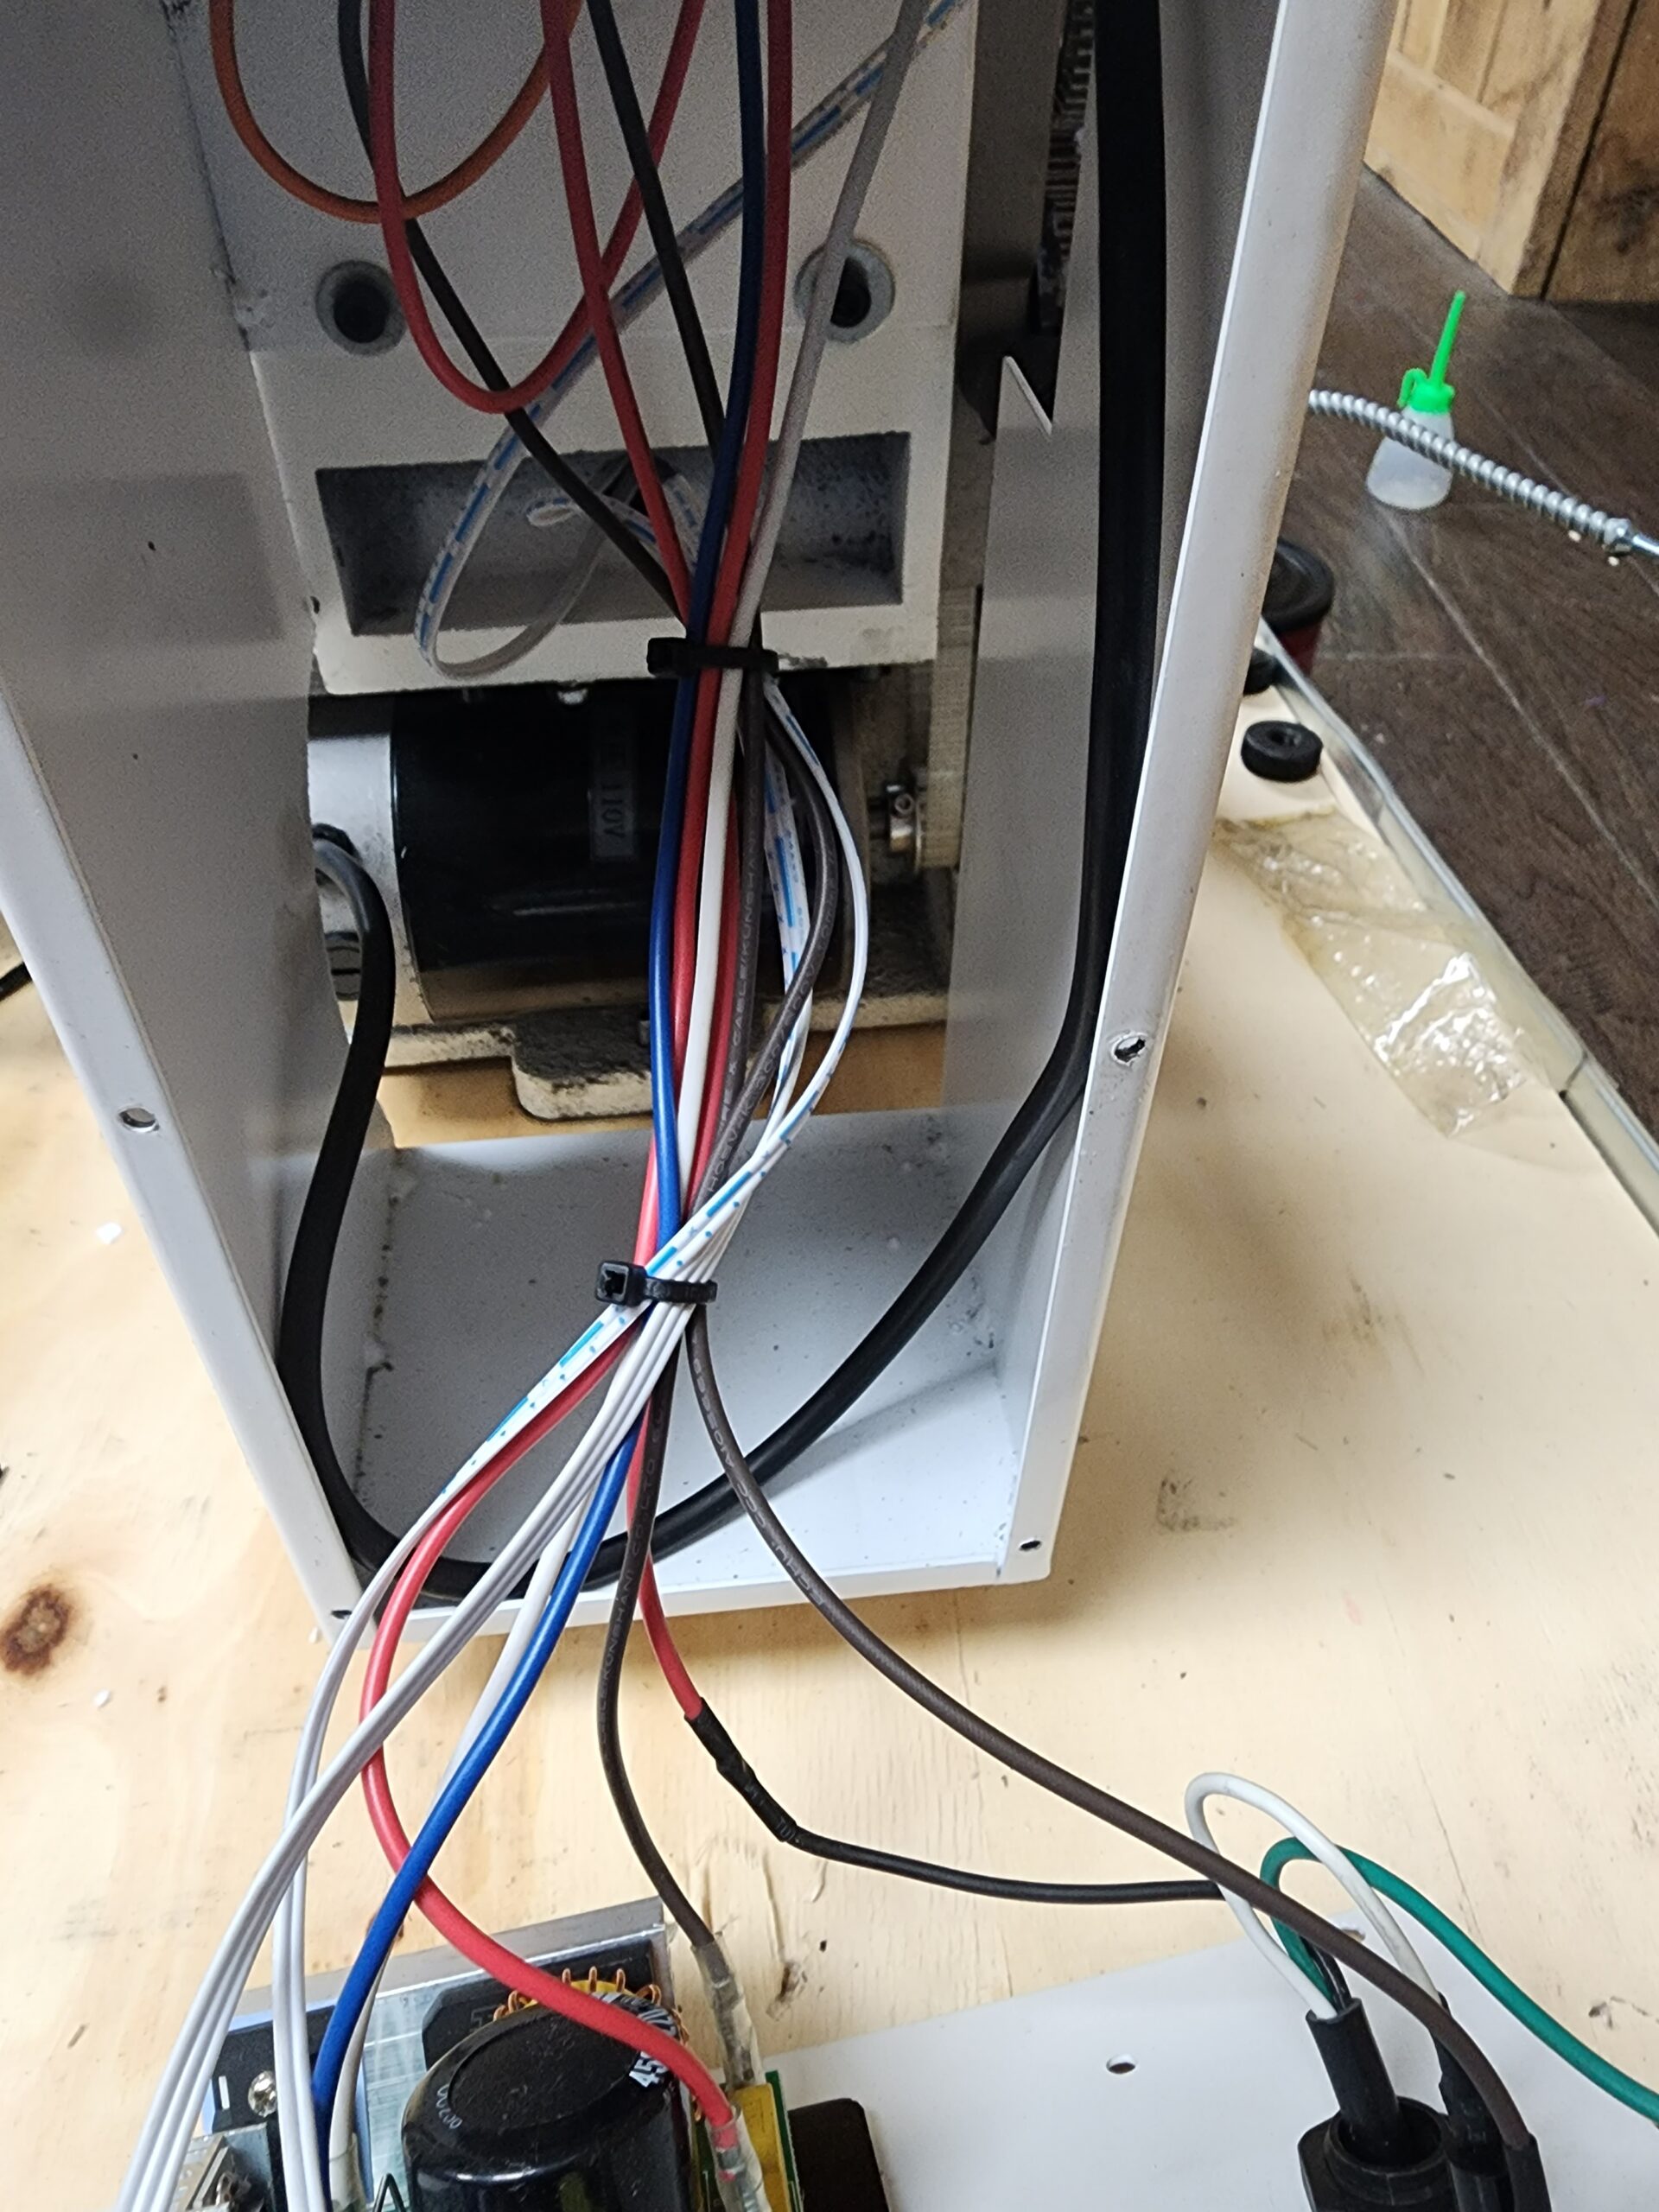
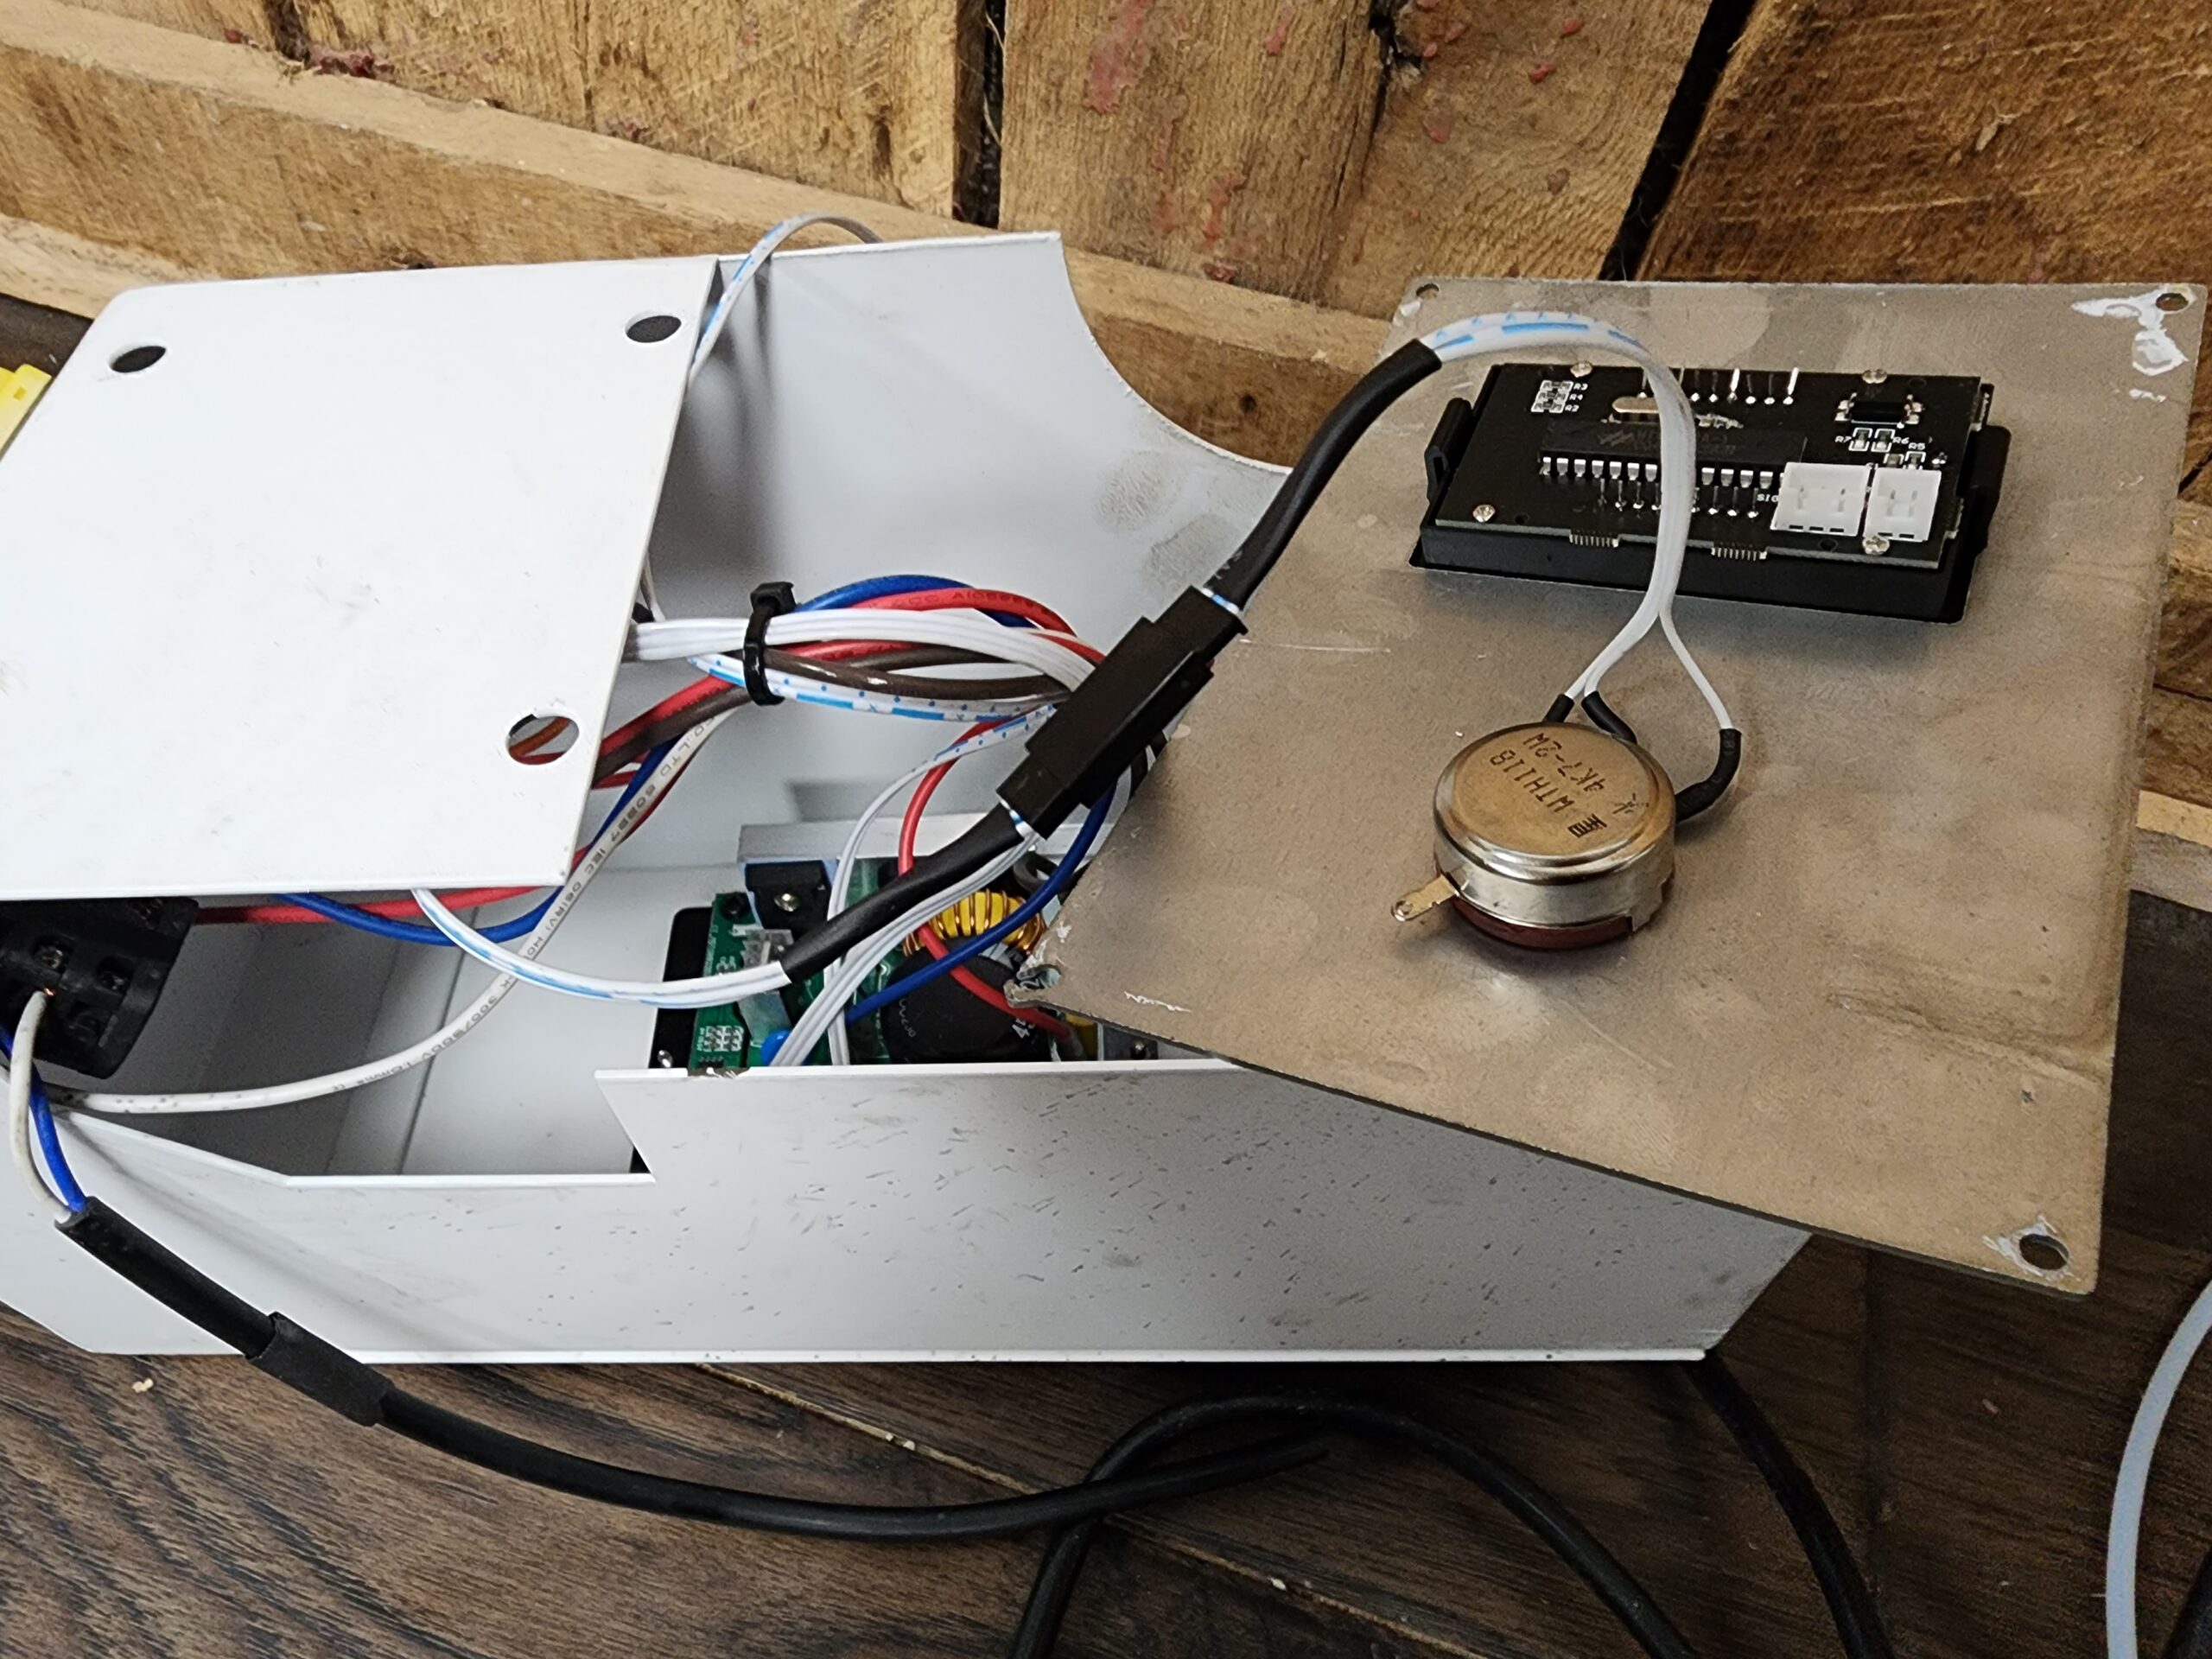
To get at the motor the front two and back covers must be removed. The wires running to the front panel connect to the motor controller and tach. Two of the three wires can be unplugged but the speed control dial wires cannot. I installed a connector on the speed selector wires and the motor wiring to make each cabinet independent. I also cleaned up the wiring harness to help prevent any of the wires from finding their way into the gears.
With the panels off the front two mounting nuts can be accessed and removed. There are two tensioning screws with jam nuts above the motor but they are not long enough to tension the new belt.
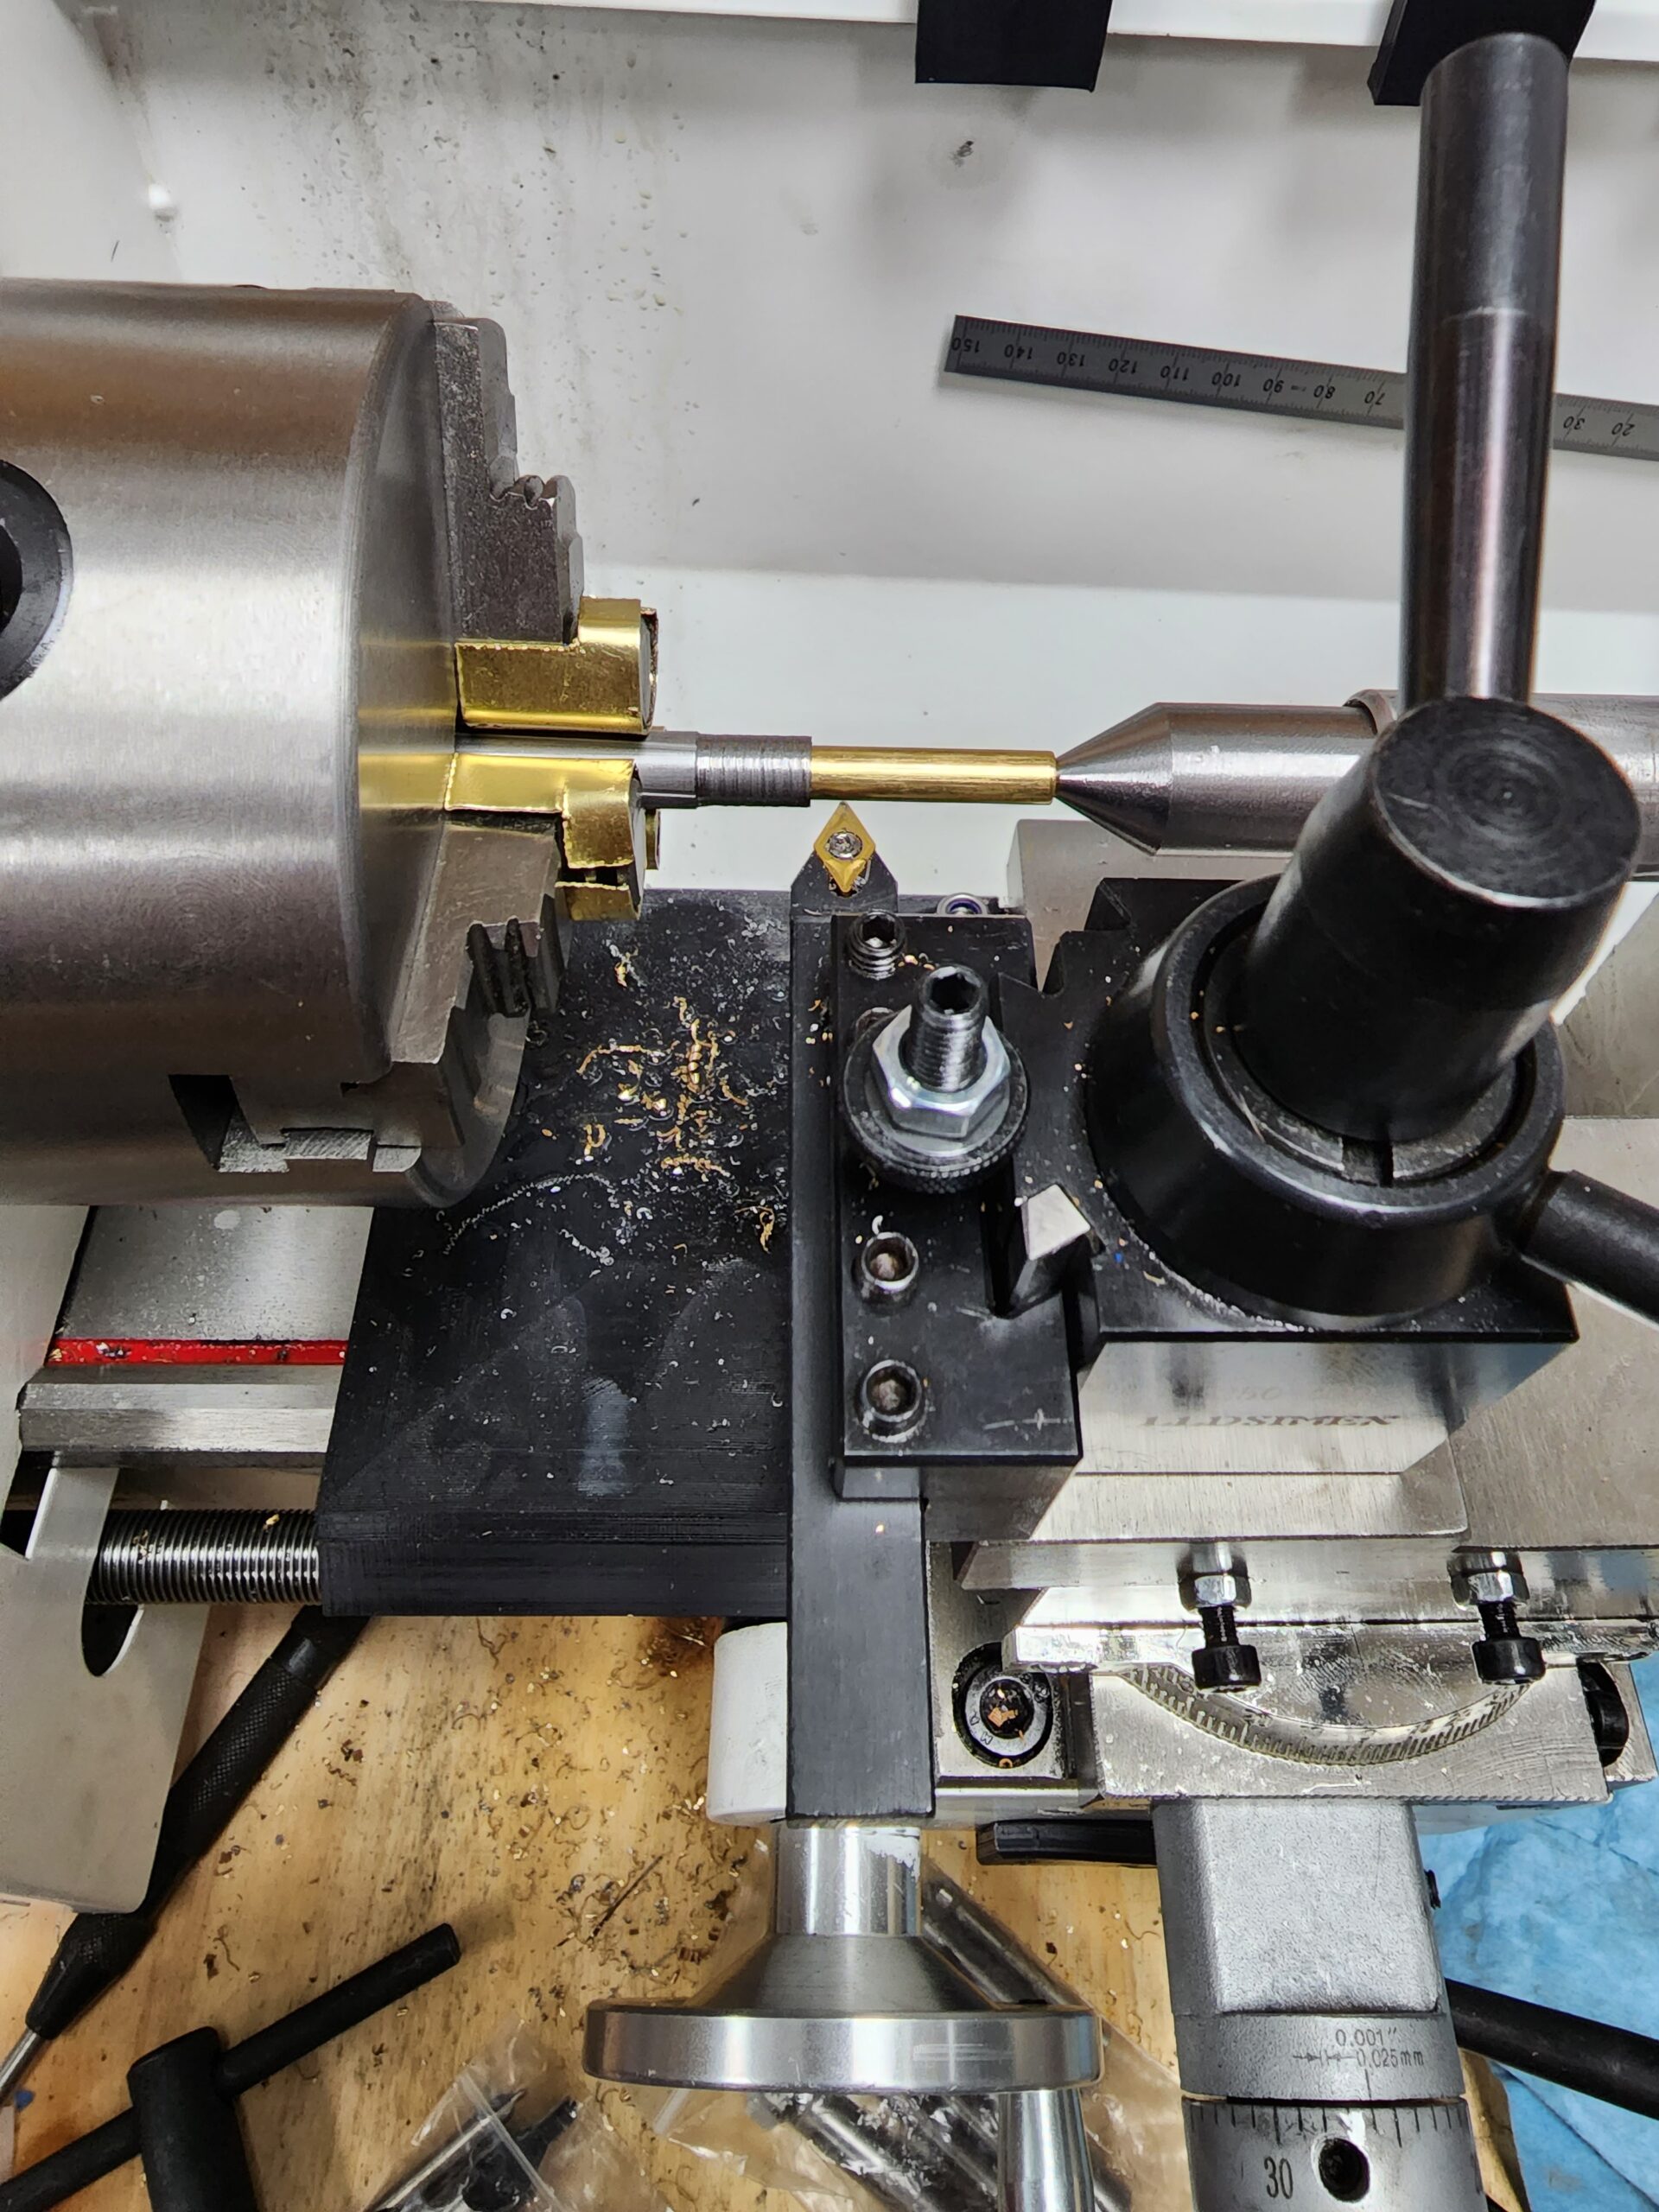
I replaced those screws with M6 by 20mm length screws which provided enough adjustment to tension the new belt. Once the motor was mounted and the belt tensioned I reassembled the cabinets and ran the spindle to check for proper operation. I then aligned the tailstock and started cutting chips.
The lathe is now ready to start making parts. Later I will add a post showing how to properly align the tail and head stock across the Z axis. More posts to come.
