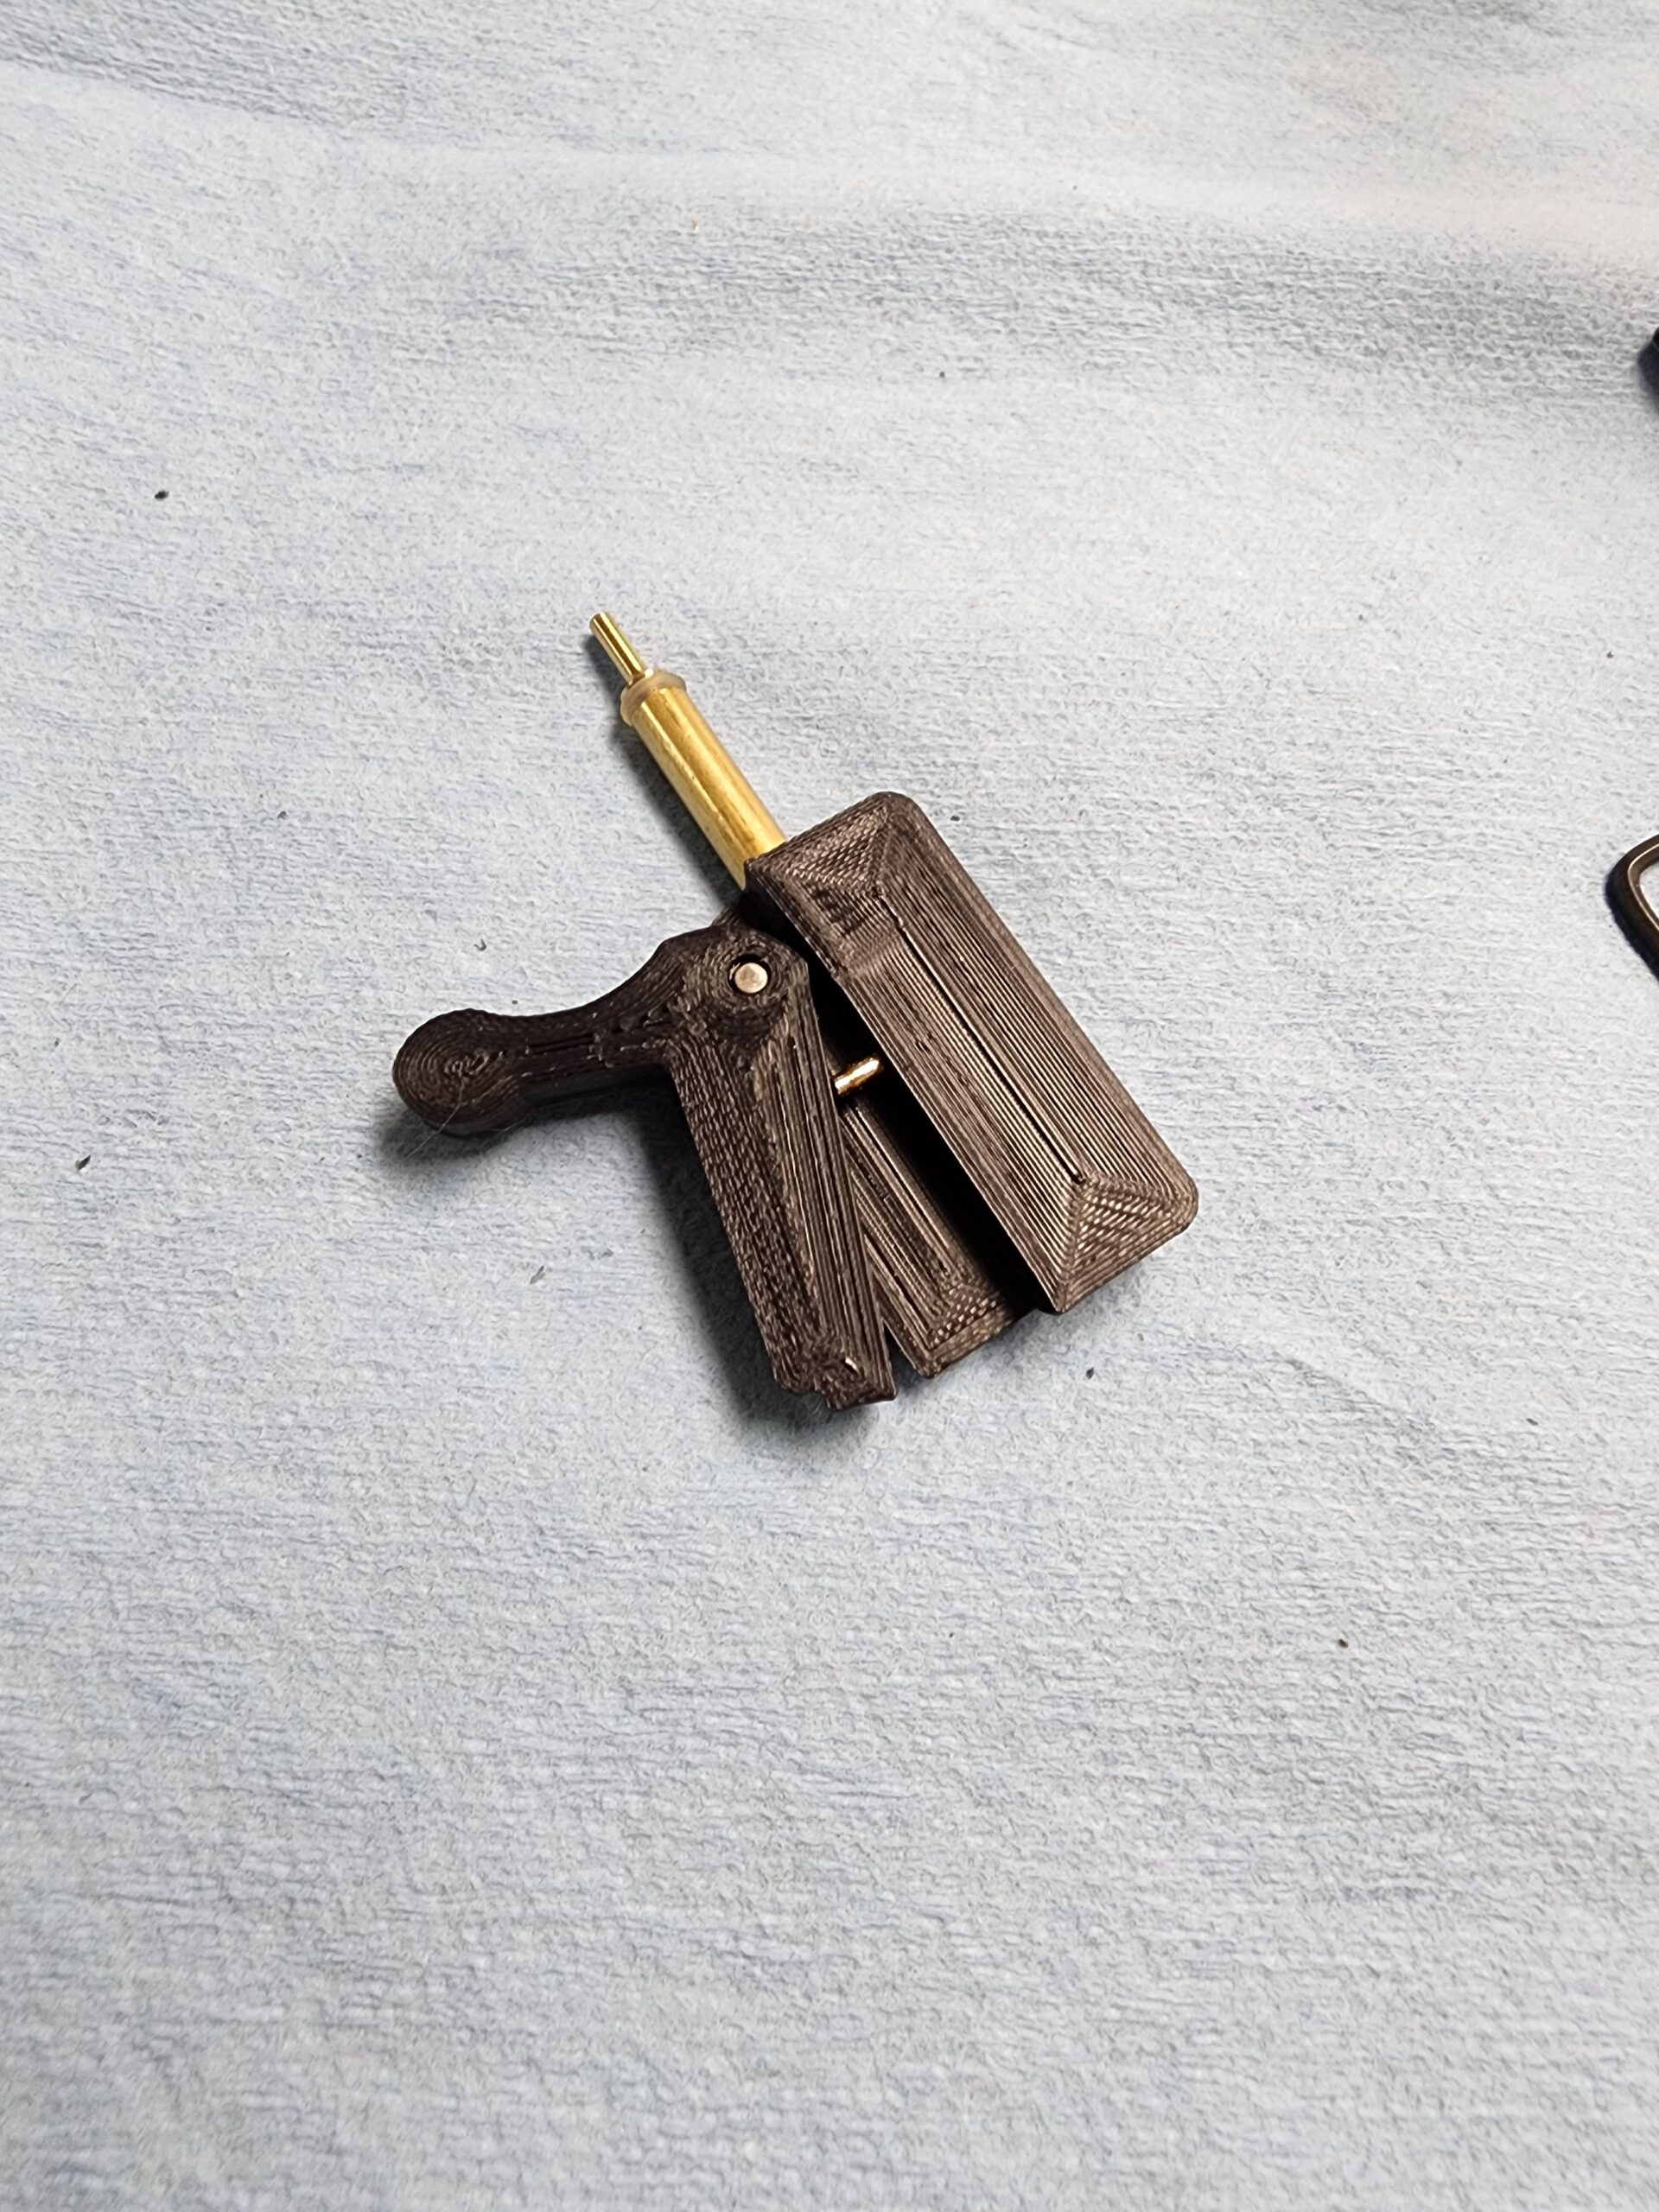
I built a custom aluminum bolt a couple years ago but it was a trial and error fit. It worked out and has been working fantastic. When I built the 1925 I used that bolt body to install the 25 caliber probe I made. I want to make more aluminum bolt assemblies but wanted technical drawings so I designed the bolt from my old drawings and measuring a factory bolt. To make sure it worked before cutting it from aluminum I 3D printed it to verify the design. The printed bolt assembly works very well. It works so good I will print more to use until I get around to machining them. The original aluminum version used a spring that was not contained to actuate the bolt handle. That proved to be a pain when installing in the receiver. I wanted to use a plunger and captured spring in this design so assembly into the receiver would be as easy as the factory bolt. I machined the plunger on the lathe but it could also be made using a file and power drill. Using 3mm brass rod the rod can be chucked and spun against the file to reduce the end to the 2mm dimension. It can then be cut off with a hack saw and filed to length. The probe is best made using a lathe. I have uploaded the models to Thingiverse.
Even if you don't have access to a 3D printer you can order parts from printing services such as CraftCloud
The non-printed parts are a 3mmX8mm dowel pin, spring, #6-32 X 1/2 set screw, and M4-0.7 X 4mm set screw. The dowel pin is used as the bolt handle pivot. The hole that it inserts into is slightly undersized. To install it hold the pin with pliers and heat the pin with a lighter or torch then insert it into the pivot pin hole. The plunger inserts small in first into the hole on the side of the body so that it protrudes , then the spring, then screw in the M4 set screw until it is flush with the side of the bolt. The #6 set screw screws into the front of the bolt and is used to screw the probe on. Therefore the base of the probe should be internally threaded #6-32. I purchased the probe shown here from Ron (Ronno6) over at the Gateway-to-Airguns. I have also included the drawings for the parts below.


