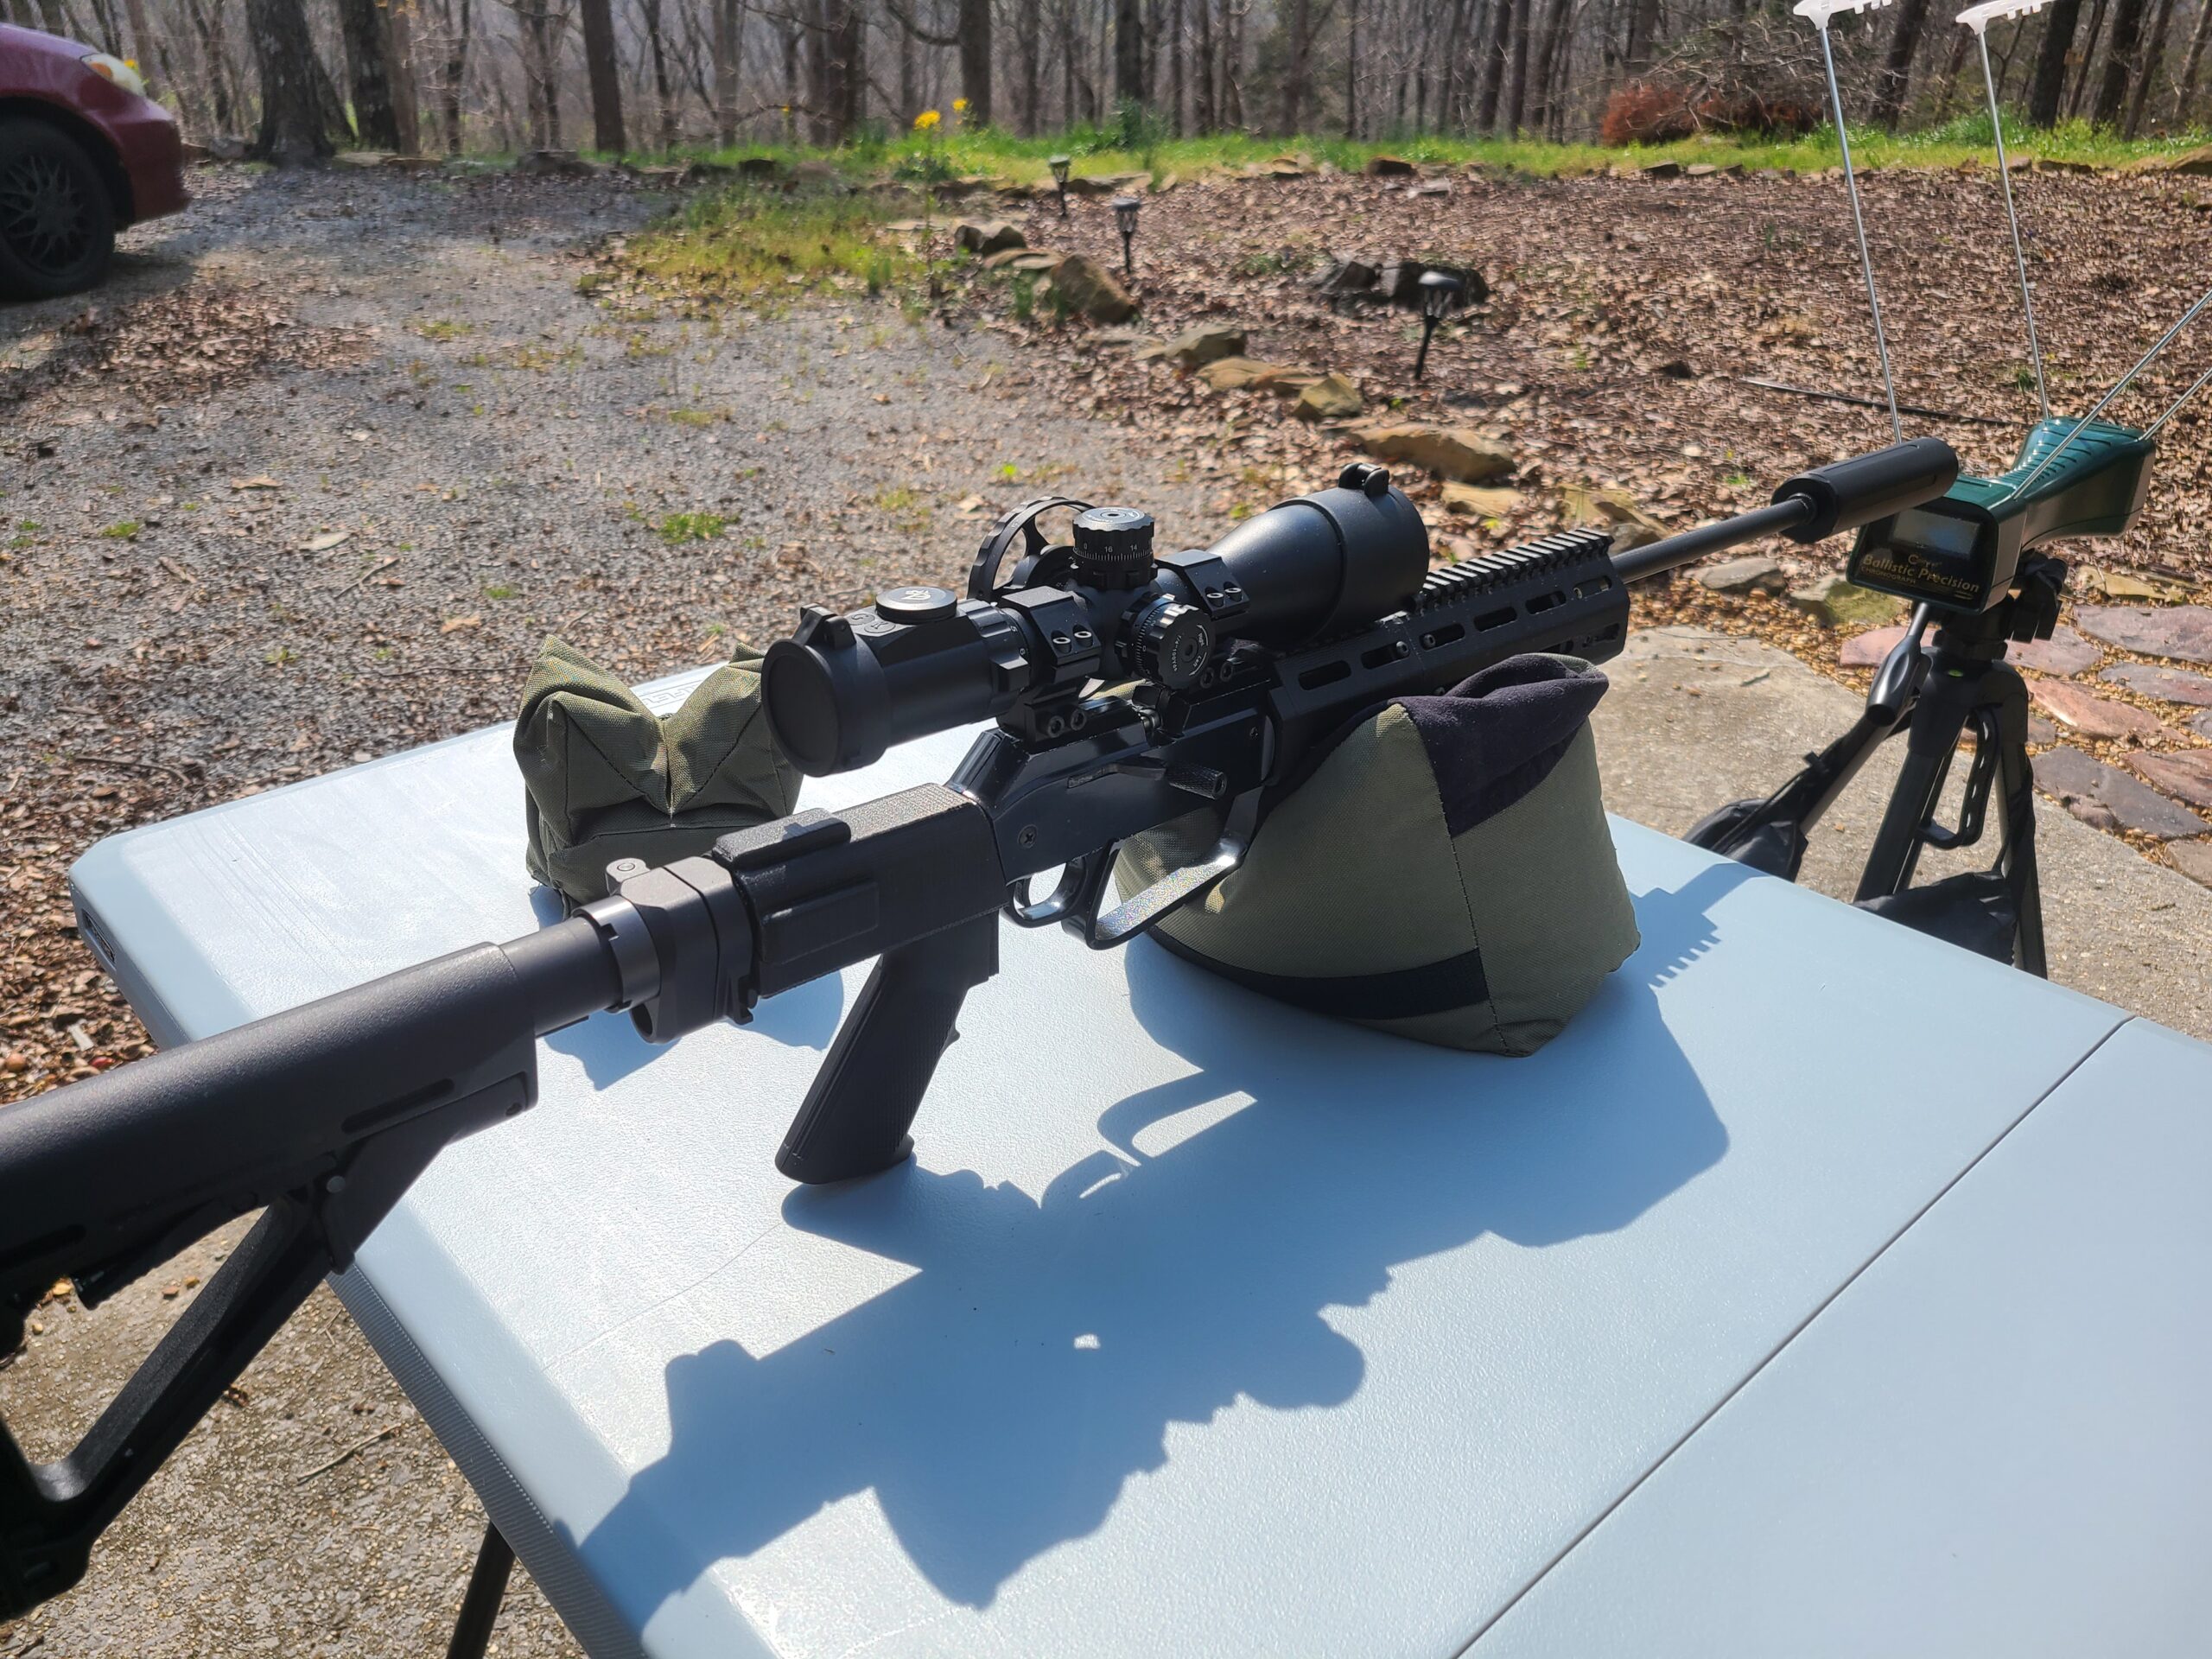
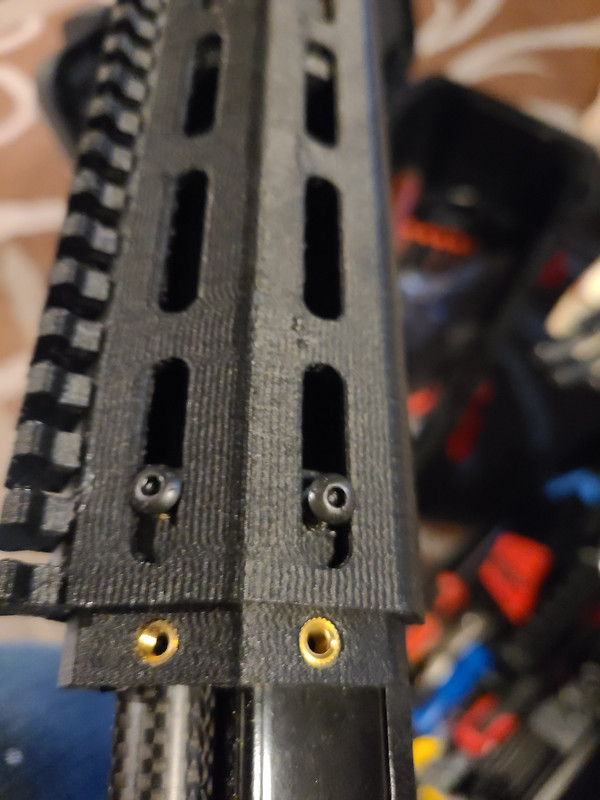
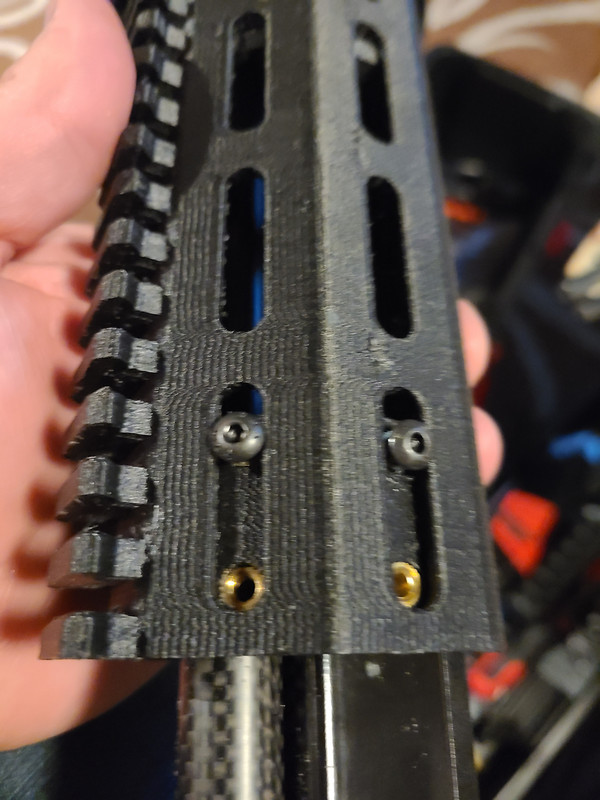
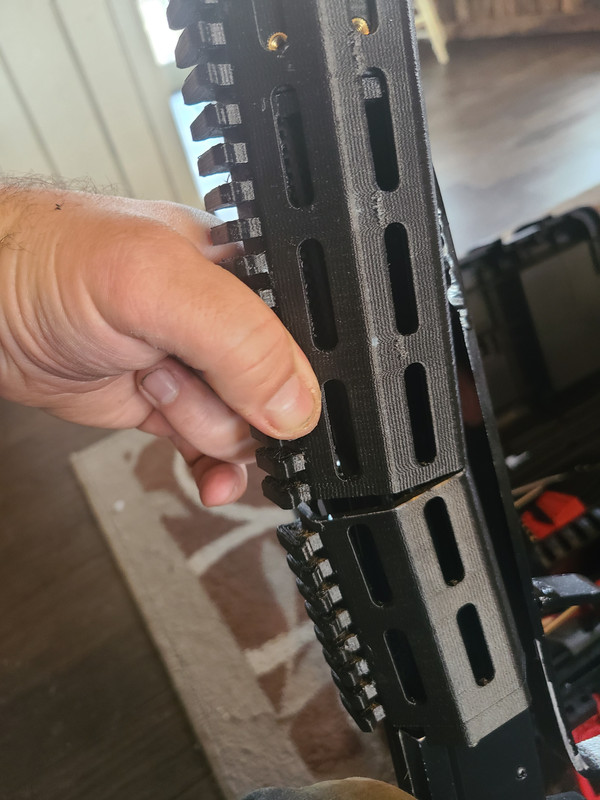
These parts are 3D printed using Priline CFPC. The models for these parts can be downloaded from Thingiverse for the Winchester 1977 and Daisy 880. The handguard incorporates M-Lok slots and an optional picatinny rail. There are options for using the factory barrel shroud or a carbon fiber barrel shroud.
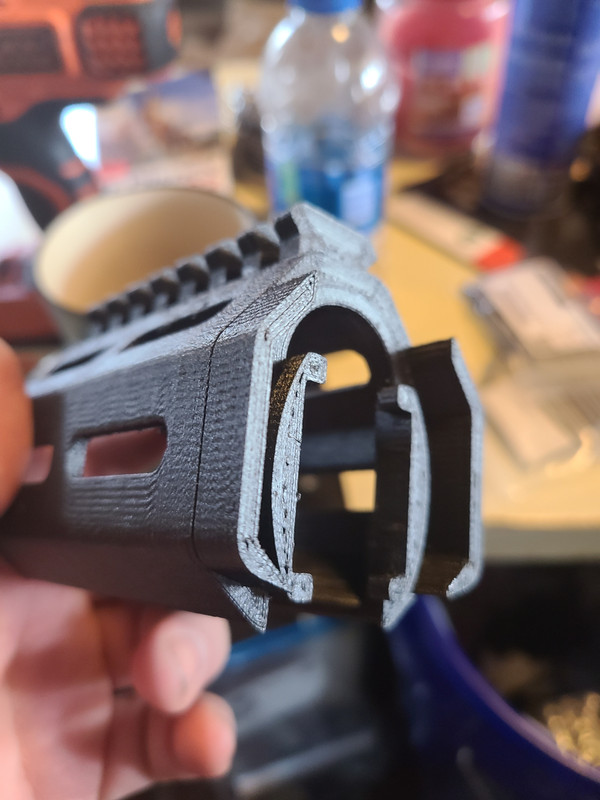
To assemble first mount the front bracket. This will require removing the factory forearms, and pump lever pin. Slide the front bracket over the frame, there are recesses for the forearm bosses. Line up the pump arm pin hole on the bracket, frame and pump lever then install the shoulder bolt. Do not over tighten. Screw it in until it is flush with both sides of the bracket. Do not install the factory forearm screws yet. They are shown in the pick but they are the next to last operation for installation. Install the 45mm screws into the top of the bracket and screw them in until they are just flush with the back of the bracket. Next slide the forward grip onto the bracket. There is an internal brace on the forward grip, it should be the end closest to the mounting bracket. It is what the 45 mm screws will push against to tighten the handguard once installation is complete.
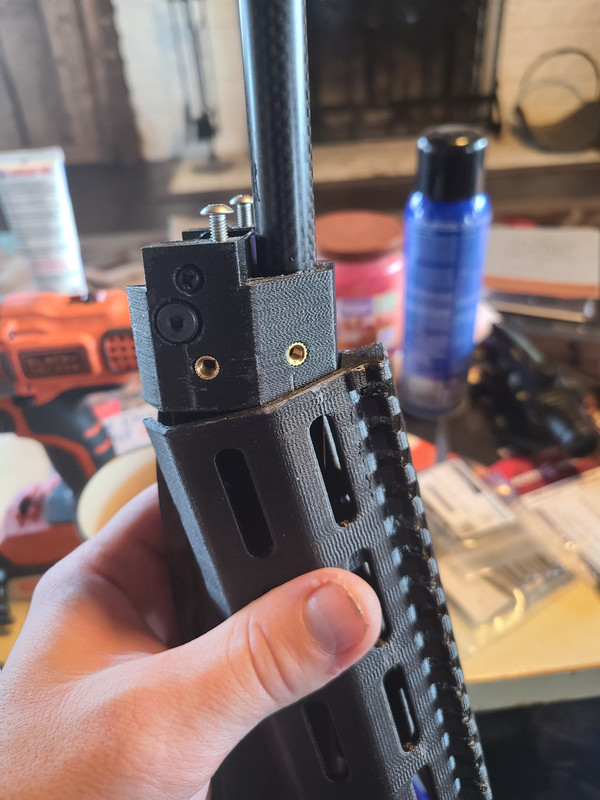
Next slide on the middle bracket and install screws on the forward grip side. Then slide the bracket into the forward grip.
Next spread the rear grip and slide it over the barrel and frame at the receiver end. Lift the inner ends of both the front and rear grips then snap them in place together.
Once the grips are in place slide the mid bracket back and install screws in through the rear grip. Tighten all screw in the mid bracket.
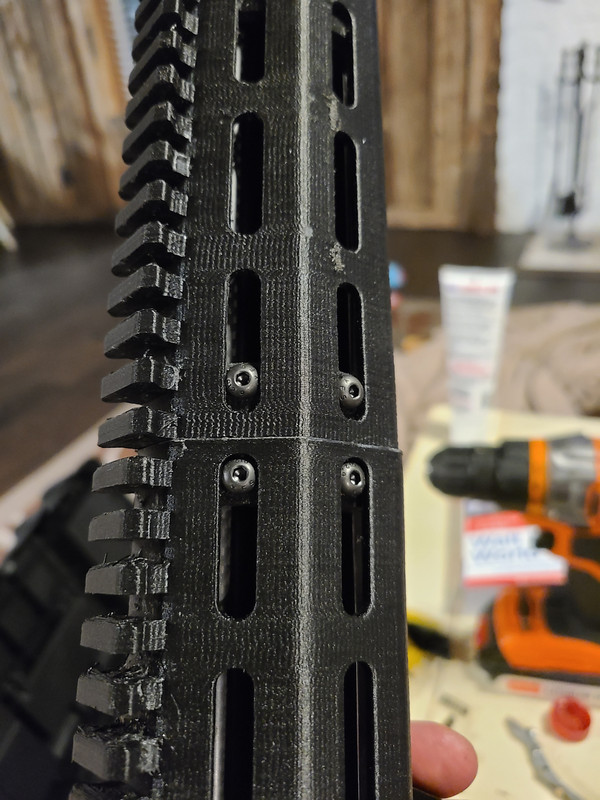
Install the two factory forearm screws in the front bracket. This can be done through the most forward Mlok slots. Next install the last two 4 mm screws in the front bracket. Finally tighten the tensioning screws at the top of the front bracket. The handguard should now be fully installed and tight.
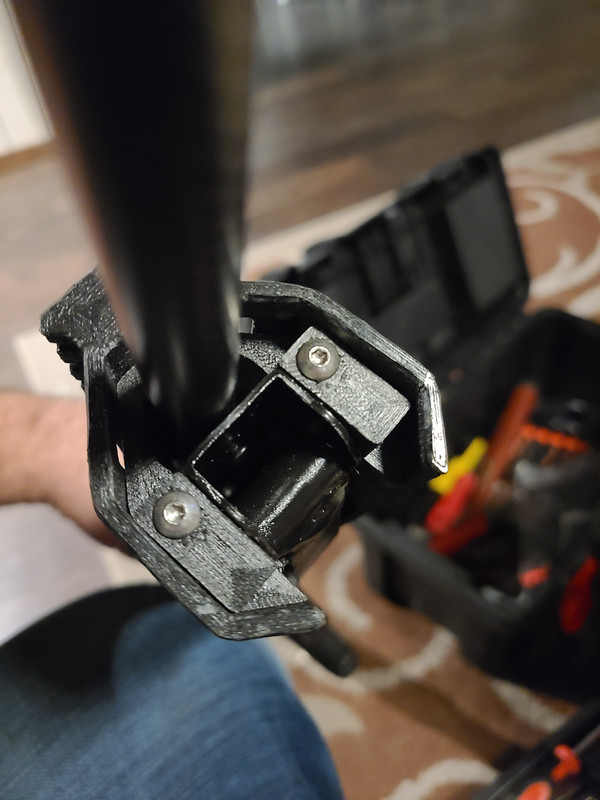
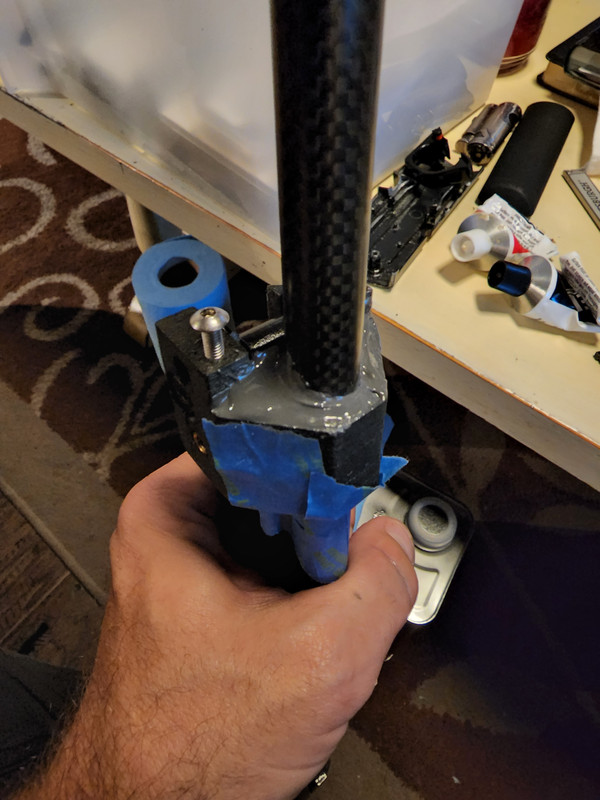
If using a carbon fiber barrel shroud I recommend bedding it to the handguard bracket. Be sure to use release agent (painters tape/silicone grease) on the frame to keep the JB Weld from sticking to the frame.
I have provided several versions of the buffer adapter but I highly recommend the draw plate version. Draw plates can be made or ordered for this type of attachment. The following video demonstrates the installation of the buffer adapter. The grip attachment bolt hole must be treaded.
I recommend using 1/4-20 rather than 1/4-24 like the AR uses. The coarse threads will be stronger in a 3D printed part.
Even if you don't have access to a 3D printer you can order parts from printing services such as CraftCloud
If you have any questions or would like to order any of the items in the post please feel free to contact me .
