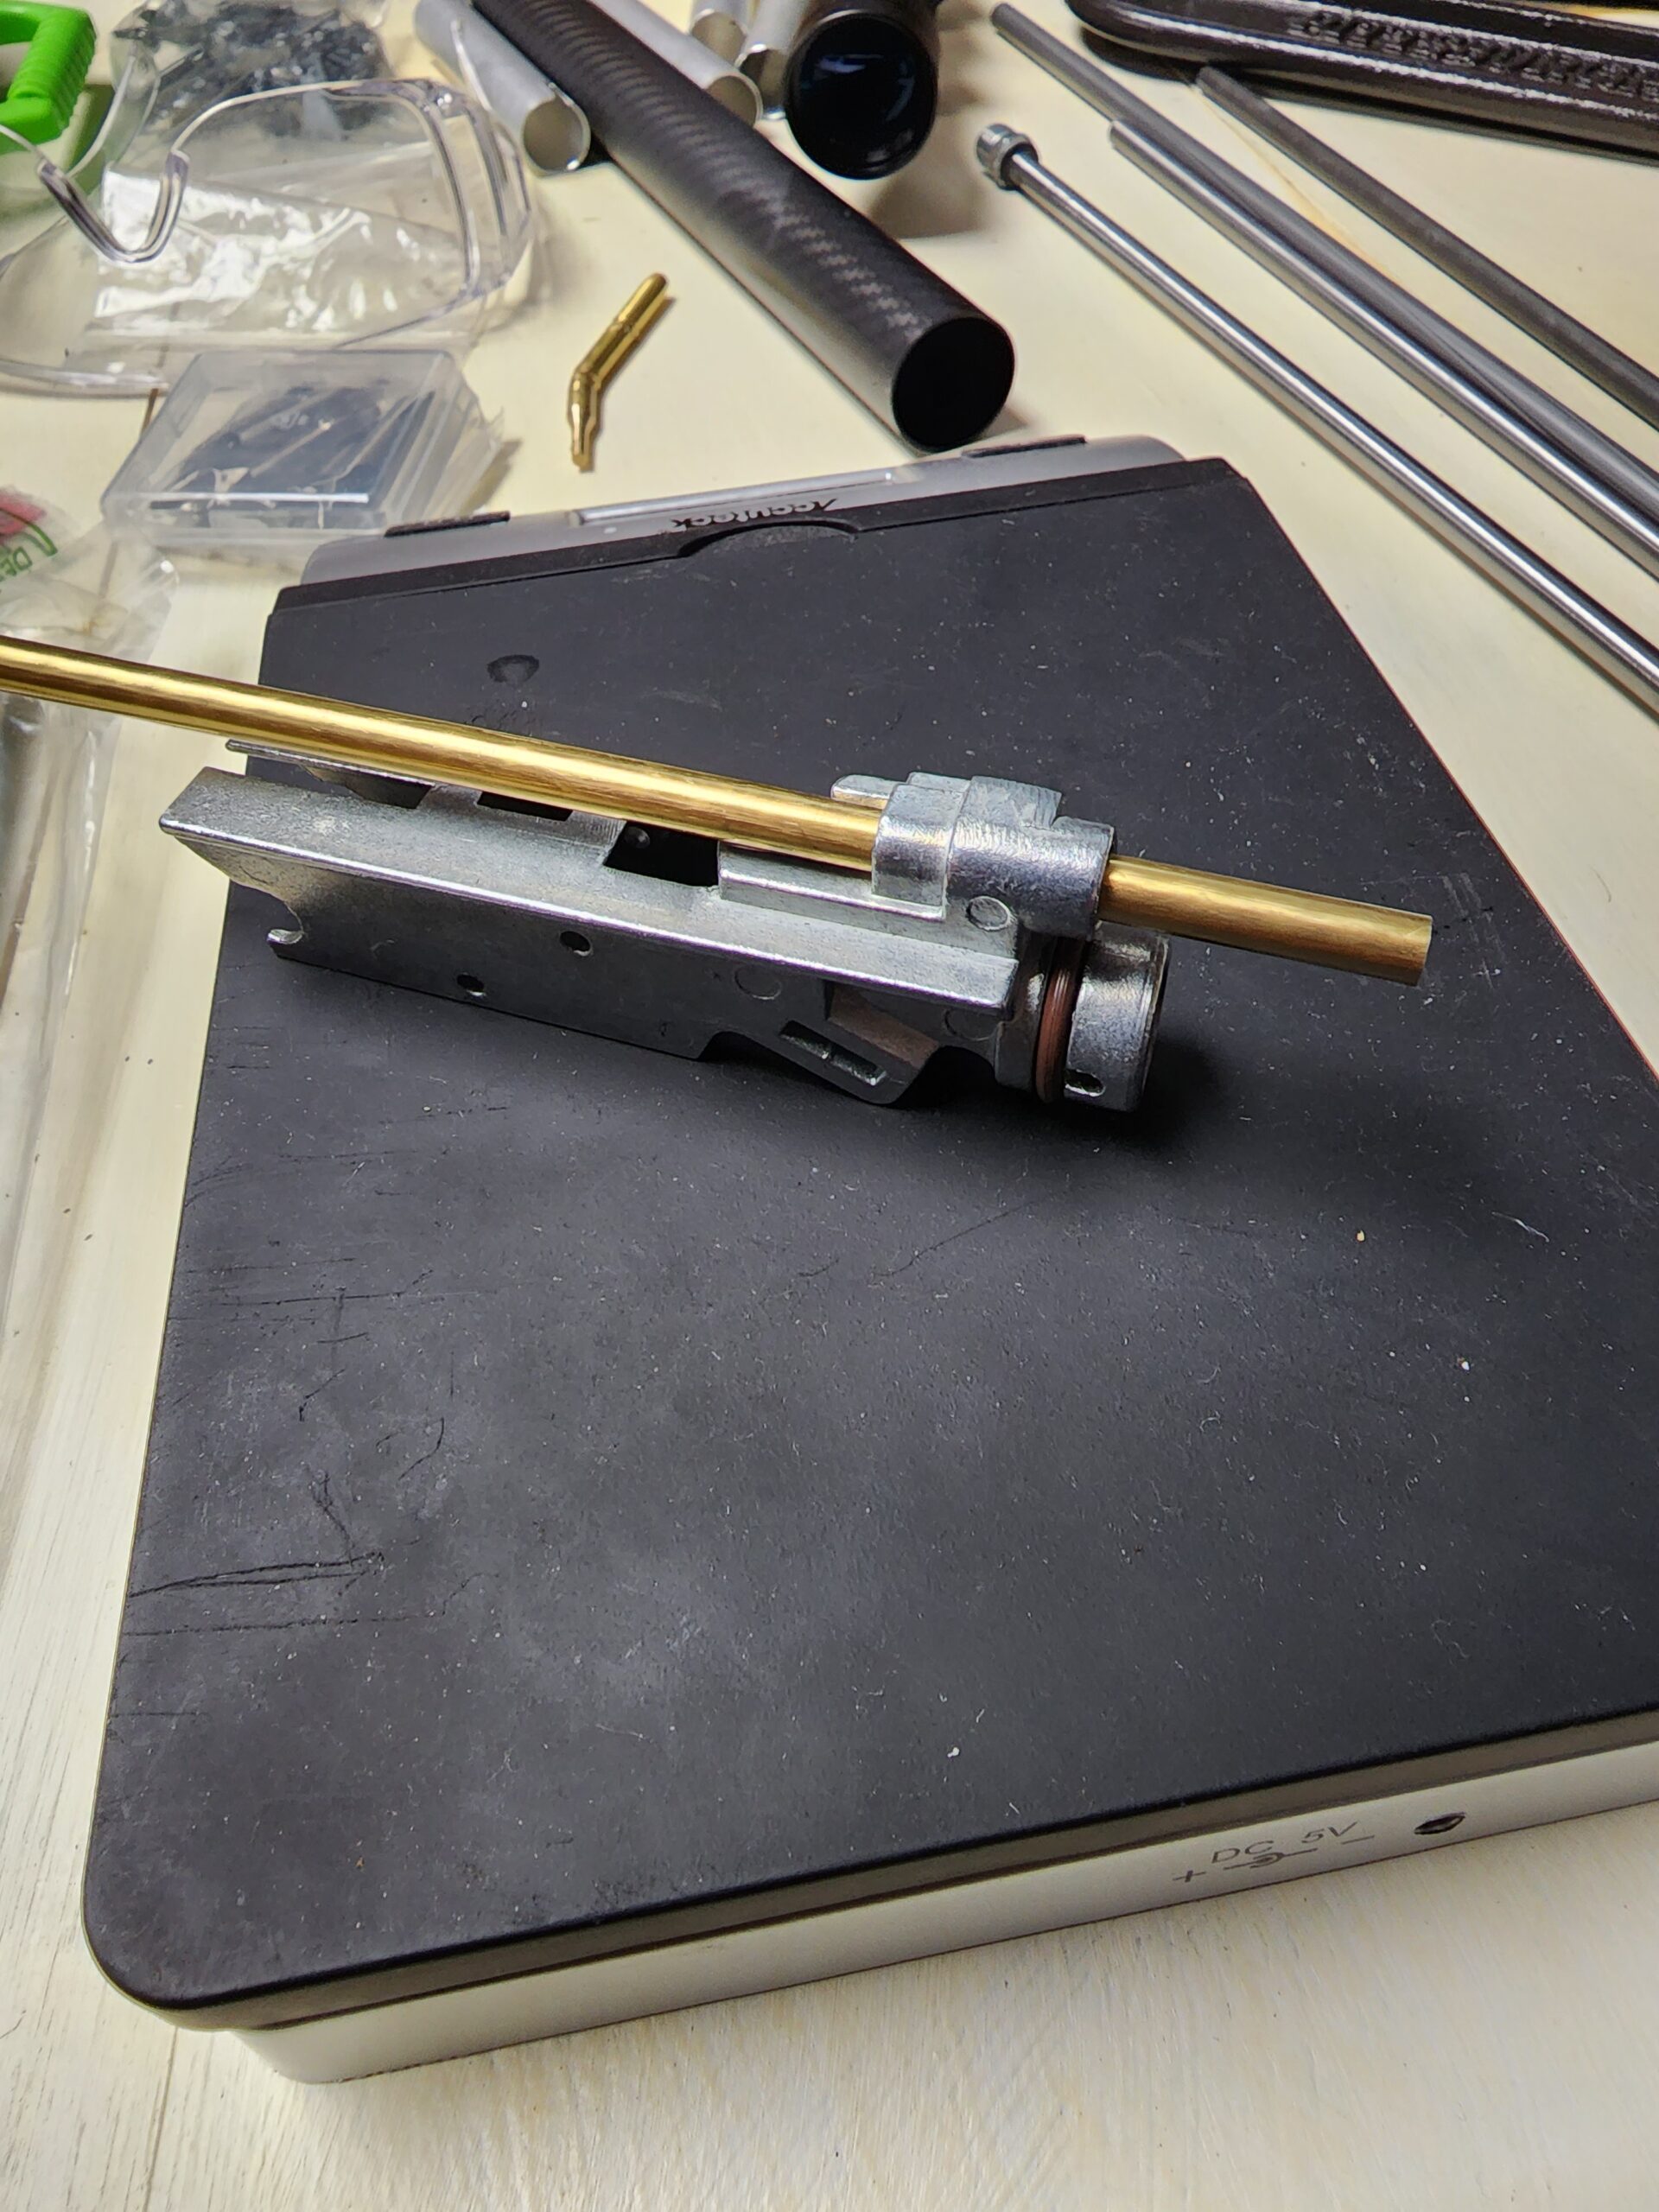
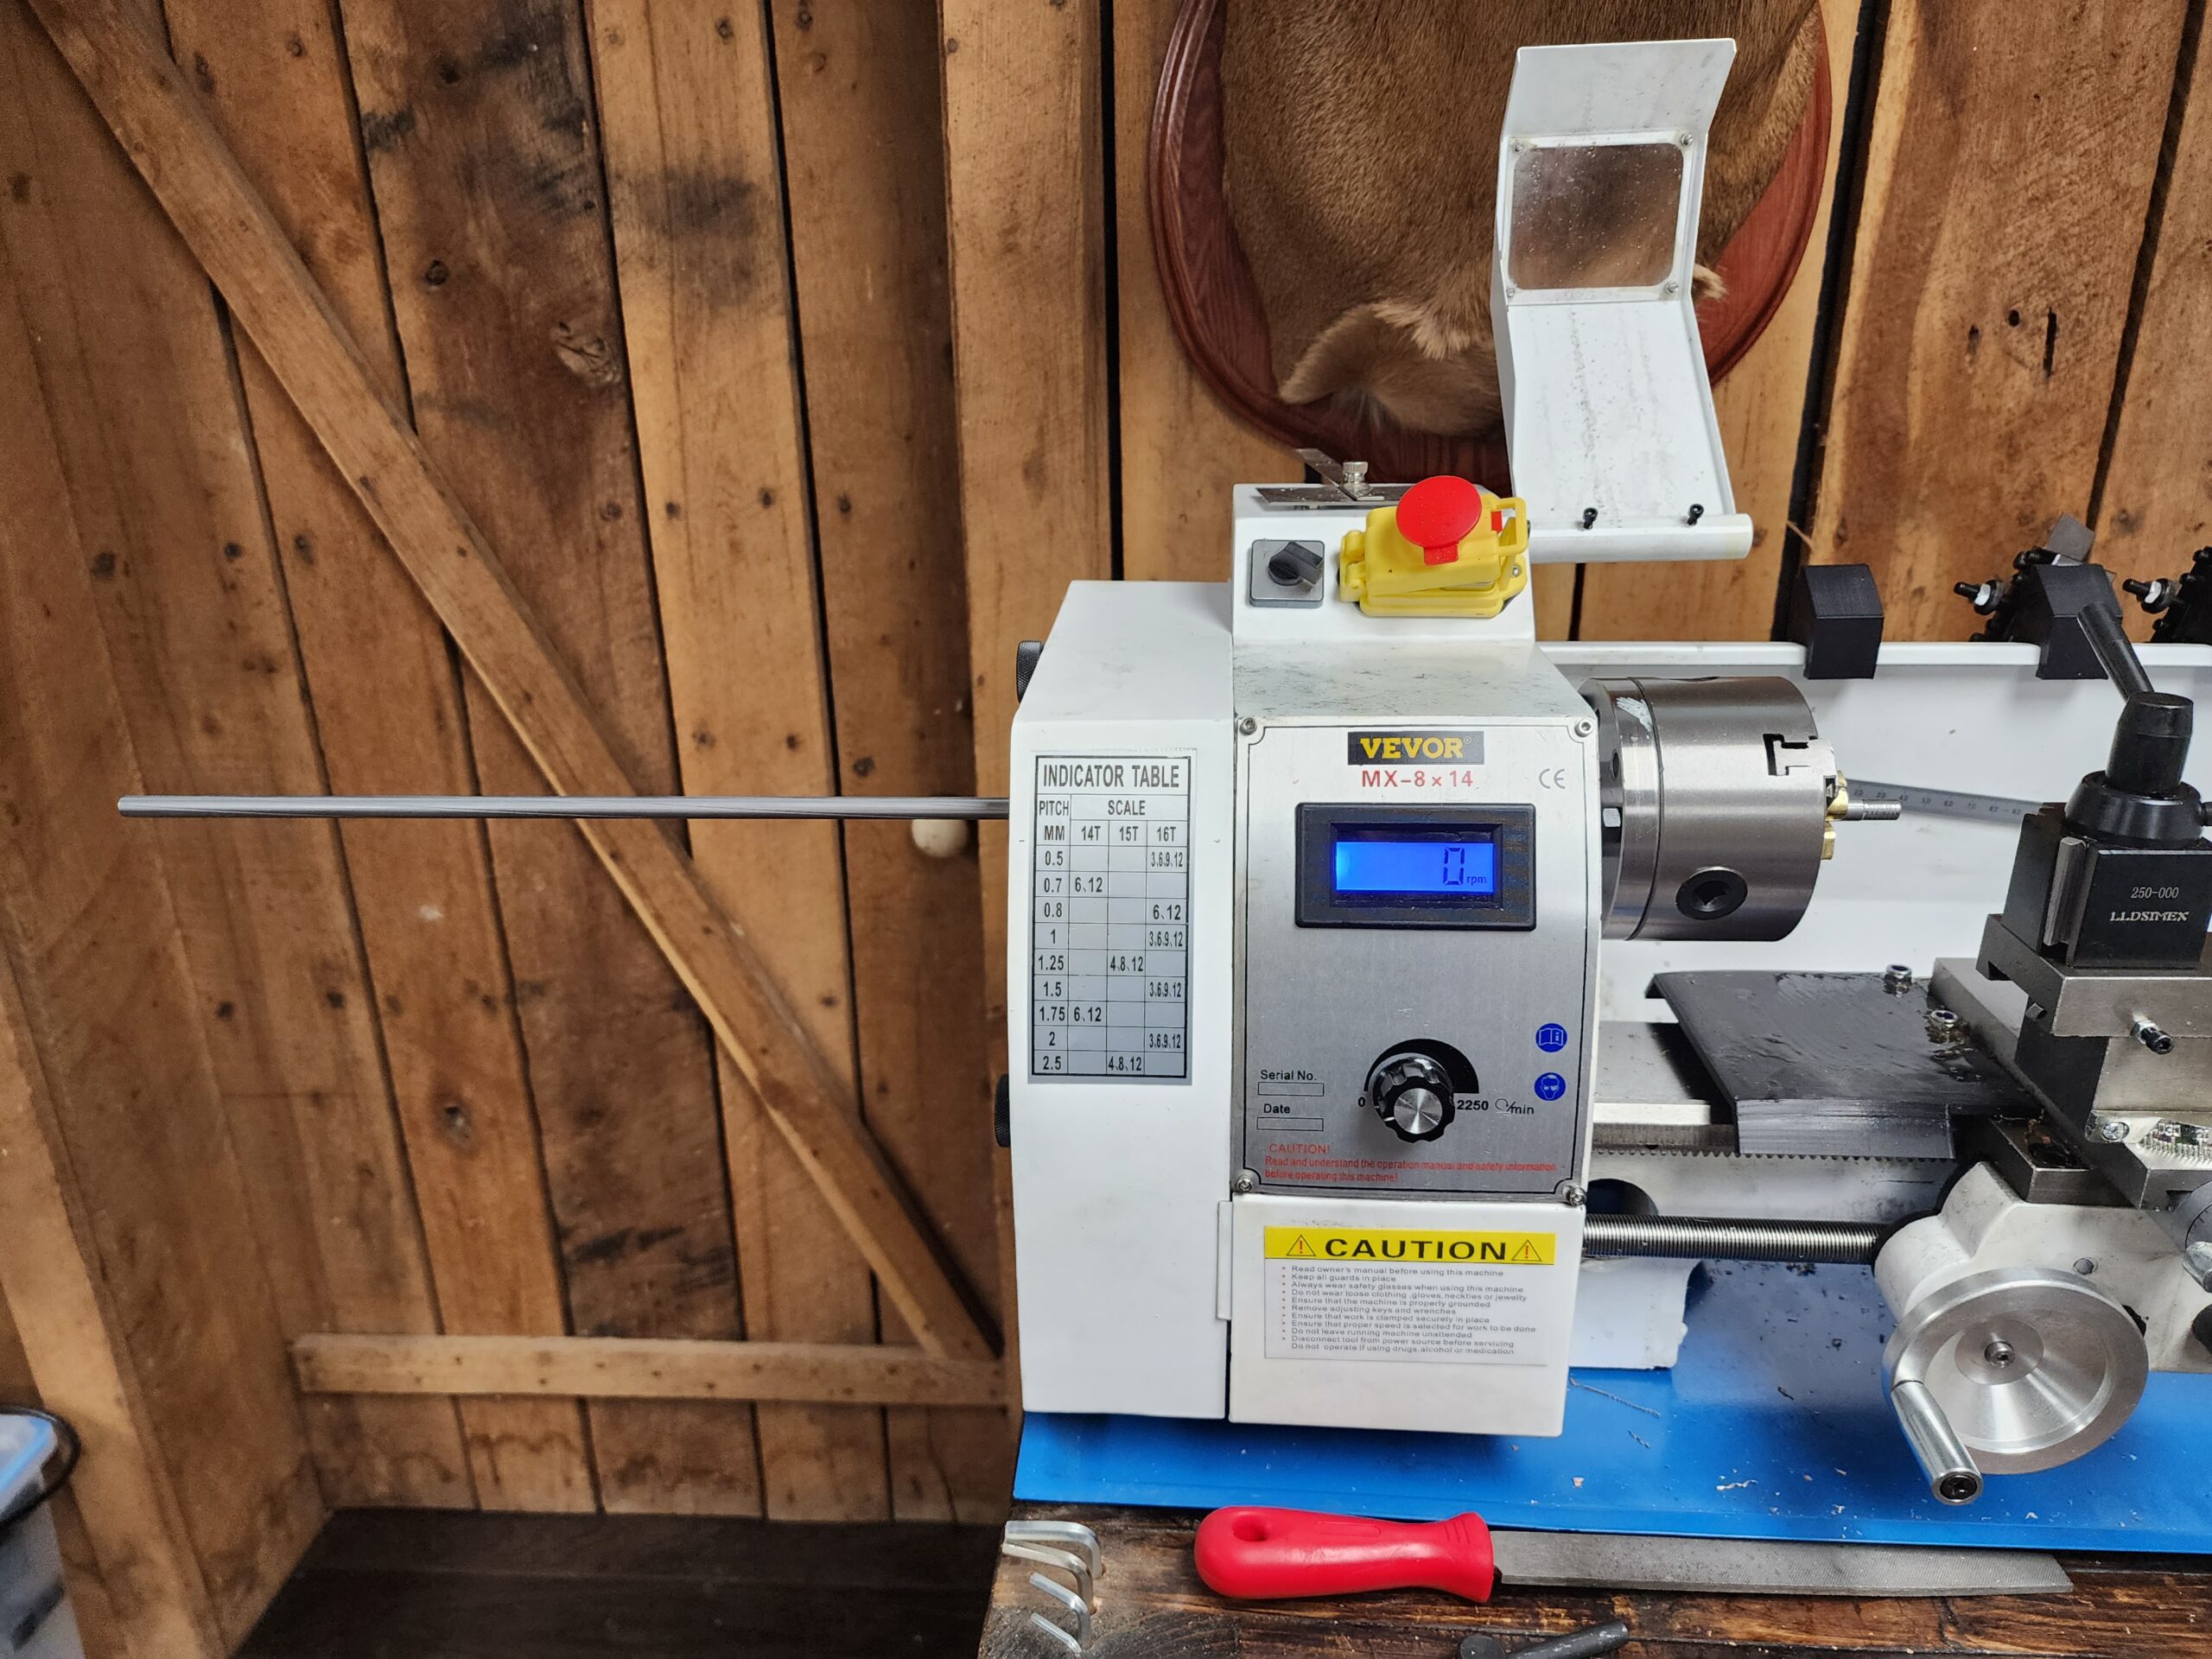
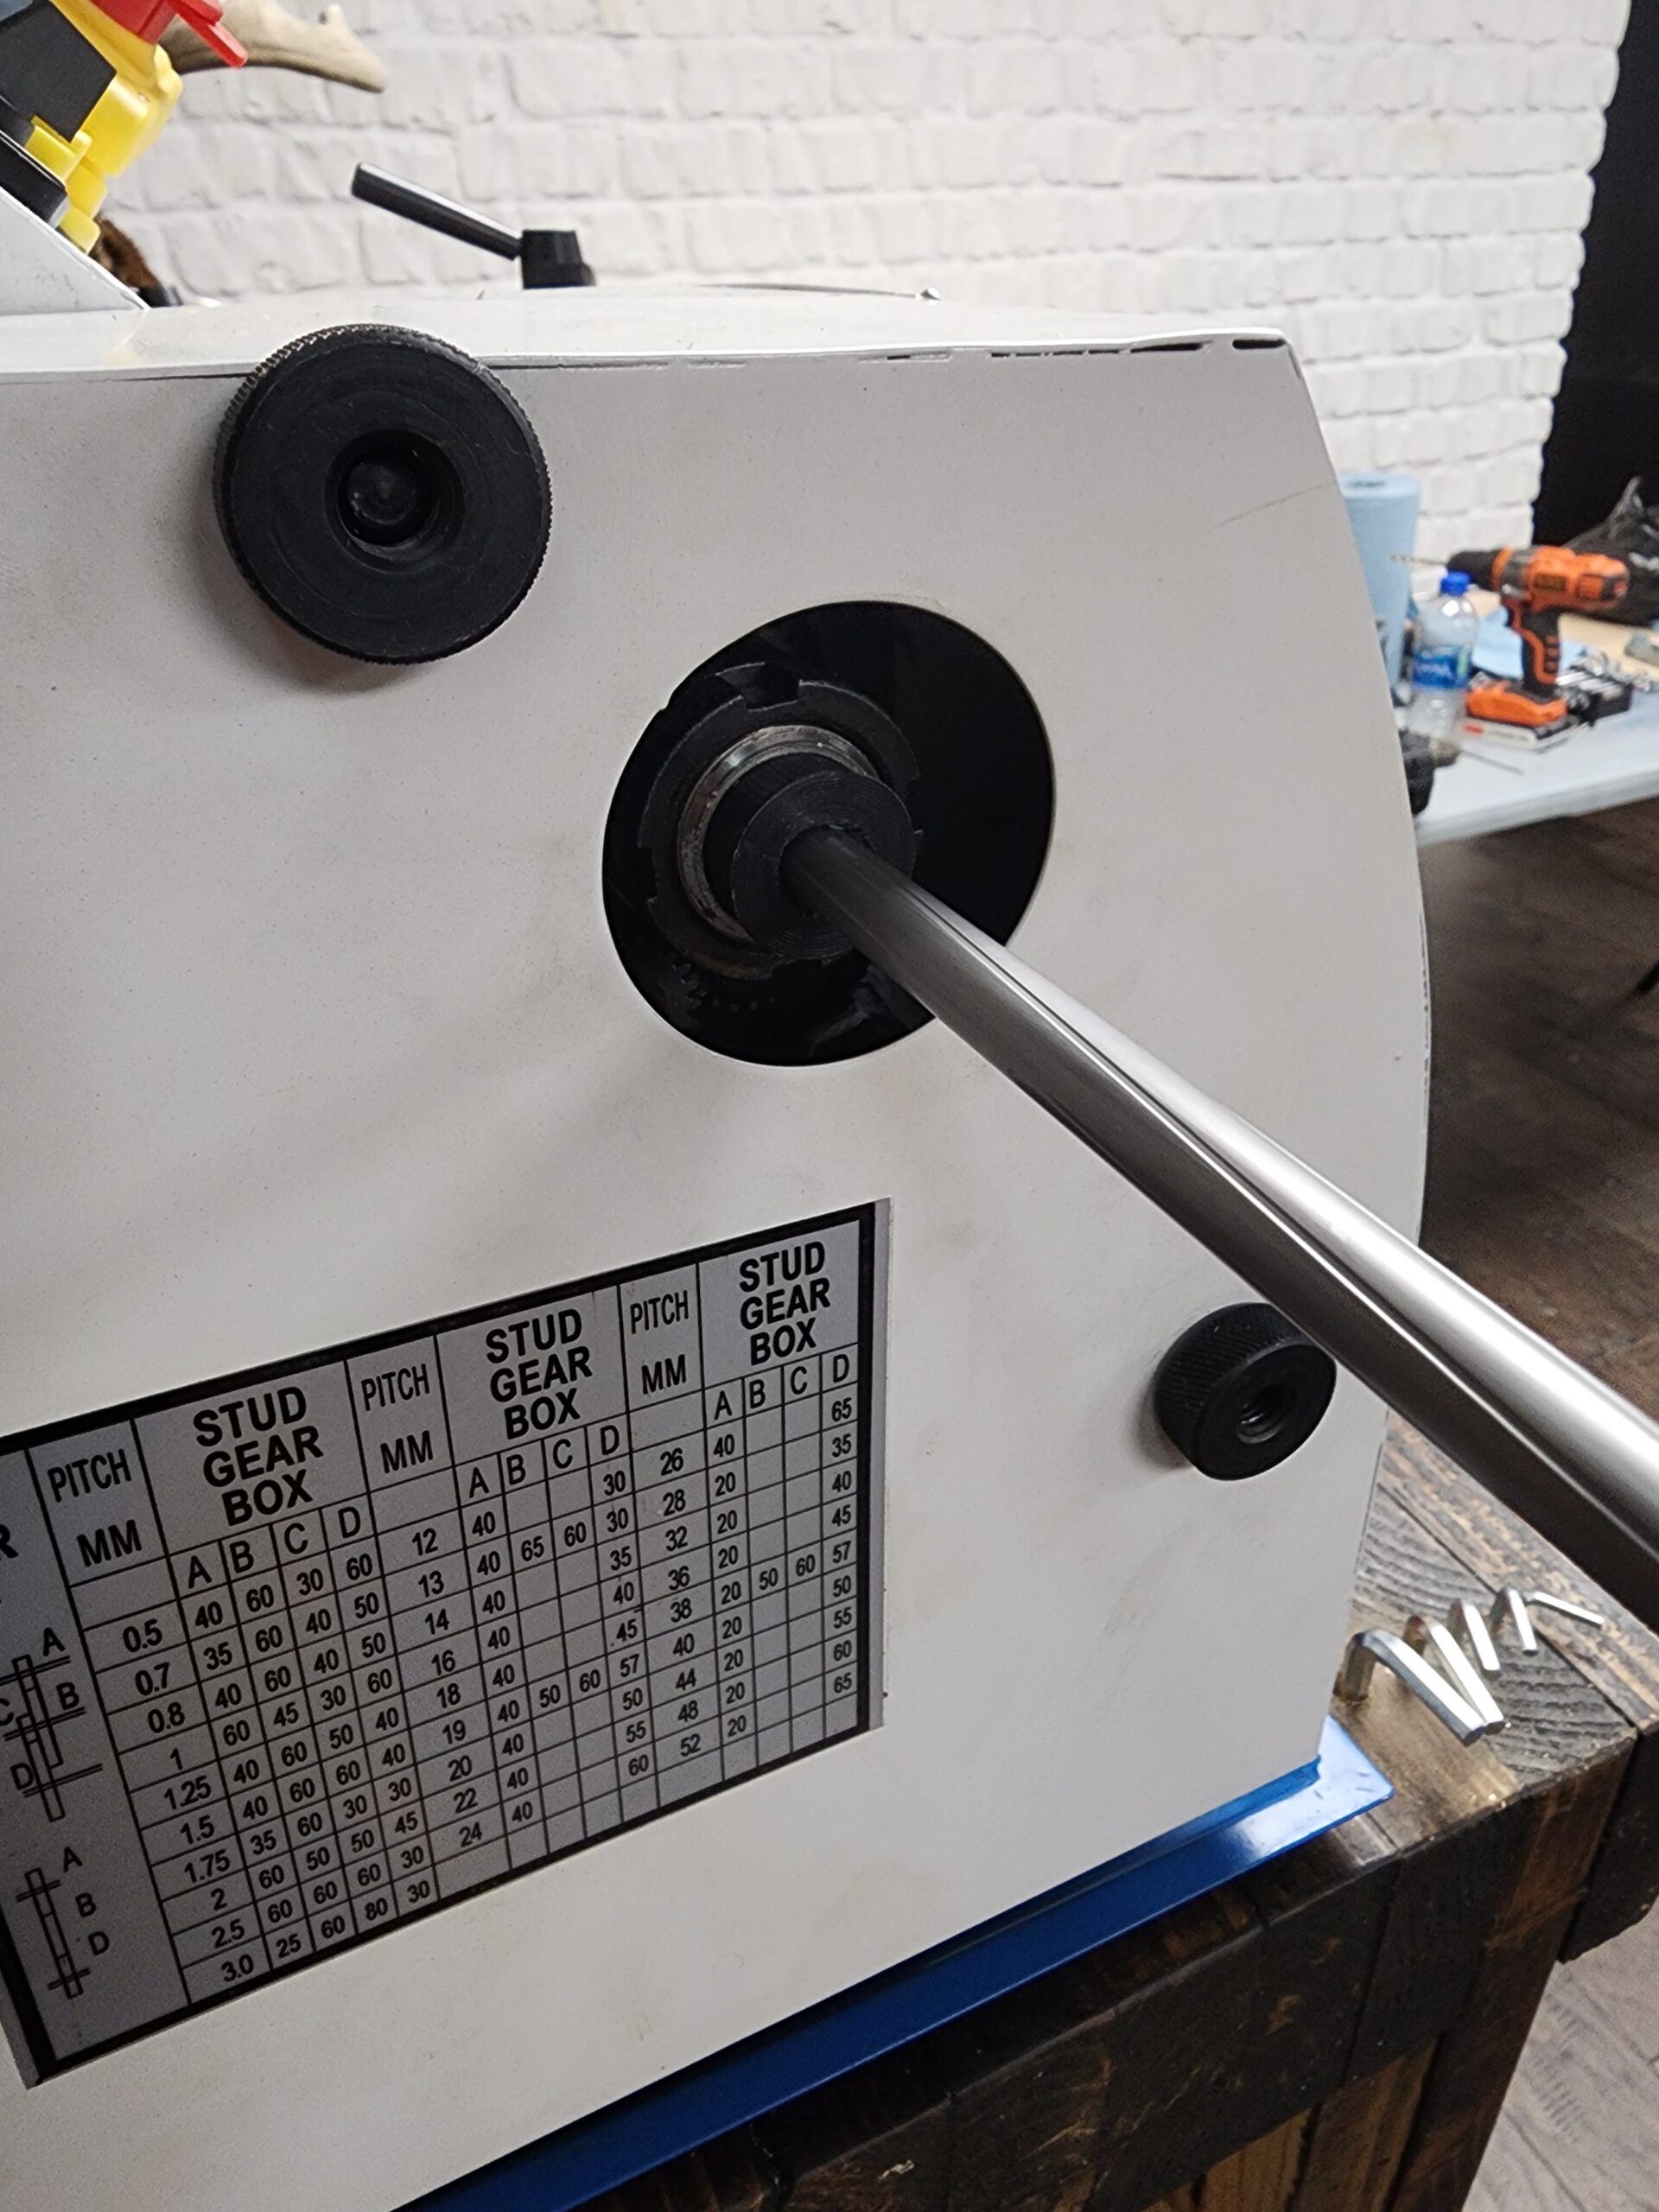
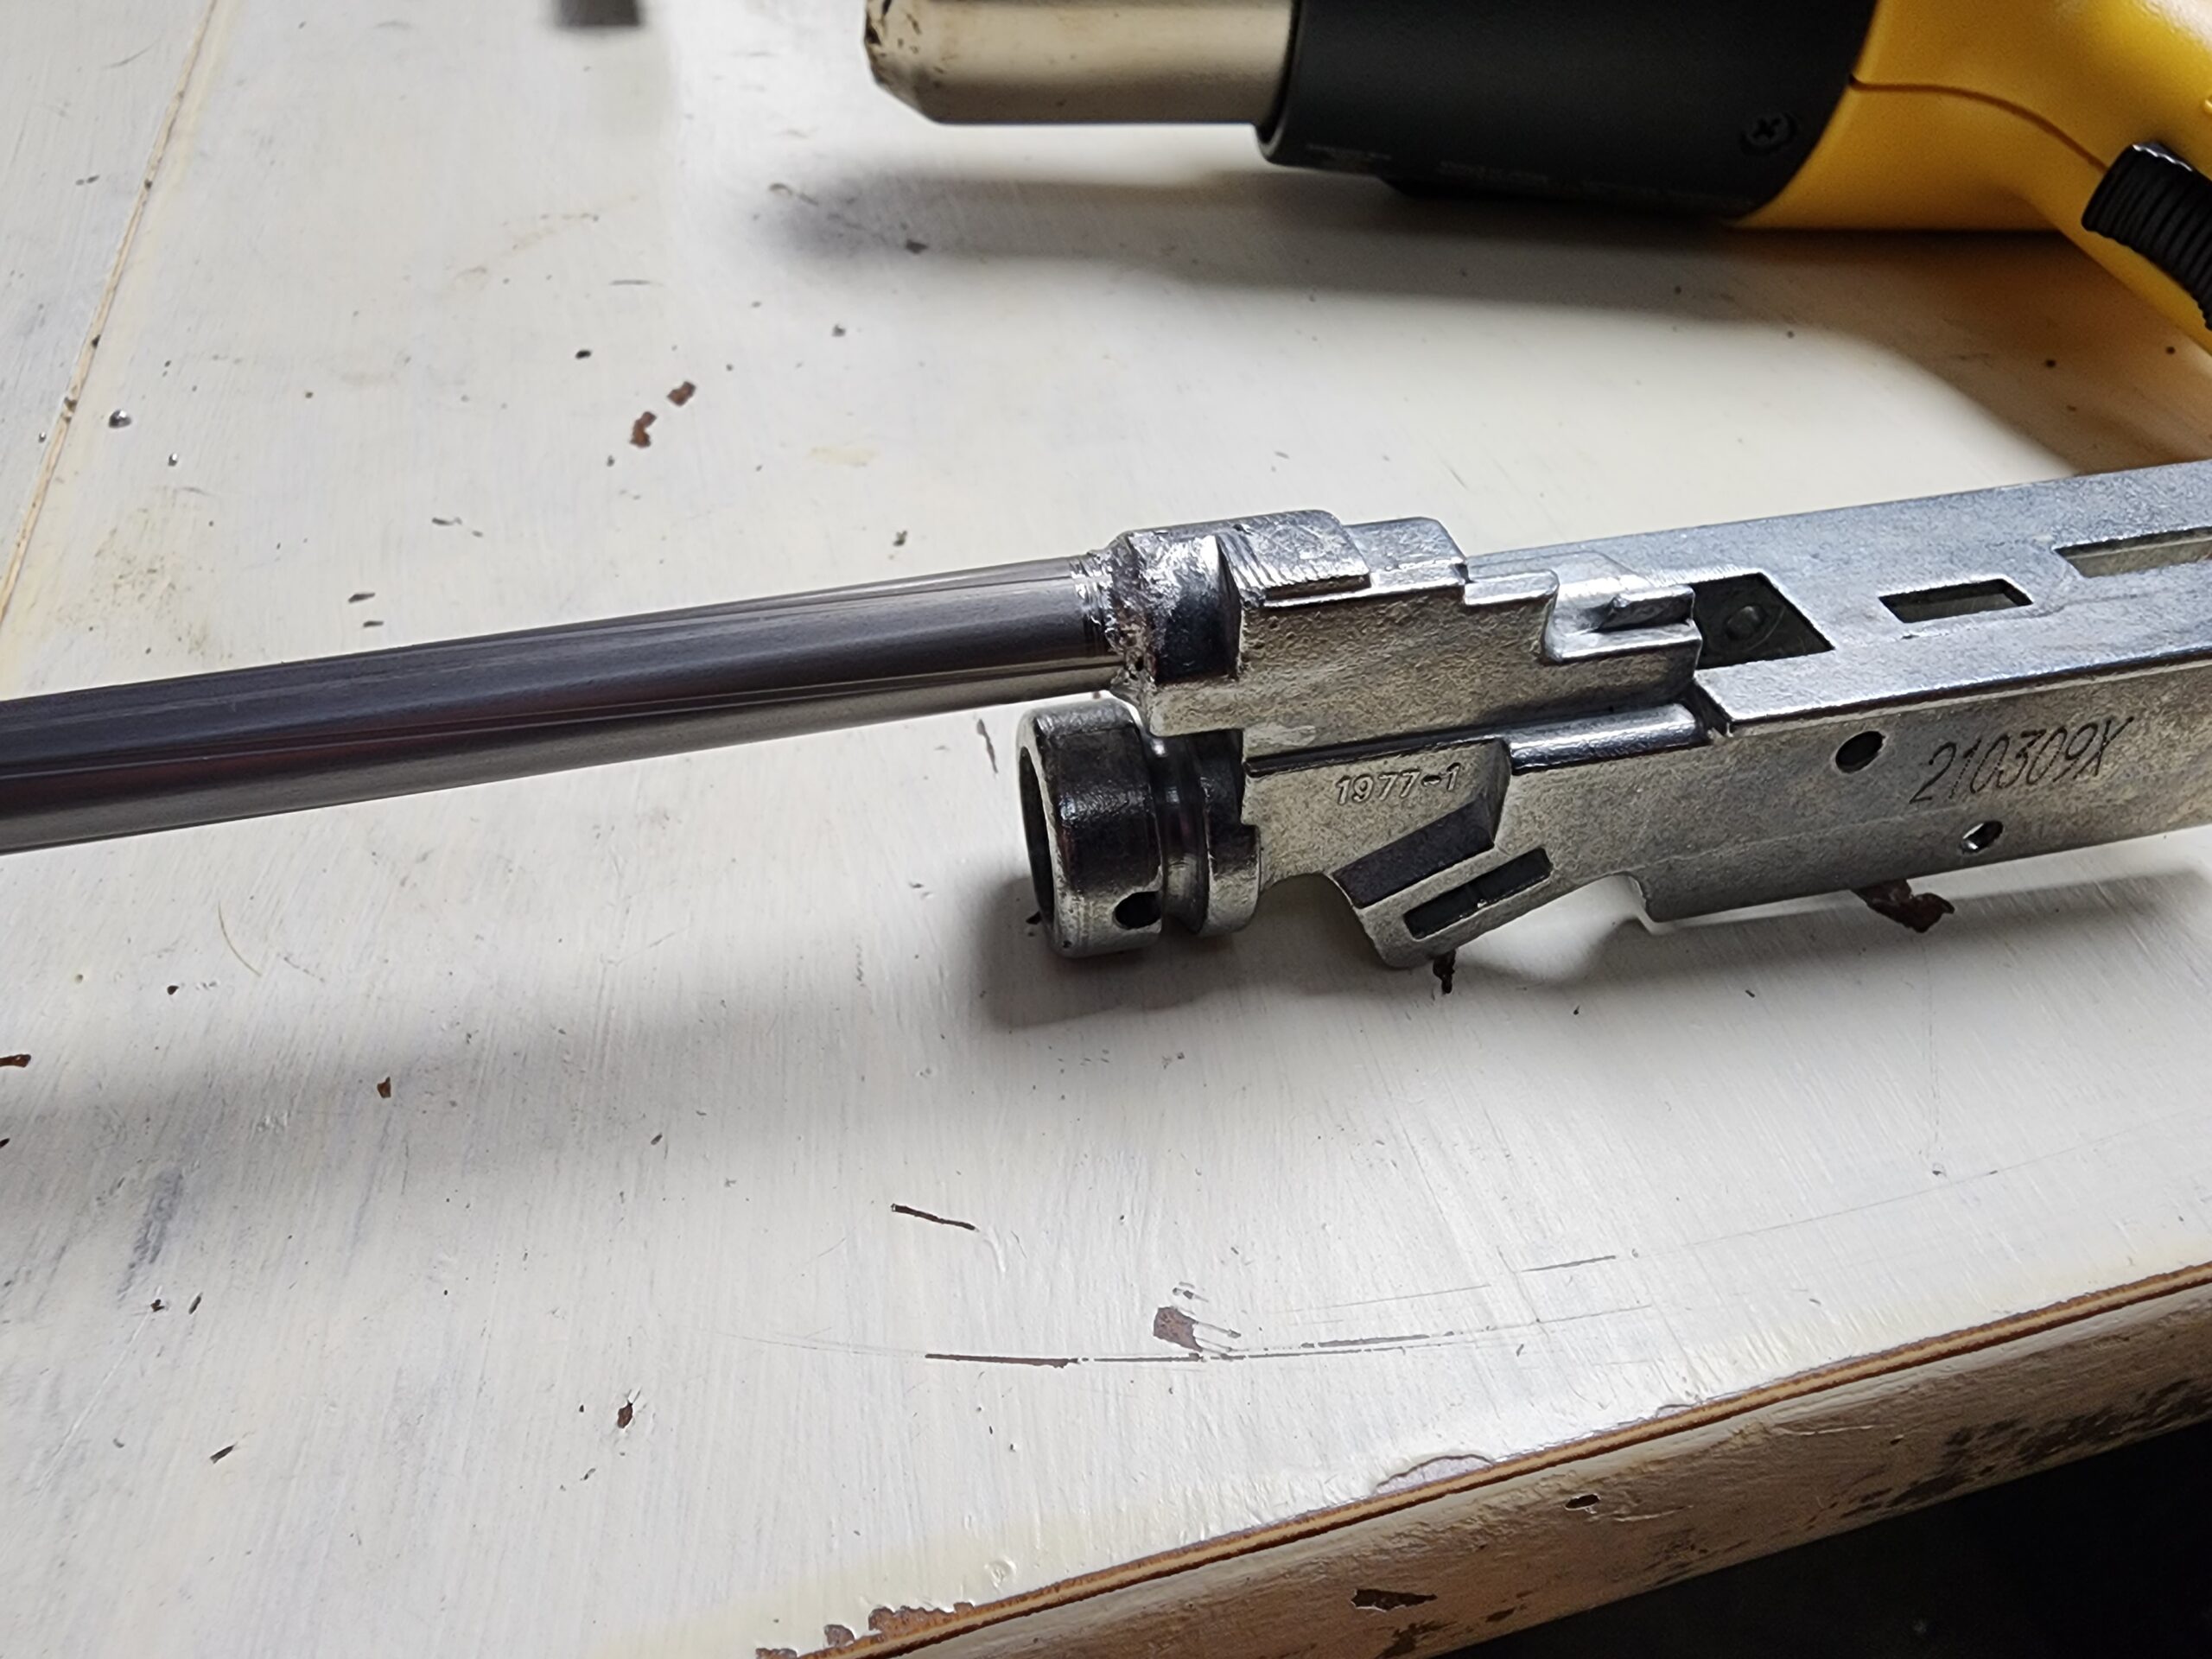
For this modification we are going to convert the 1977 to 25 caliber to make a 1925! I ordered a FX STX Superior Liner in 25 caliber. The factory 1977 barrel is 525mm long so we will need to cut the FX barrel down. At Pyramyd Air the barrels are the same price reguardless of length, so if they are out of stock on the 600mm you can order the 700mm if they have them available.
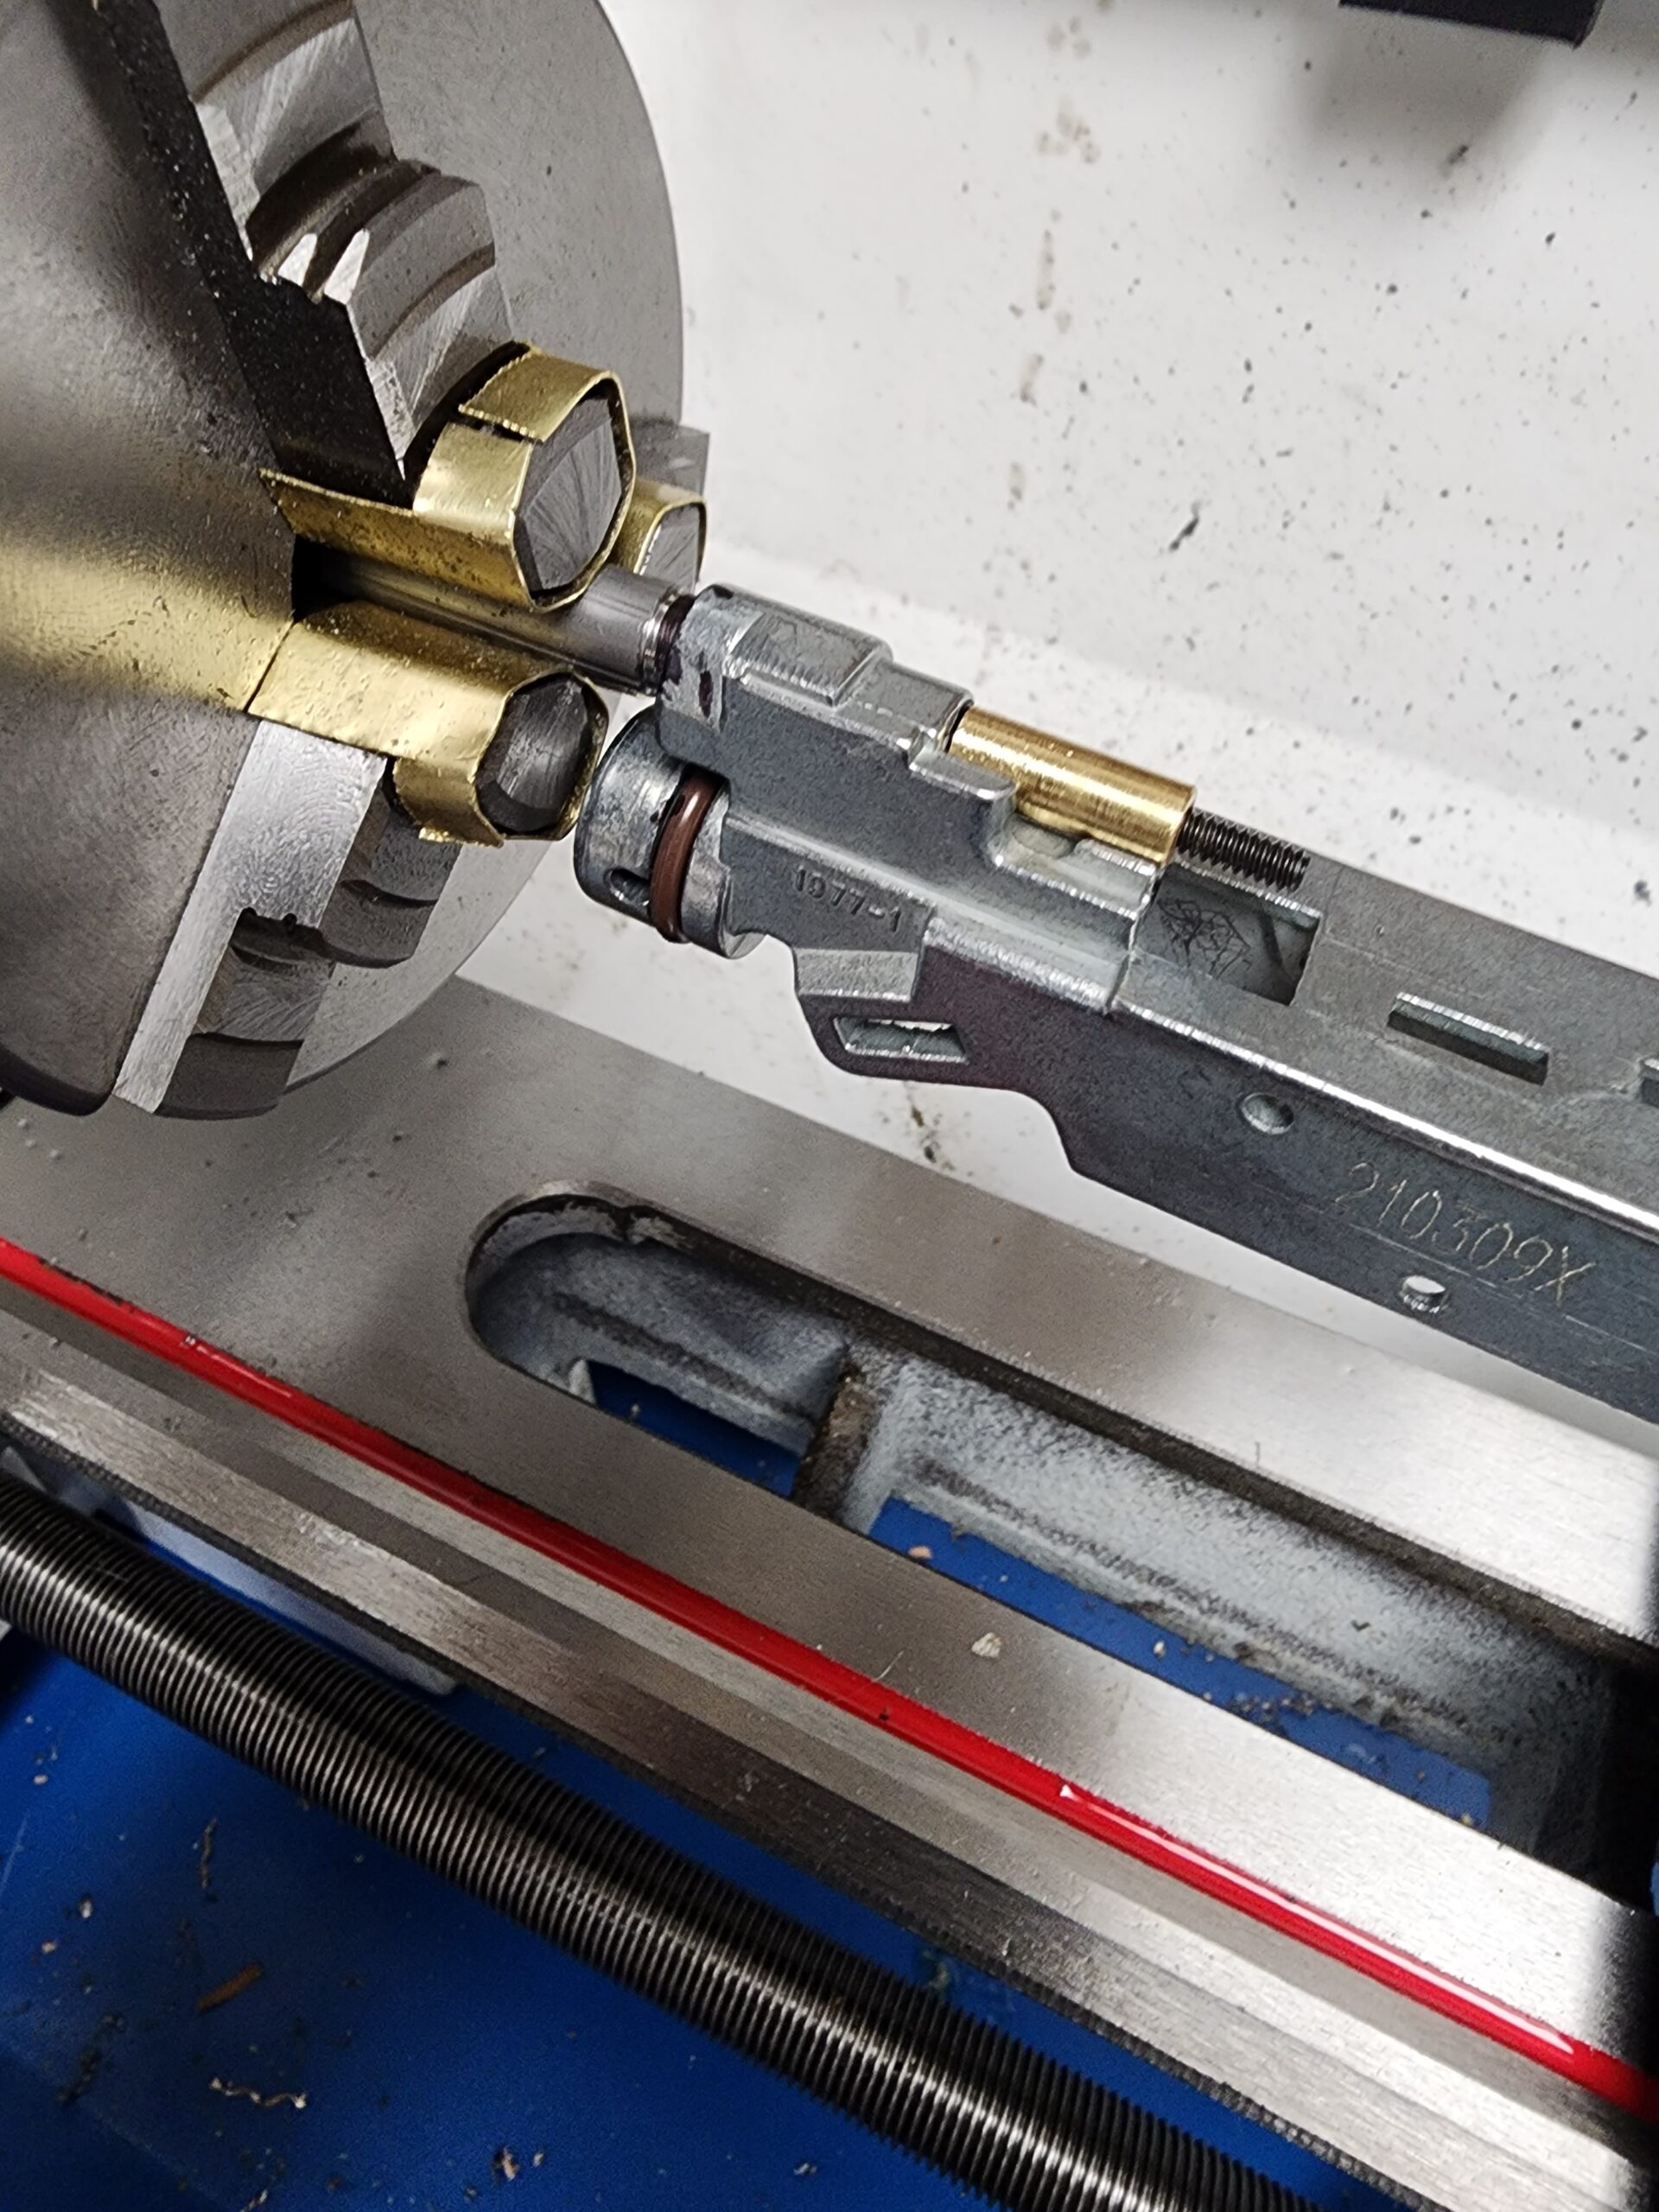
The first step to this modification is to completely disassemble the gun to include removing the poppet. Next the factory barrel must be removed. I'm going to drill the VB out to 21/64" for the barrel. After removing the factory barrel and looking in the barrel breach there is a step in the ID where the barrel stops in the valve body. The 21/64" drill bit should stop at the step in the ID of the valve body. The barrel is 0.358" Dia. So I'll need to remove about 0.030" from the barrel OD. That should be safe for both the VB and barrel. That leaves 0.040" wall in the barrel. The same wall thickness as the 22 cal. factory barrels. It will also only require removing about 0.030" from the VB barrel breach.
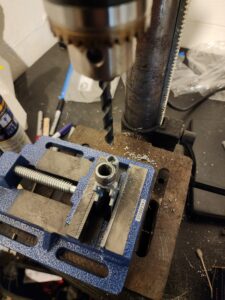
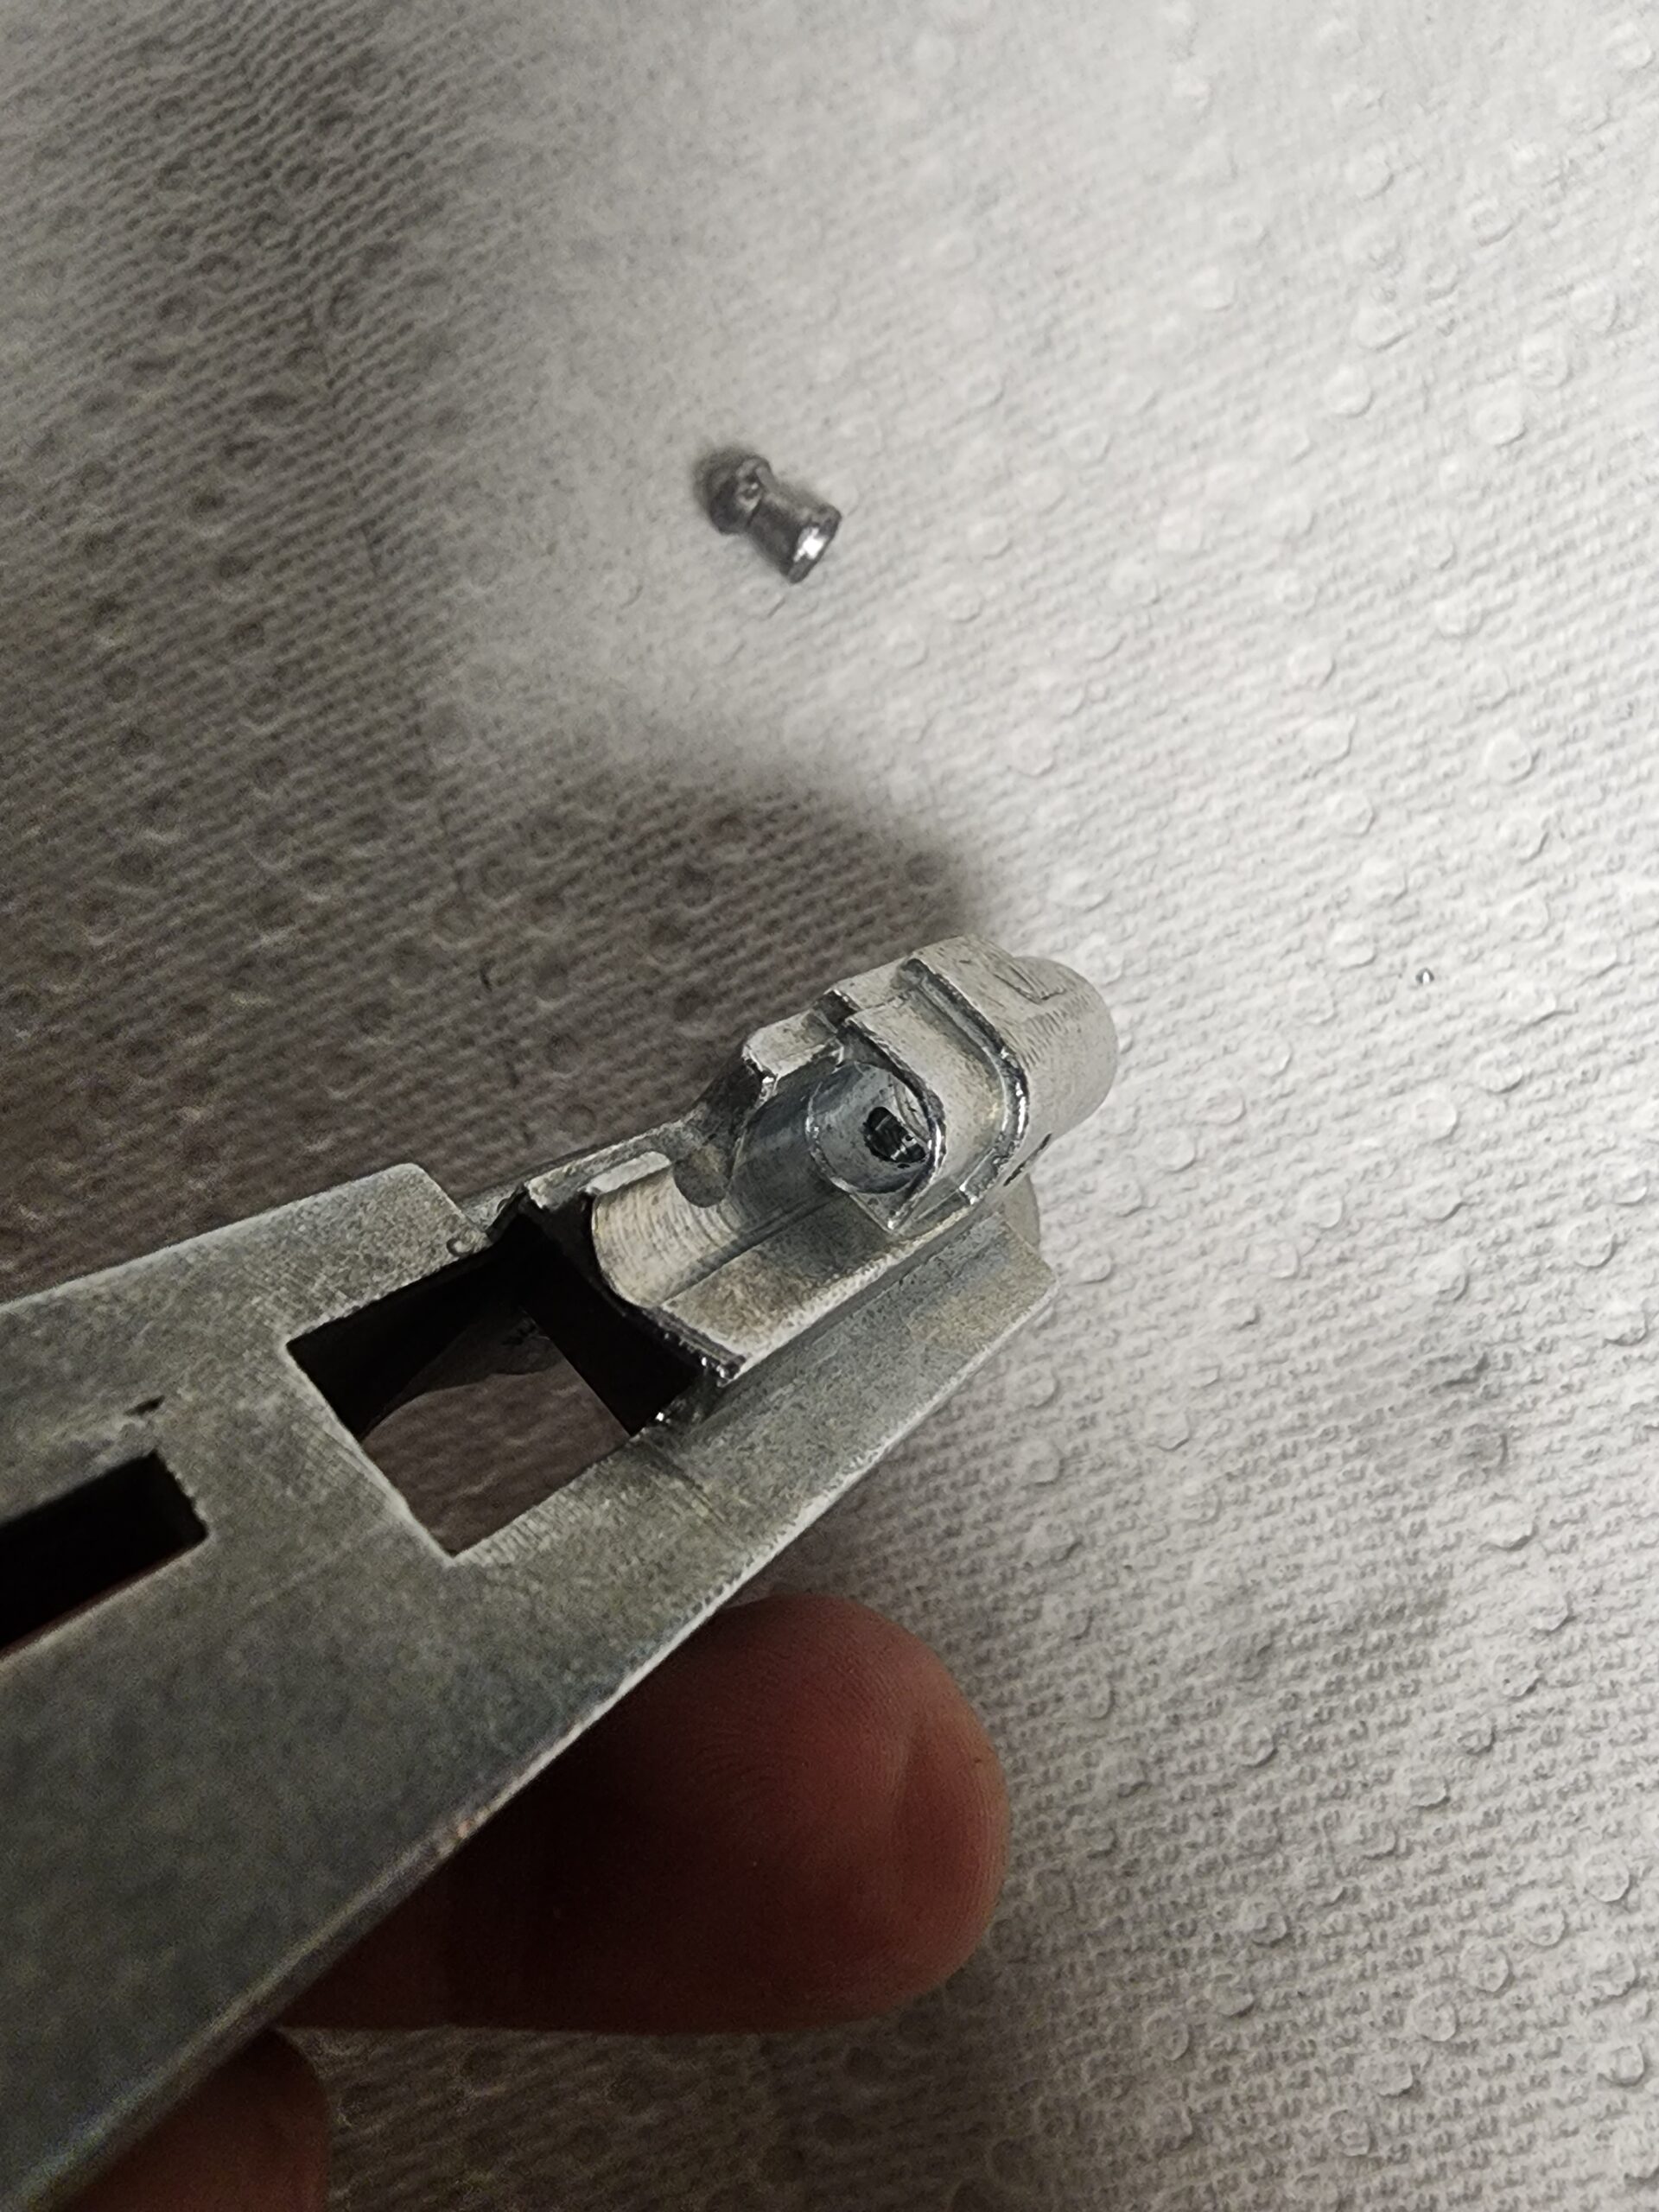
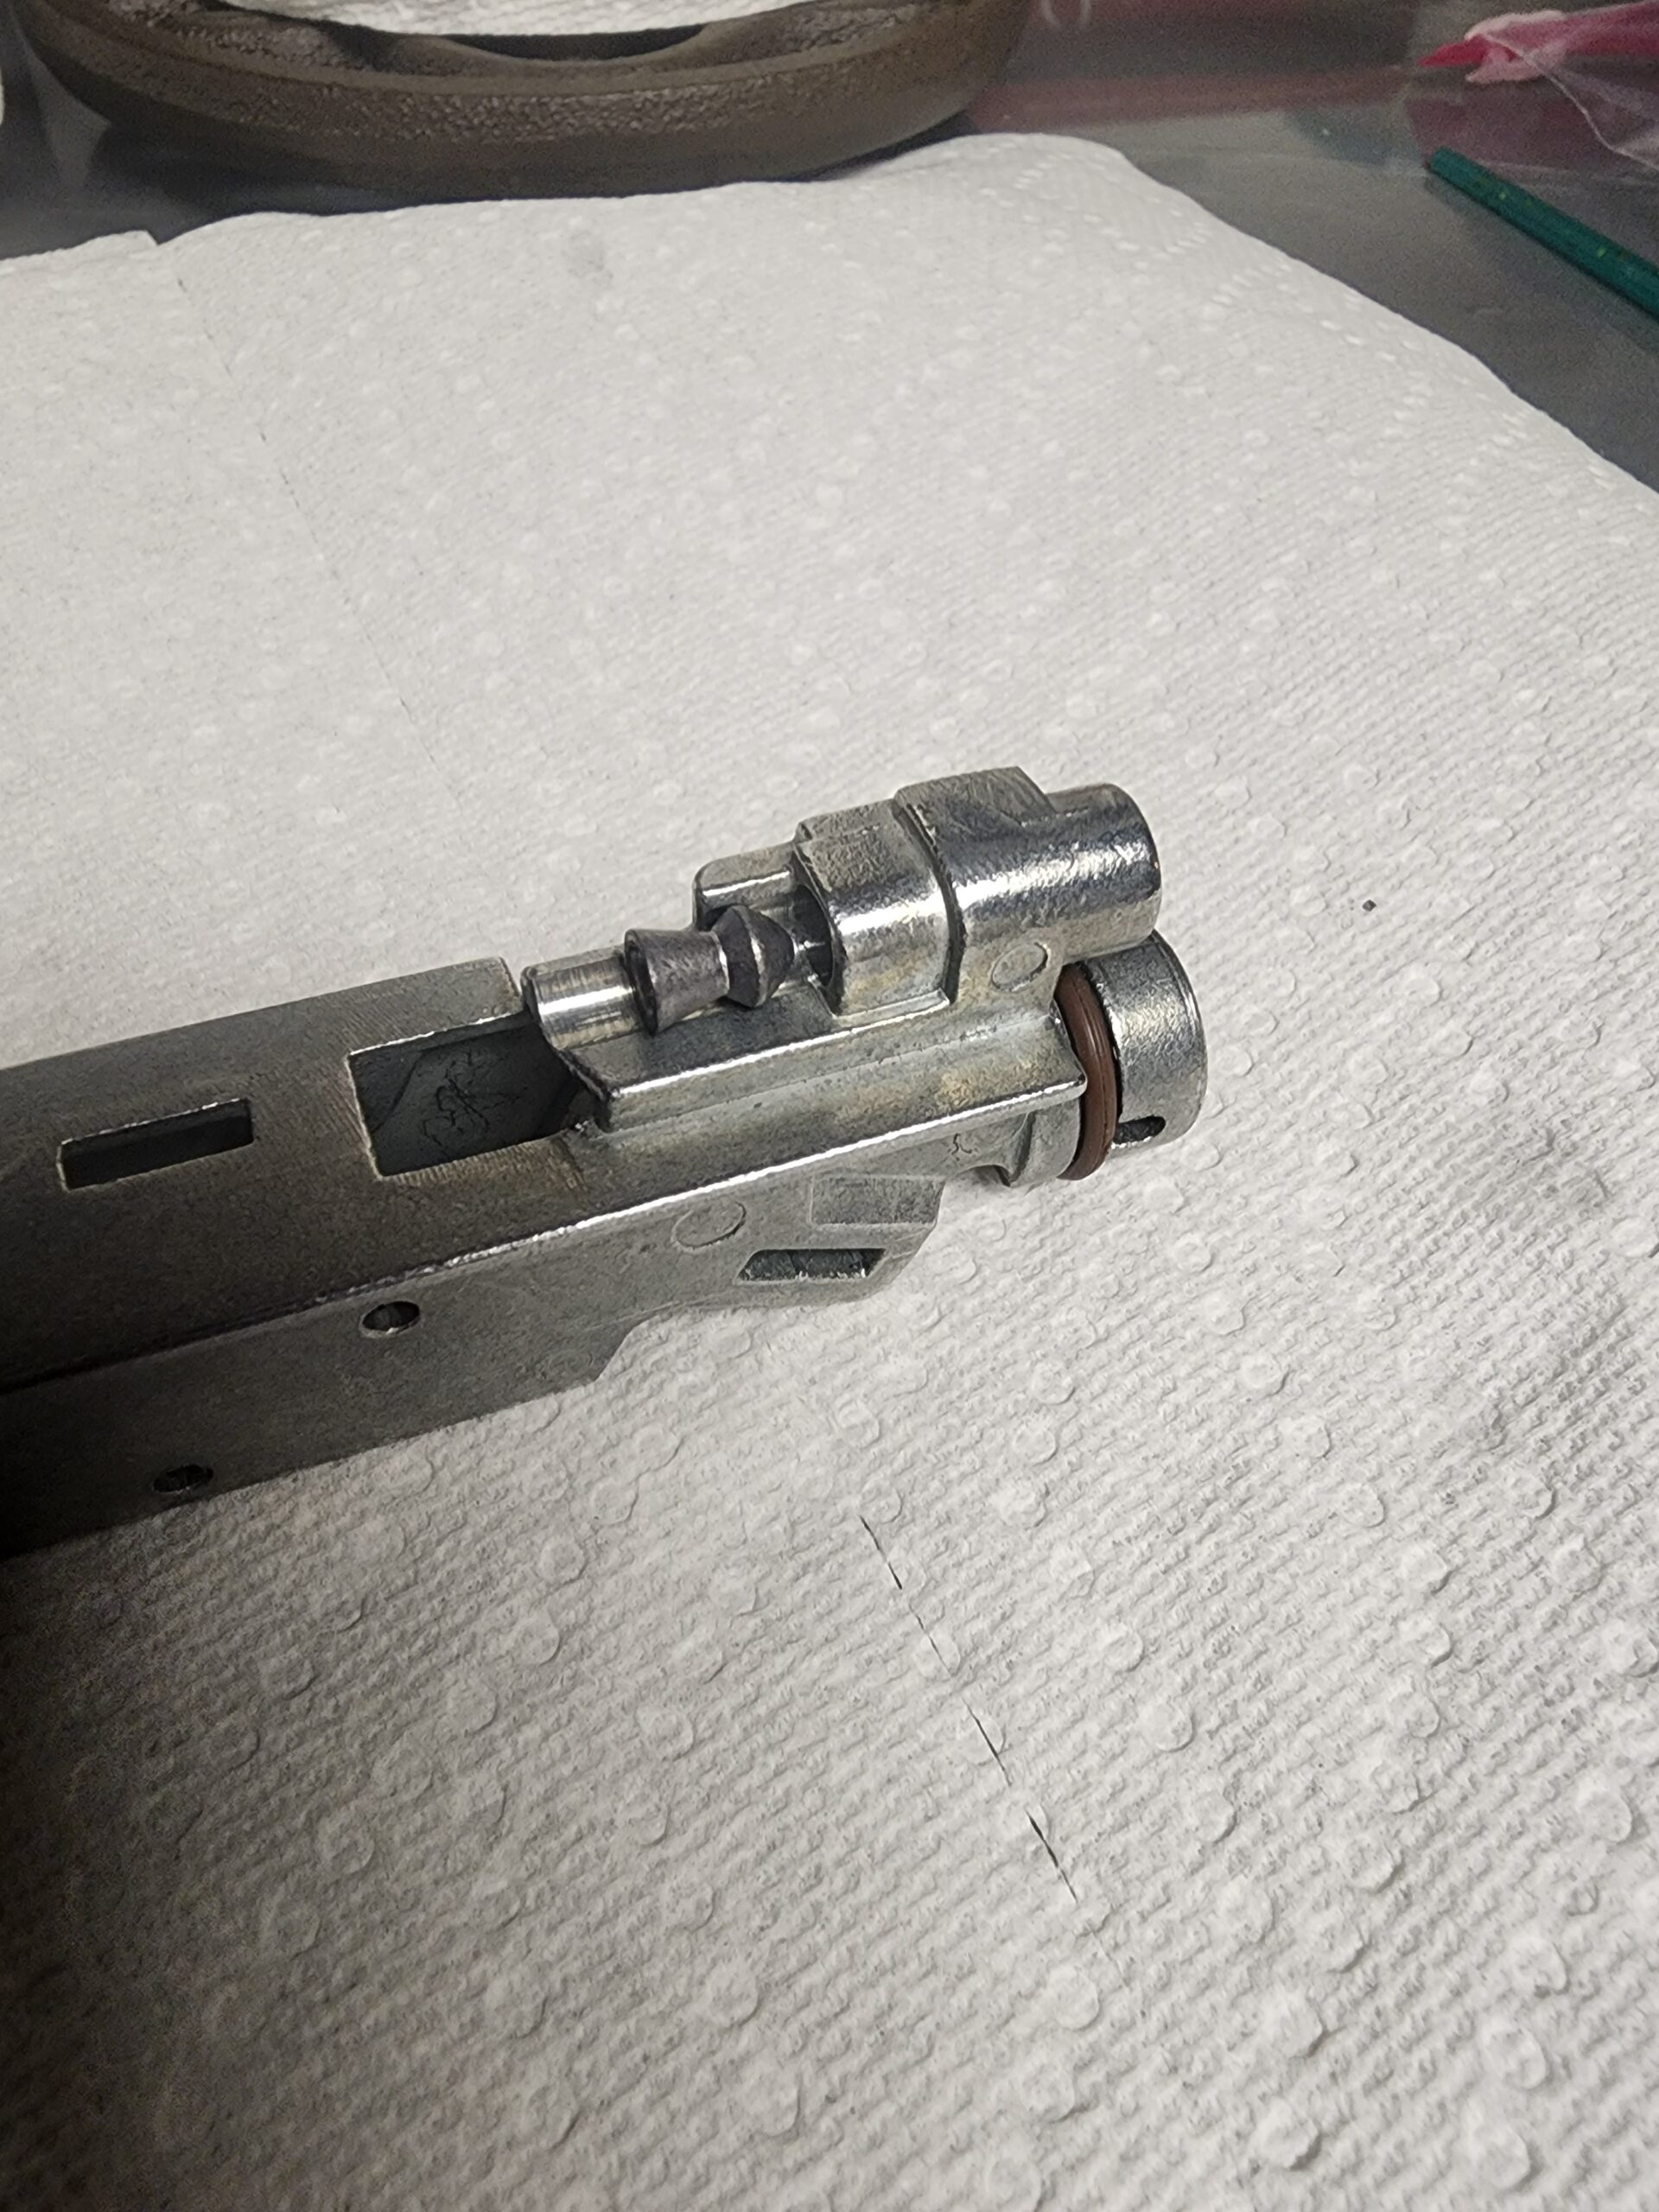
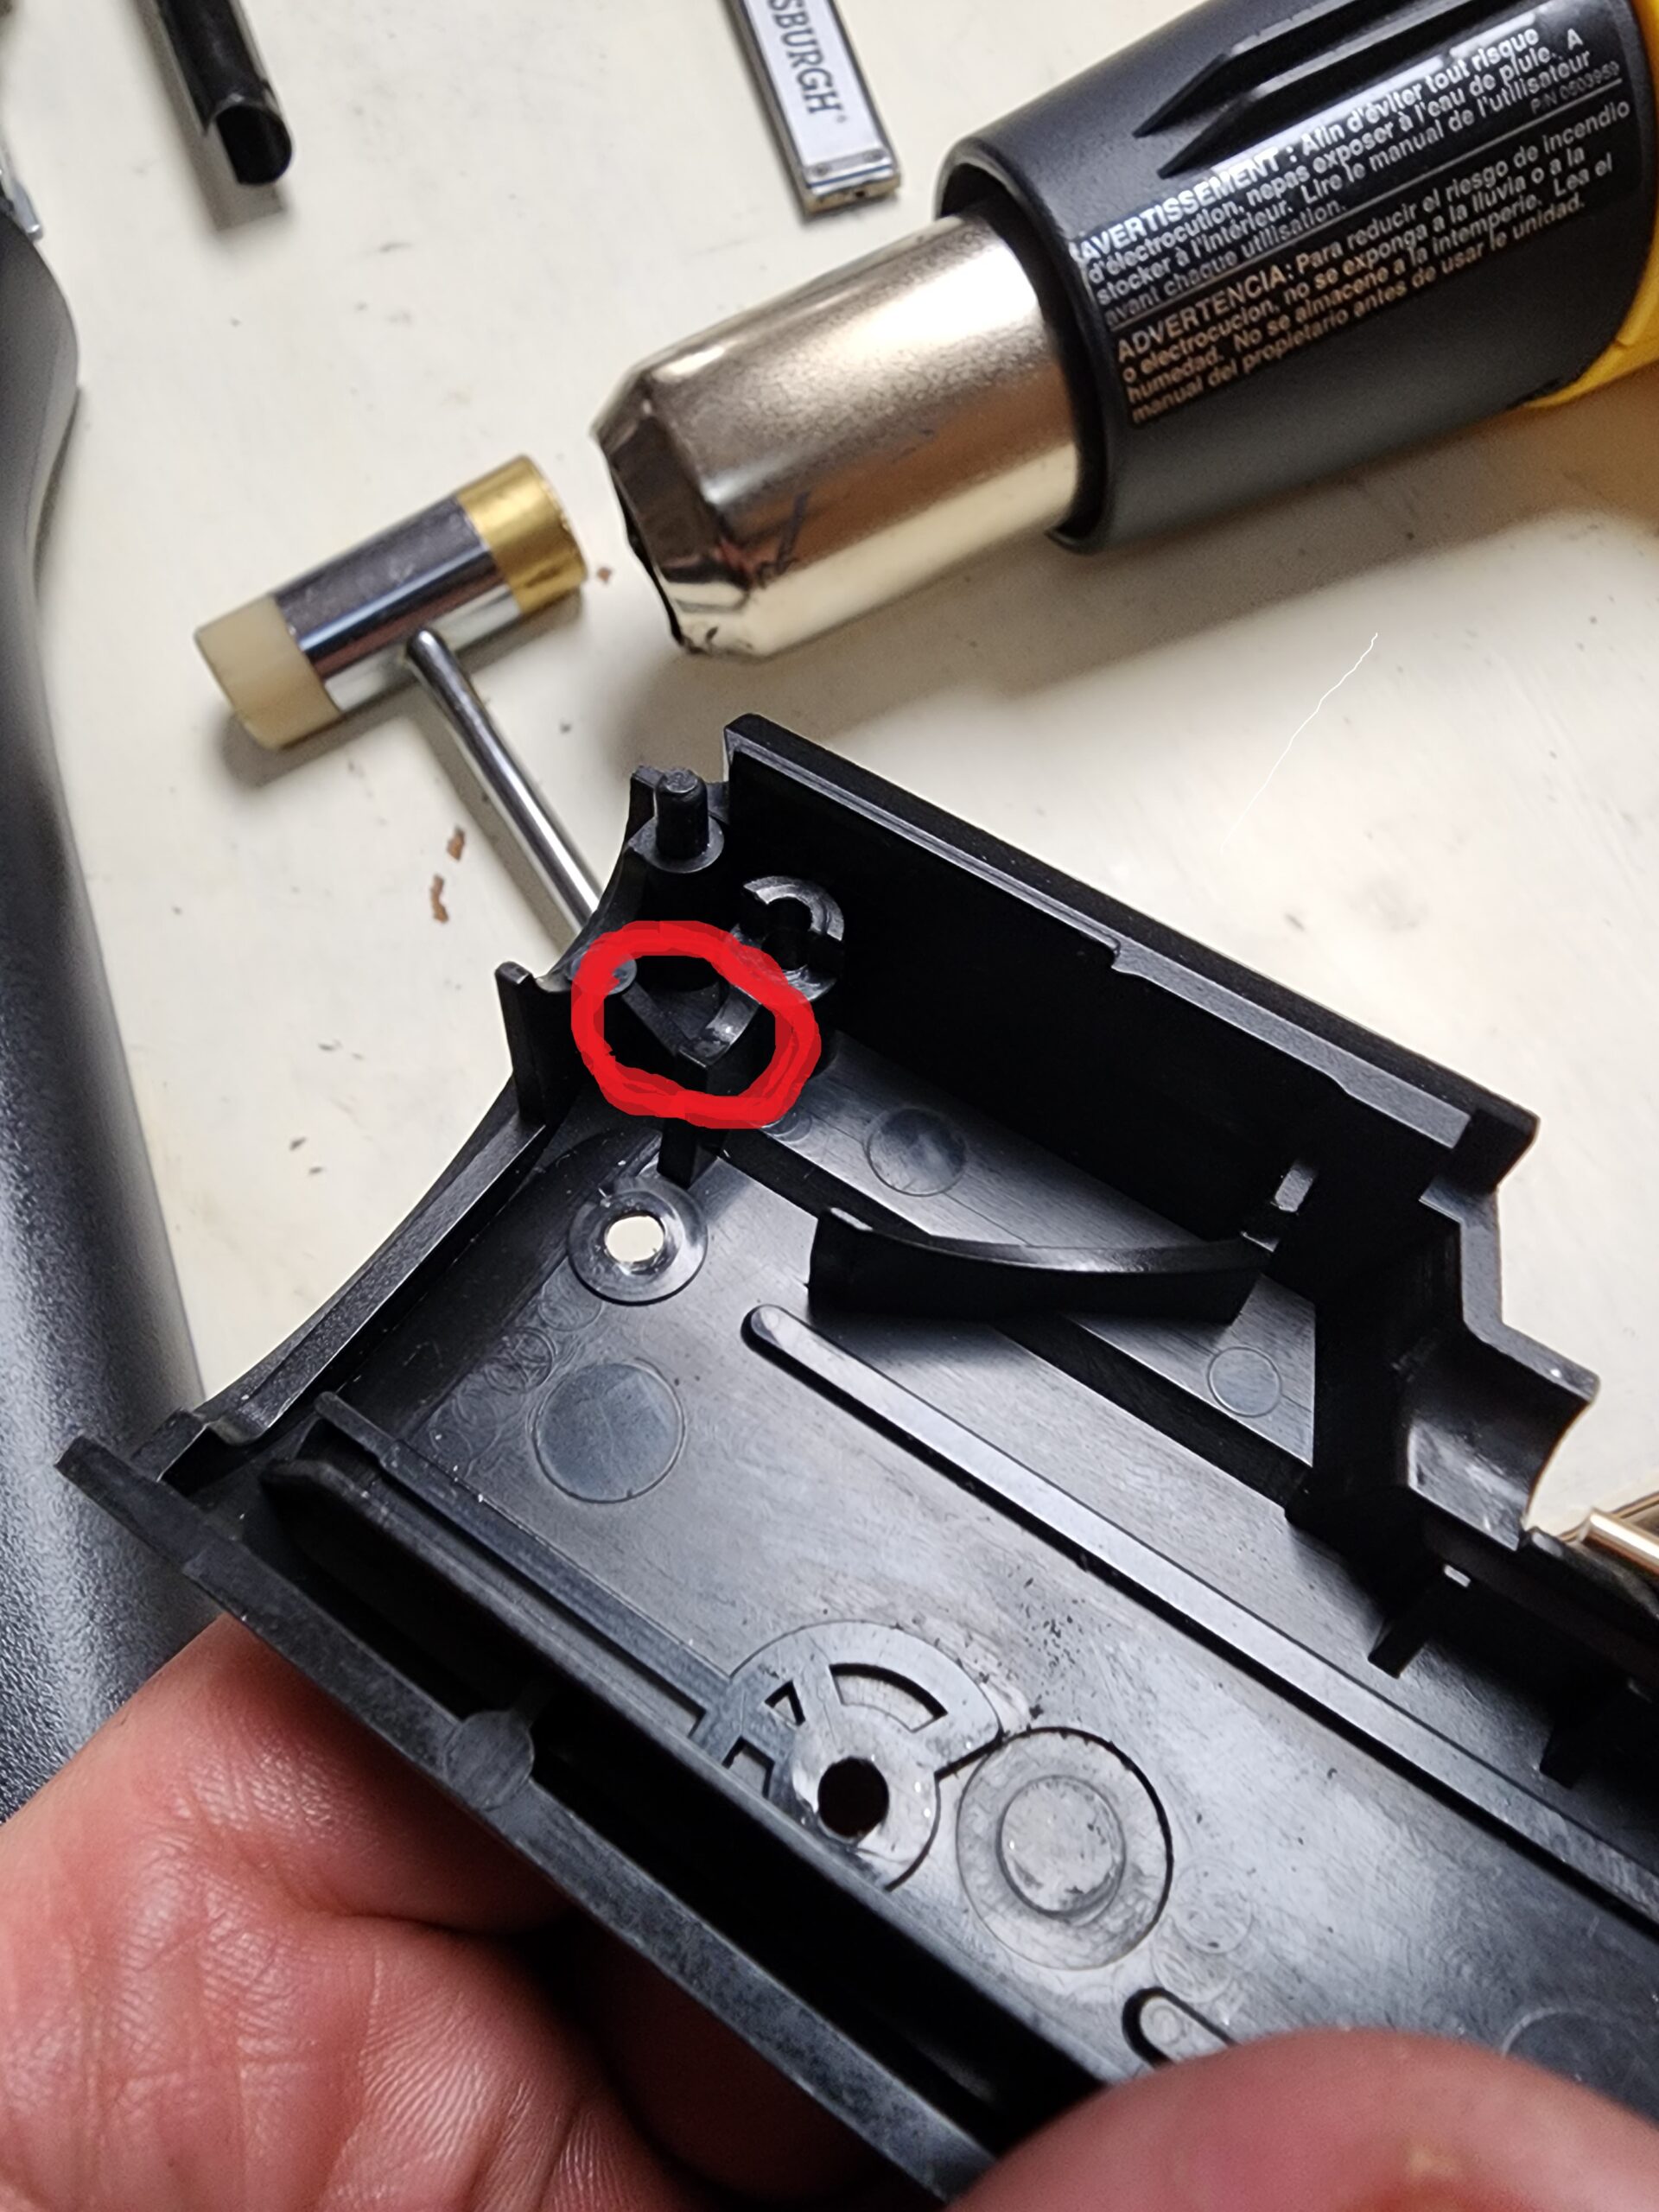
The valve body was drilled from the barrel breach through the loading port and load ramp with a 0.255" bit so that the 25 caliber pellets can travel to the barrel, and the 1/4" probe can enter the loading port. The transfer port was drilled to 0.140" from the pressure chamber side. The poppet must be removed to drill the transfer port. Drilling the transfer port is risky because if it is not drilled straight then the poppet will not seal and the valve body is ruined. Also if the bit grabs and pulls into the valve body the loading port ceiling can be scared. After drilling the transfer port it may be necessary to use a round file and remove any burrs from the loading port. For 22 caliber I recommend a 0.125" bit for the transfer port, for 177 I recommend not drilling the transfer port. Now that the valve body is prepared it's time to prep the barrel.
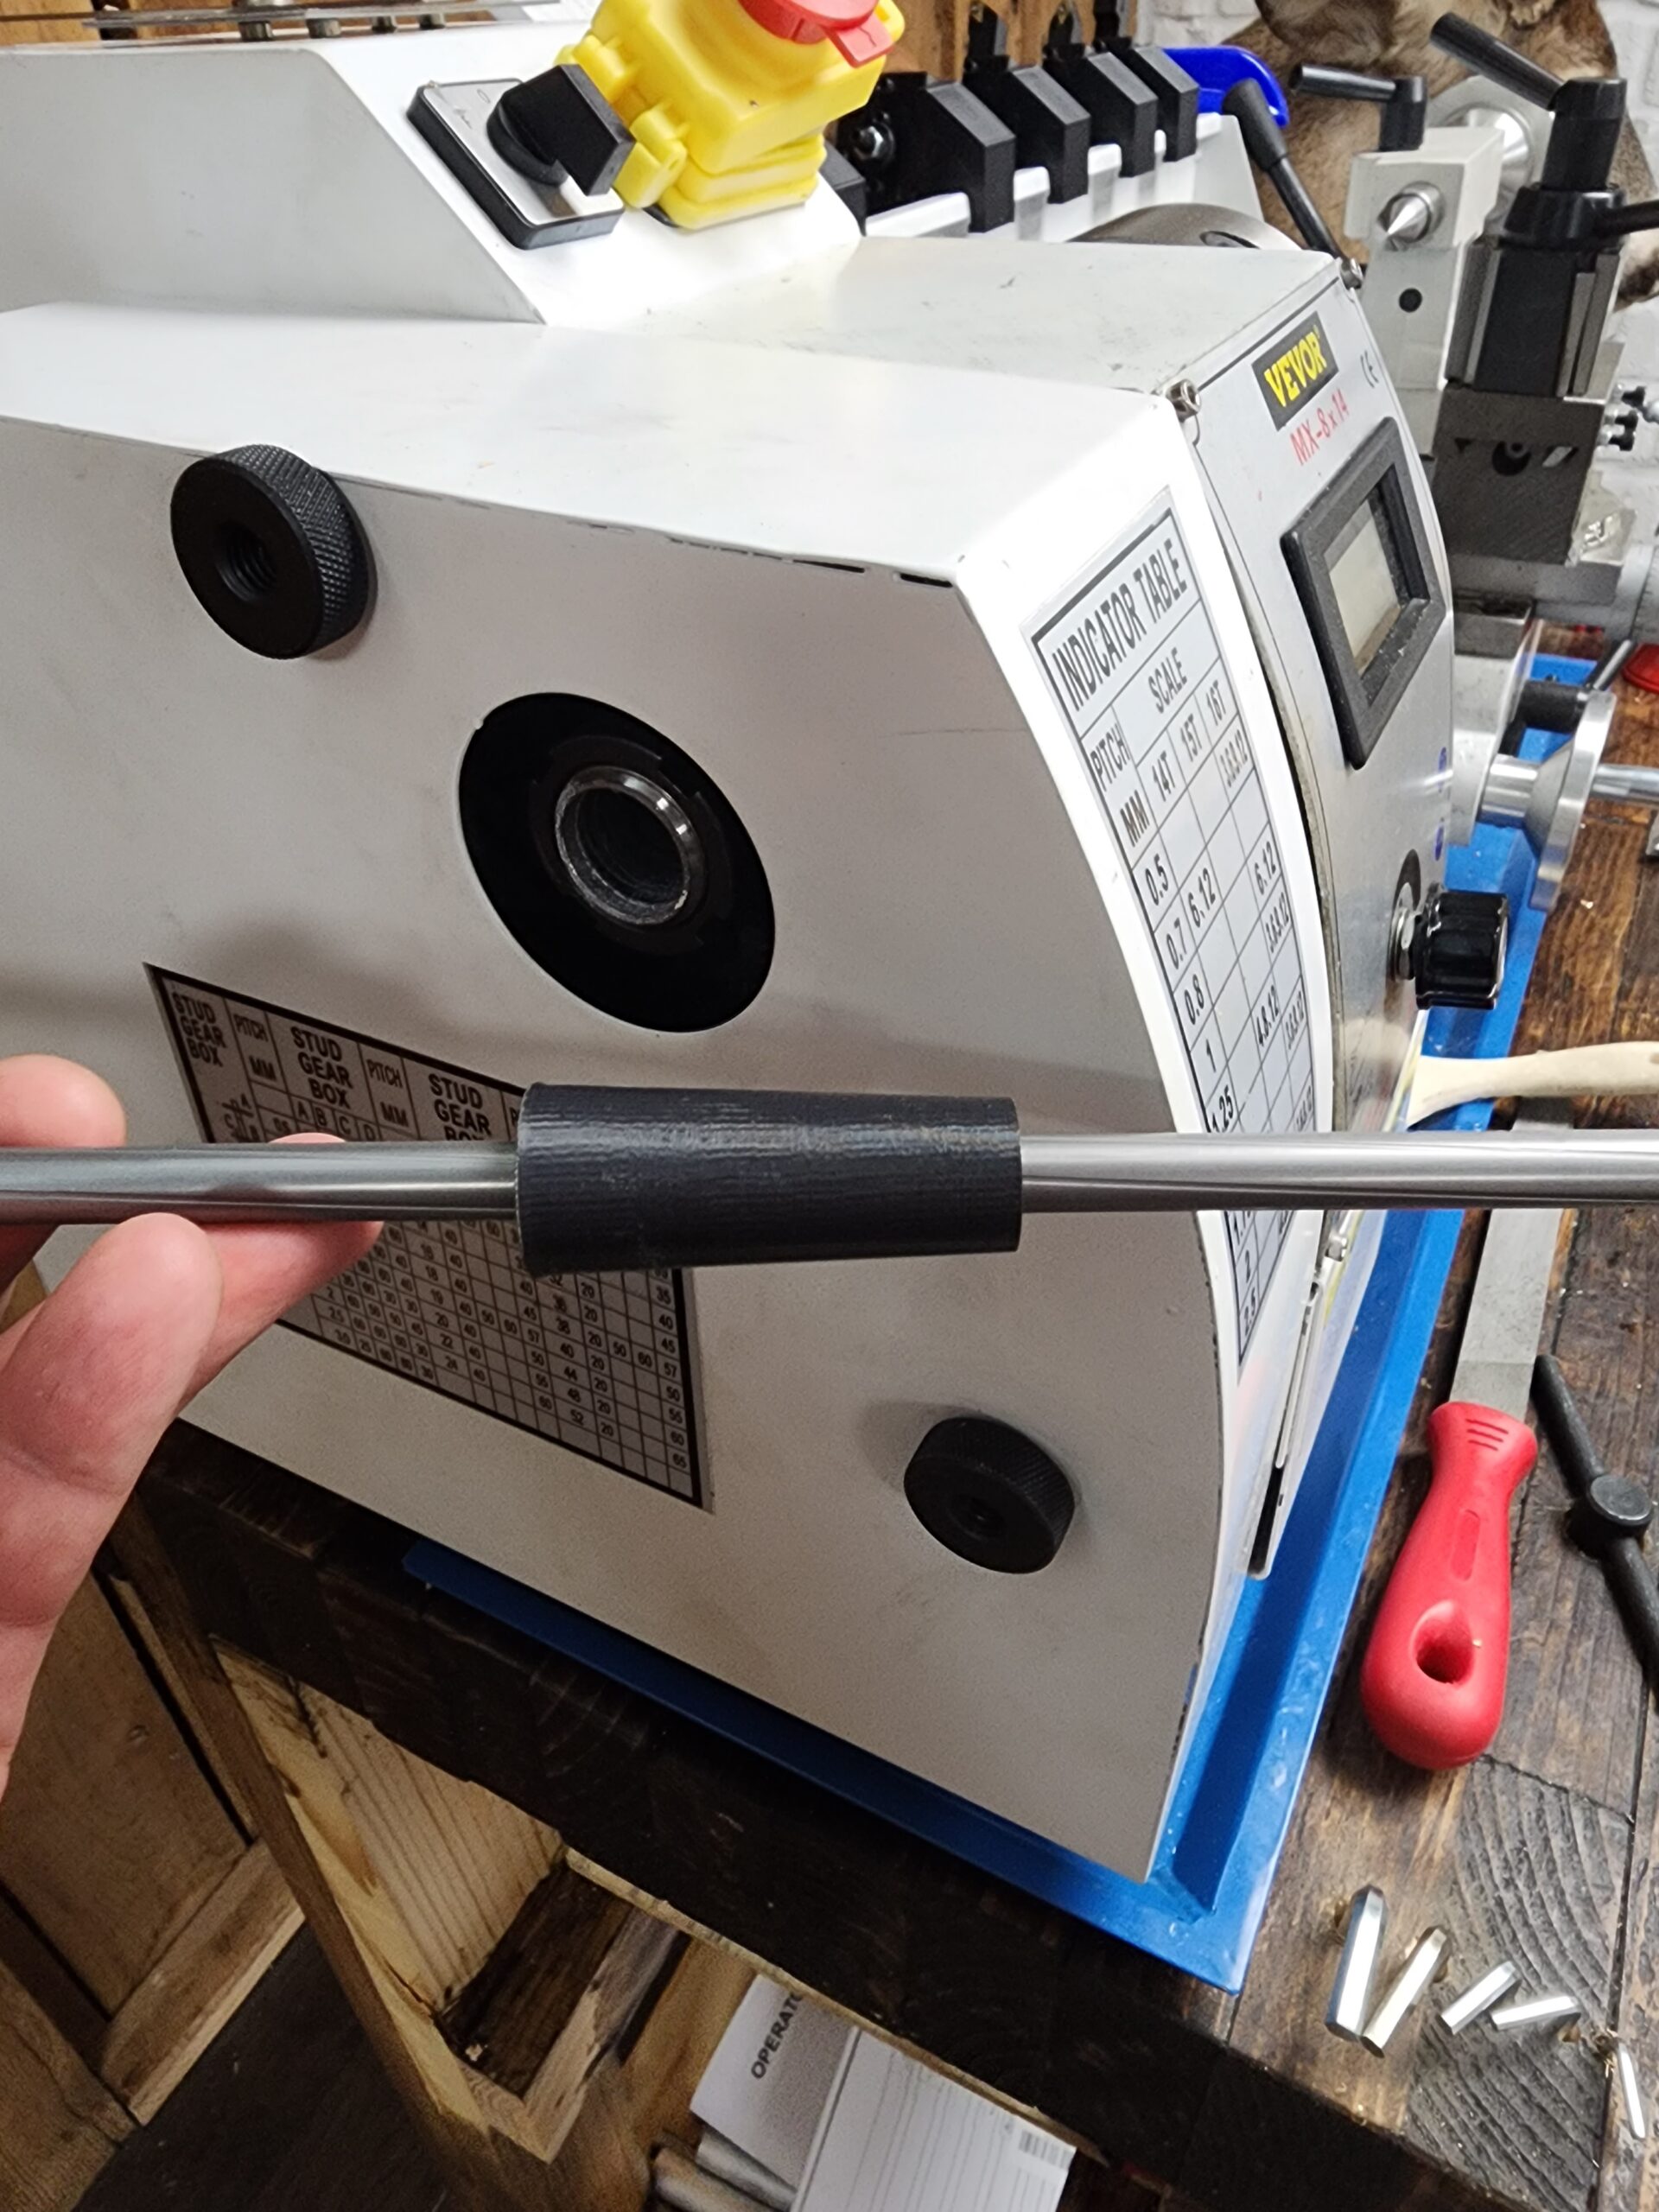
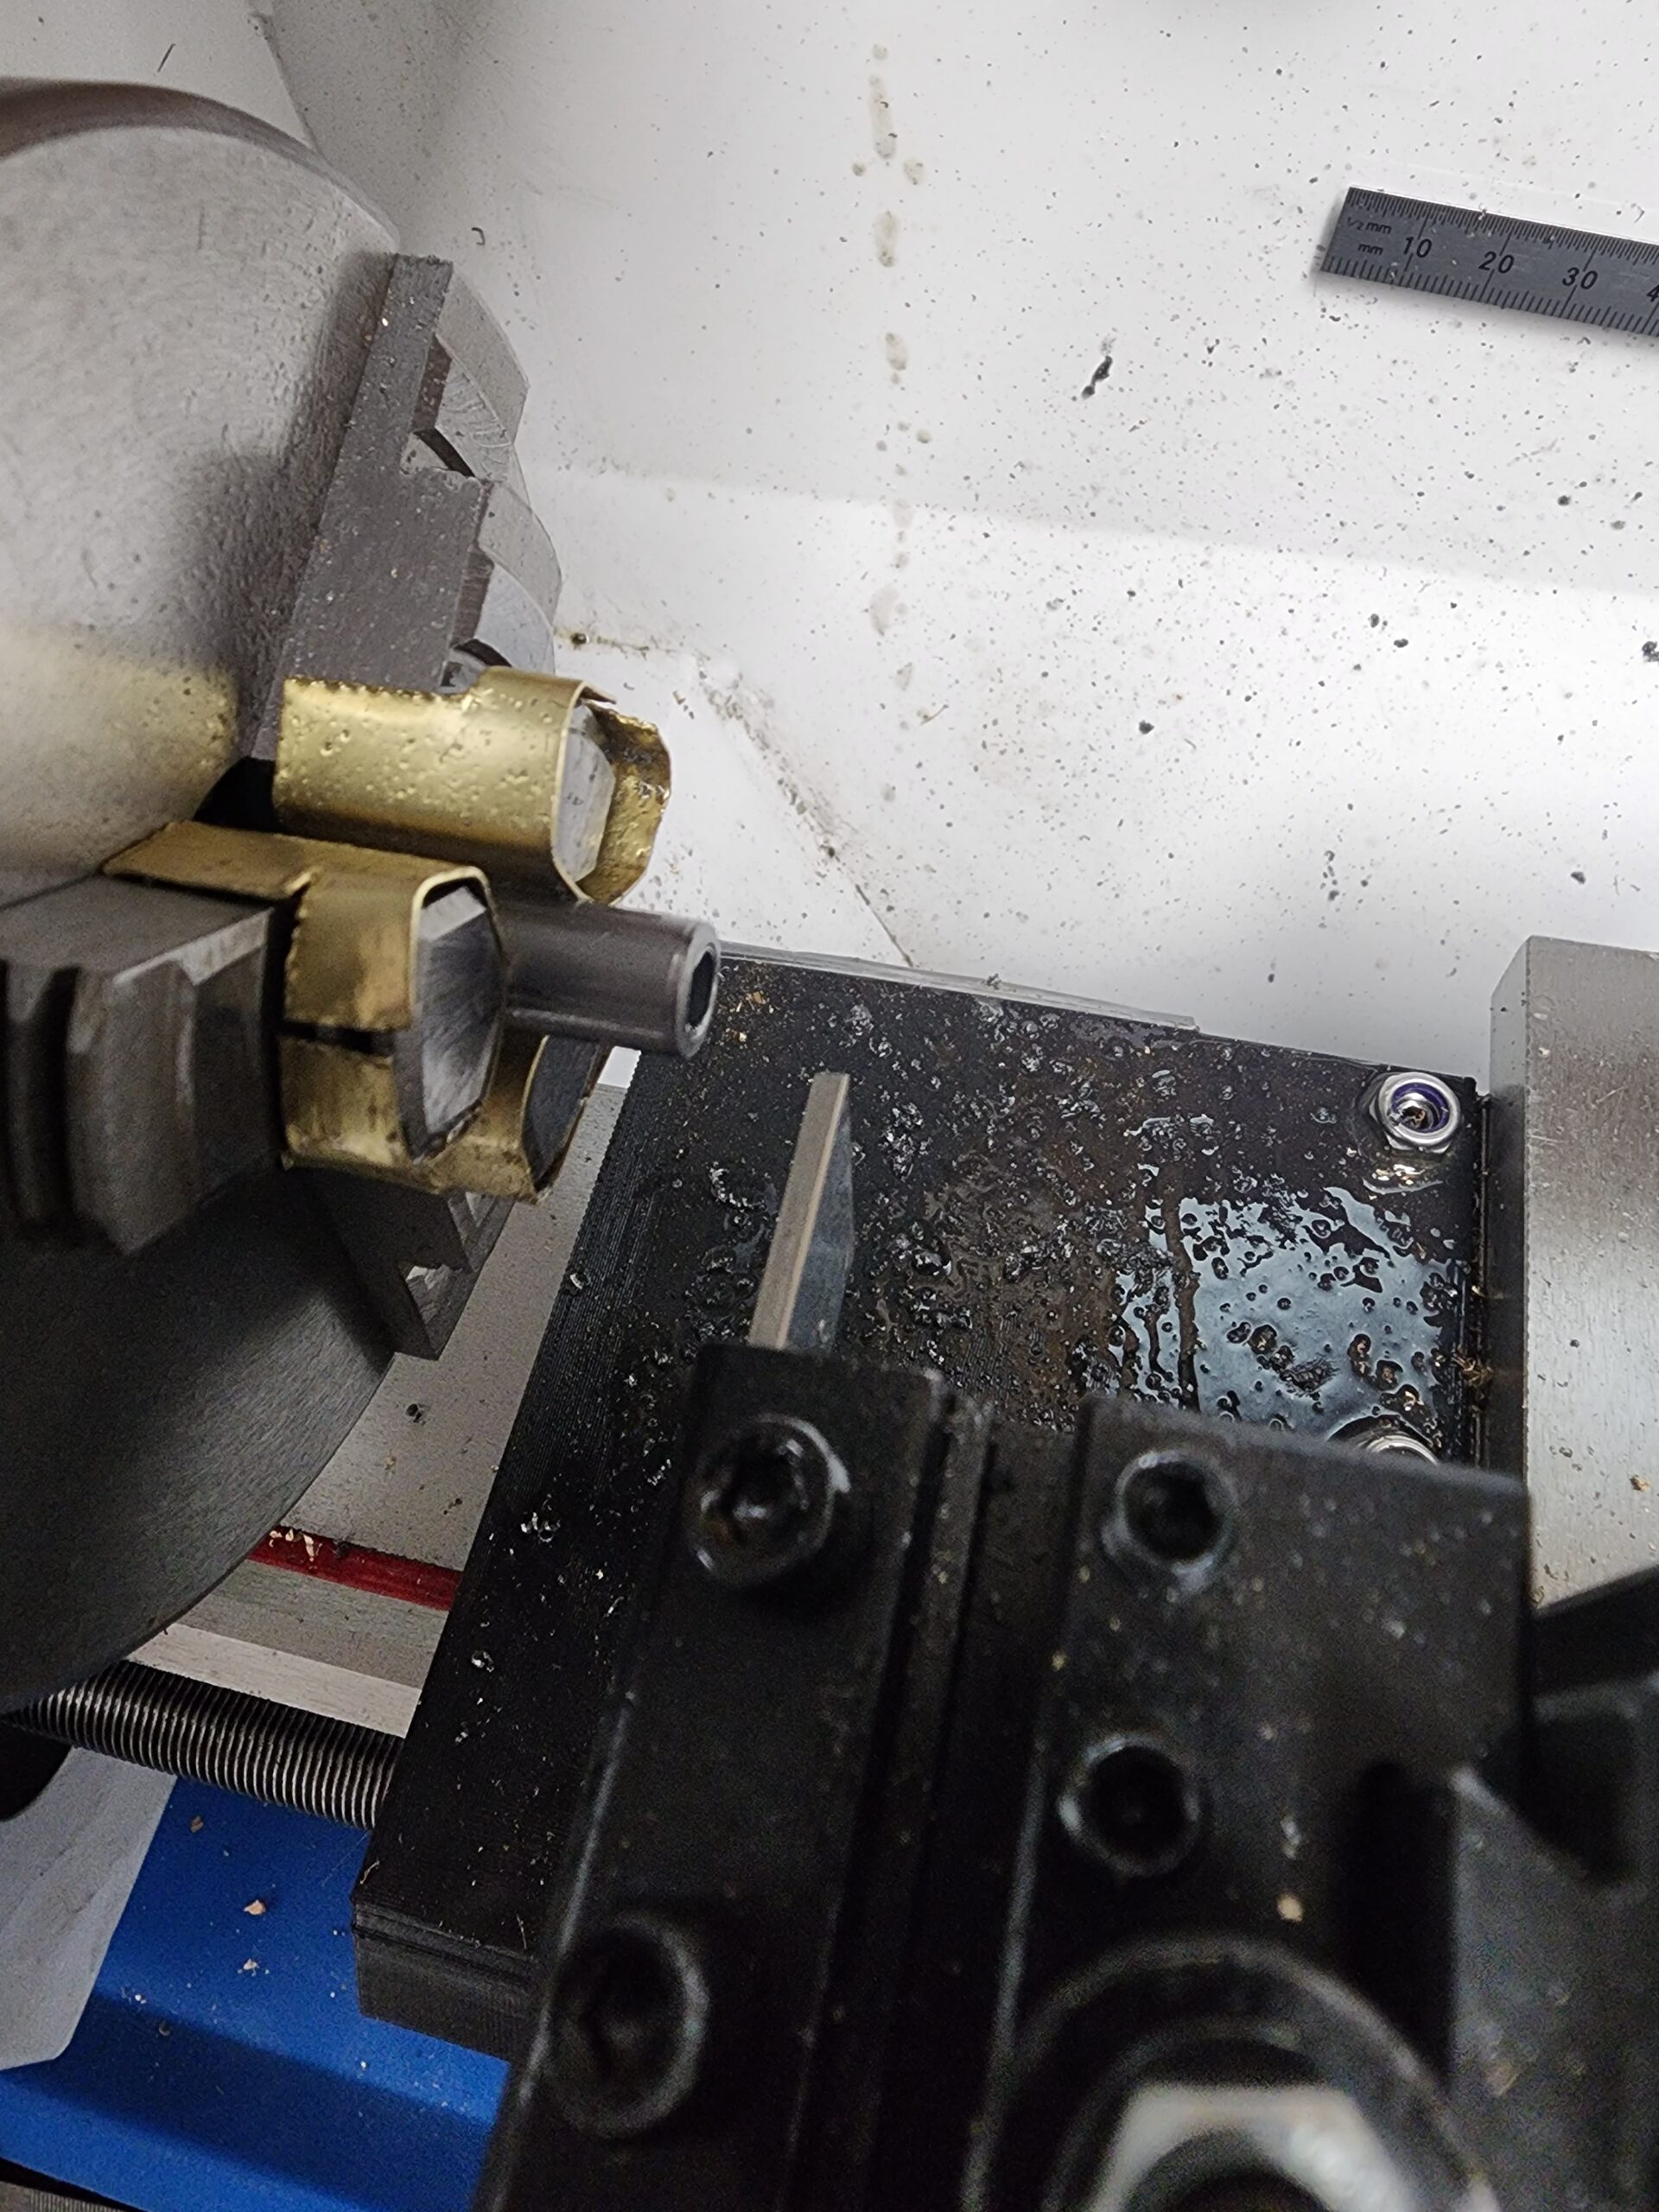
I designed a tapered guide to support the barrel rather than making a spider. I did a test turn and cut off using some of the excess barrel length. Everything worked out so it was time to cut and turn the barrel for final fitment.
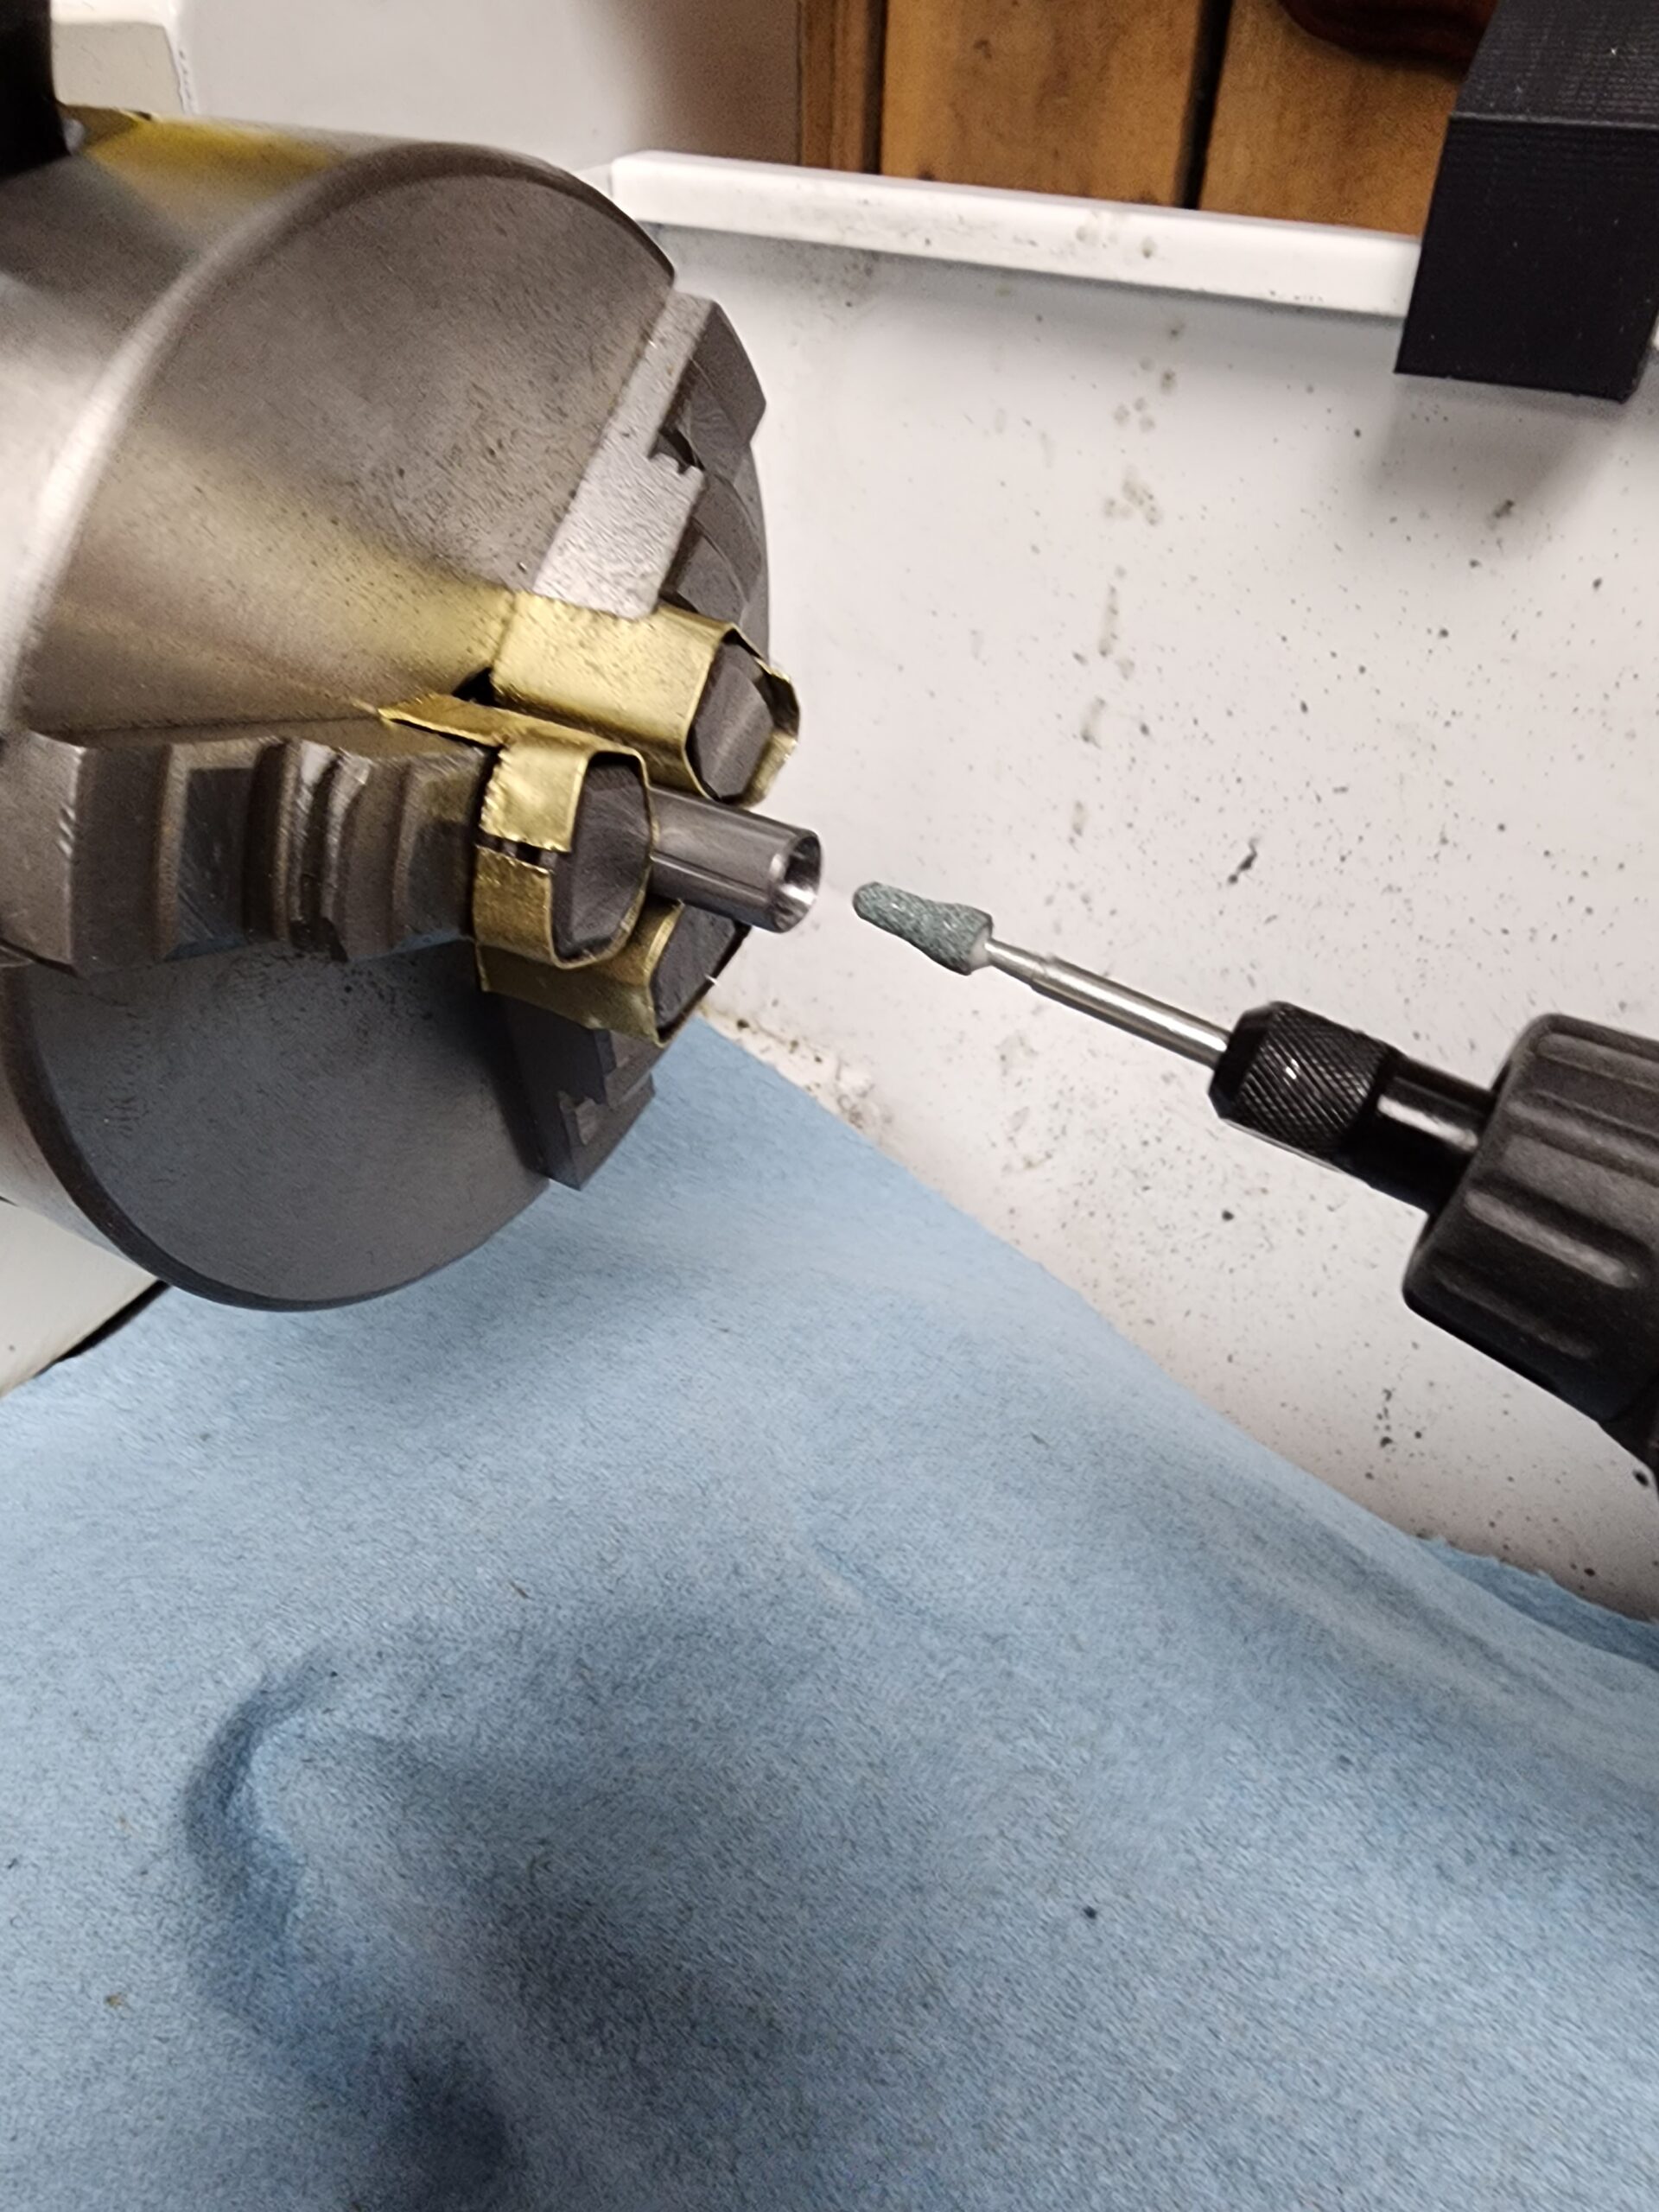
I cut the barrel to length and used a Dremel grinding wheel to cut/grind a lead for the breach end. When modifying the barrel for a 1977 it needs less lead than it originally had. Grind the lead such that by the time the waist of the pellet is even with the barrel opening the head is pushing into the rifling. I then turned the barrel down to 21/64" for 1/2" from the breach and started test fitting. I used a file to chamfer the OD and took very light cuts until the barrel would just press into the valve body with good resistance.
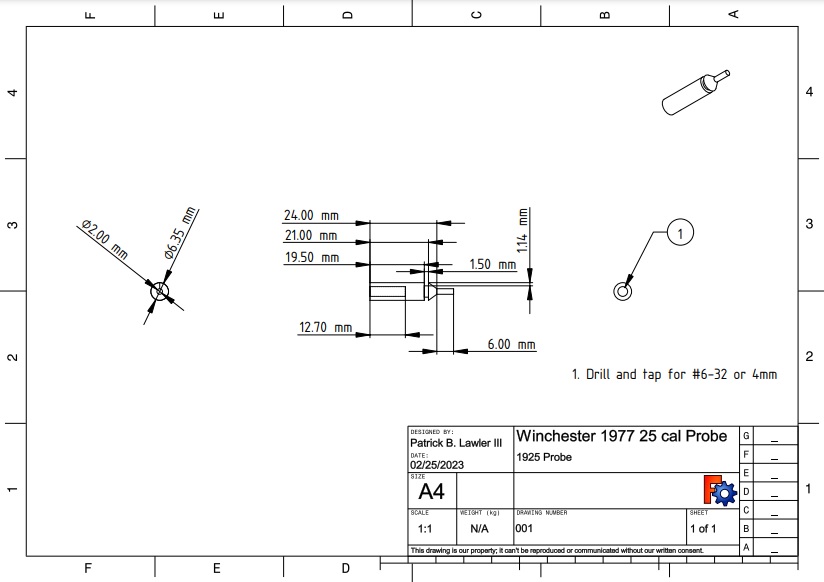
Next I designed and created a new loading probe. The factory probe is too small to seal the 25 caliber breach. The first prototype was a close fit but I had to relocate the o'ring and extend the probe pin. After making those adjustments it worked very well. I have included a drawing of the probe below. I reused an aluminum bolt body to screw the probe into. I will create a post covering the metal bolt.
The next step was to seal the barrel to the valve body. I used Super Alloy 1 to make the seal. I have a post on sealing the barrel to the valve body so I won't go over that again here. After sealing the barrel I reassembled the rifle with the new probe and metal bolt. Assemble went just like putting together a factory rifle. The last thing that had to be addressed was the front sight / barrel support. The new barrel is larger than the factory barrel and too large to simply drill out because it would have destroyed the thin walled portion of the front sight. I designed a new aluminum two piece muzzle adapter with a threaded end for attaching a moderator. I plan on using a scope so I was not concerned with a front sight blade. I used Loctite Red to assemble the inner barrel sleeve to the outer barrel shroud adapter. The adapter secures to the barrel shroud using M4 set screws for a secure fit. The adapter drawings are available below.
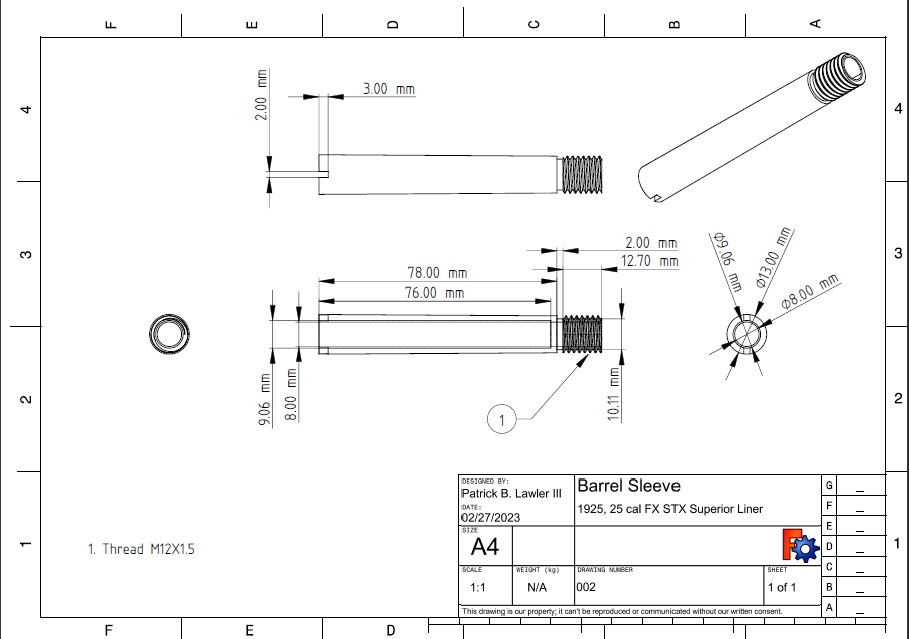
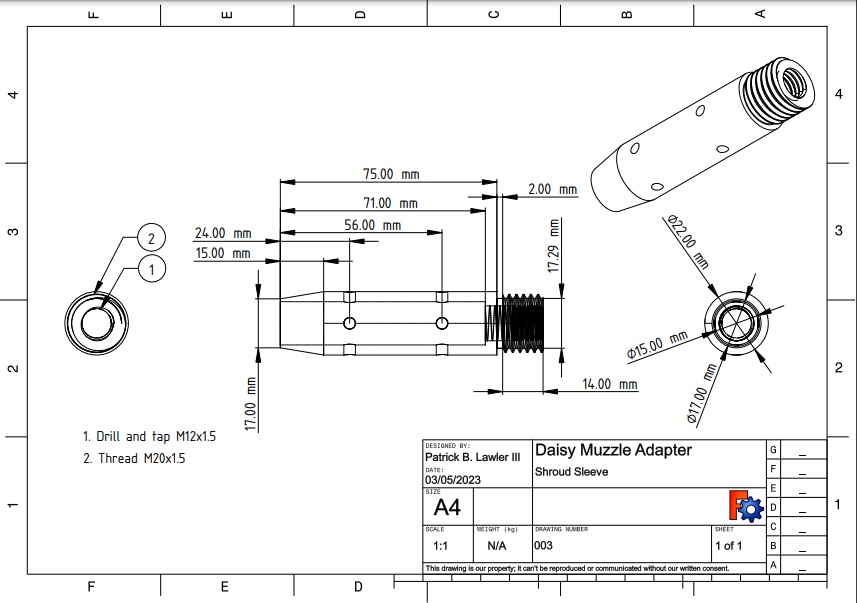
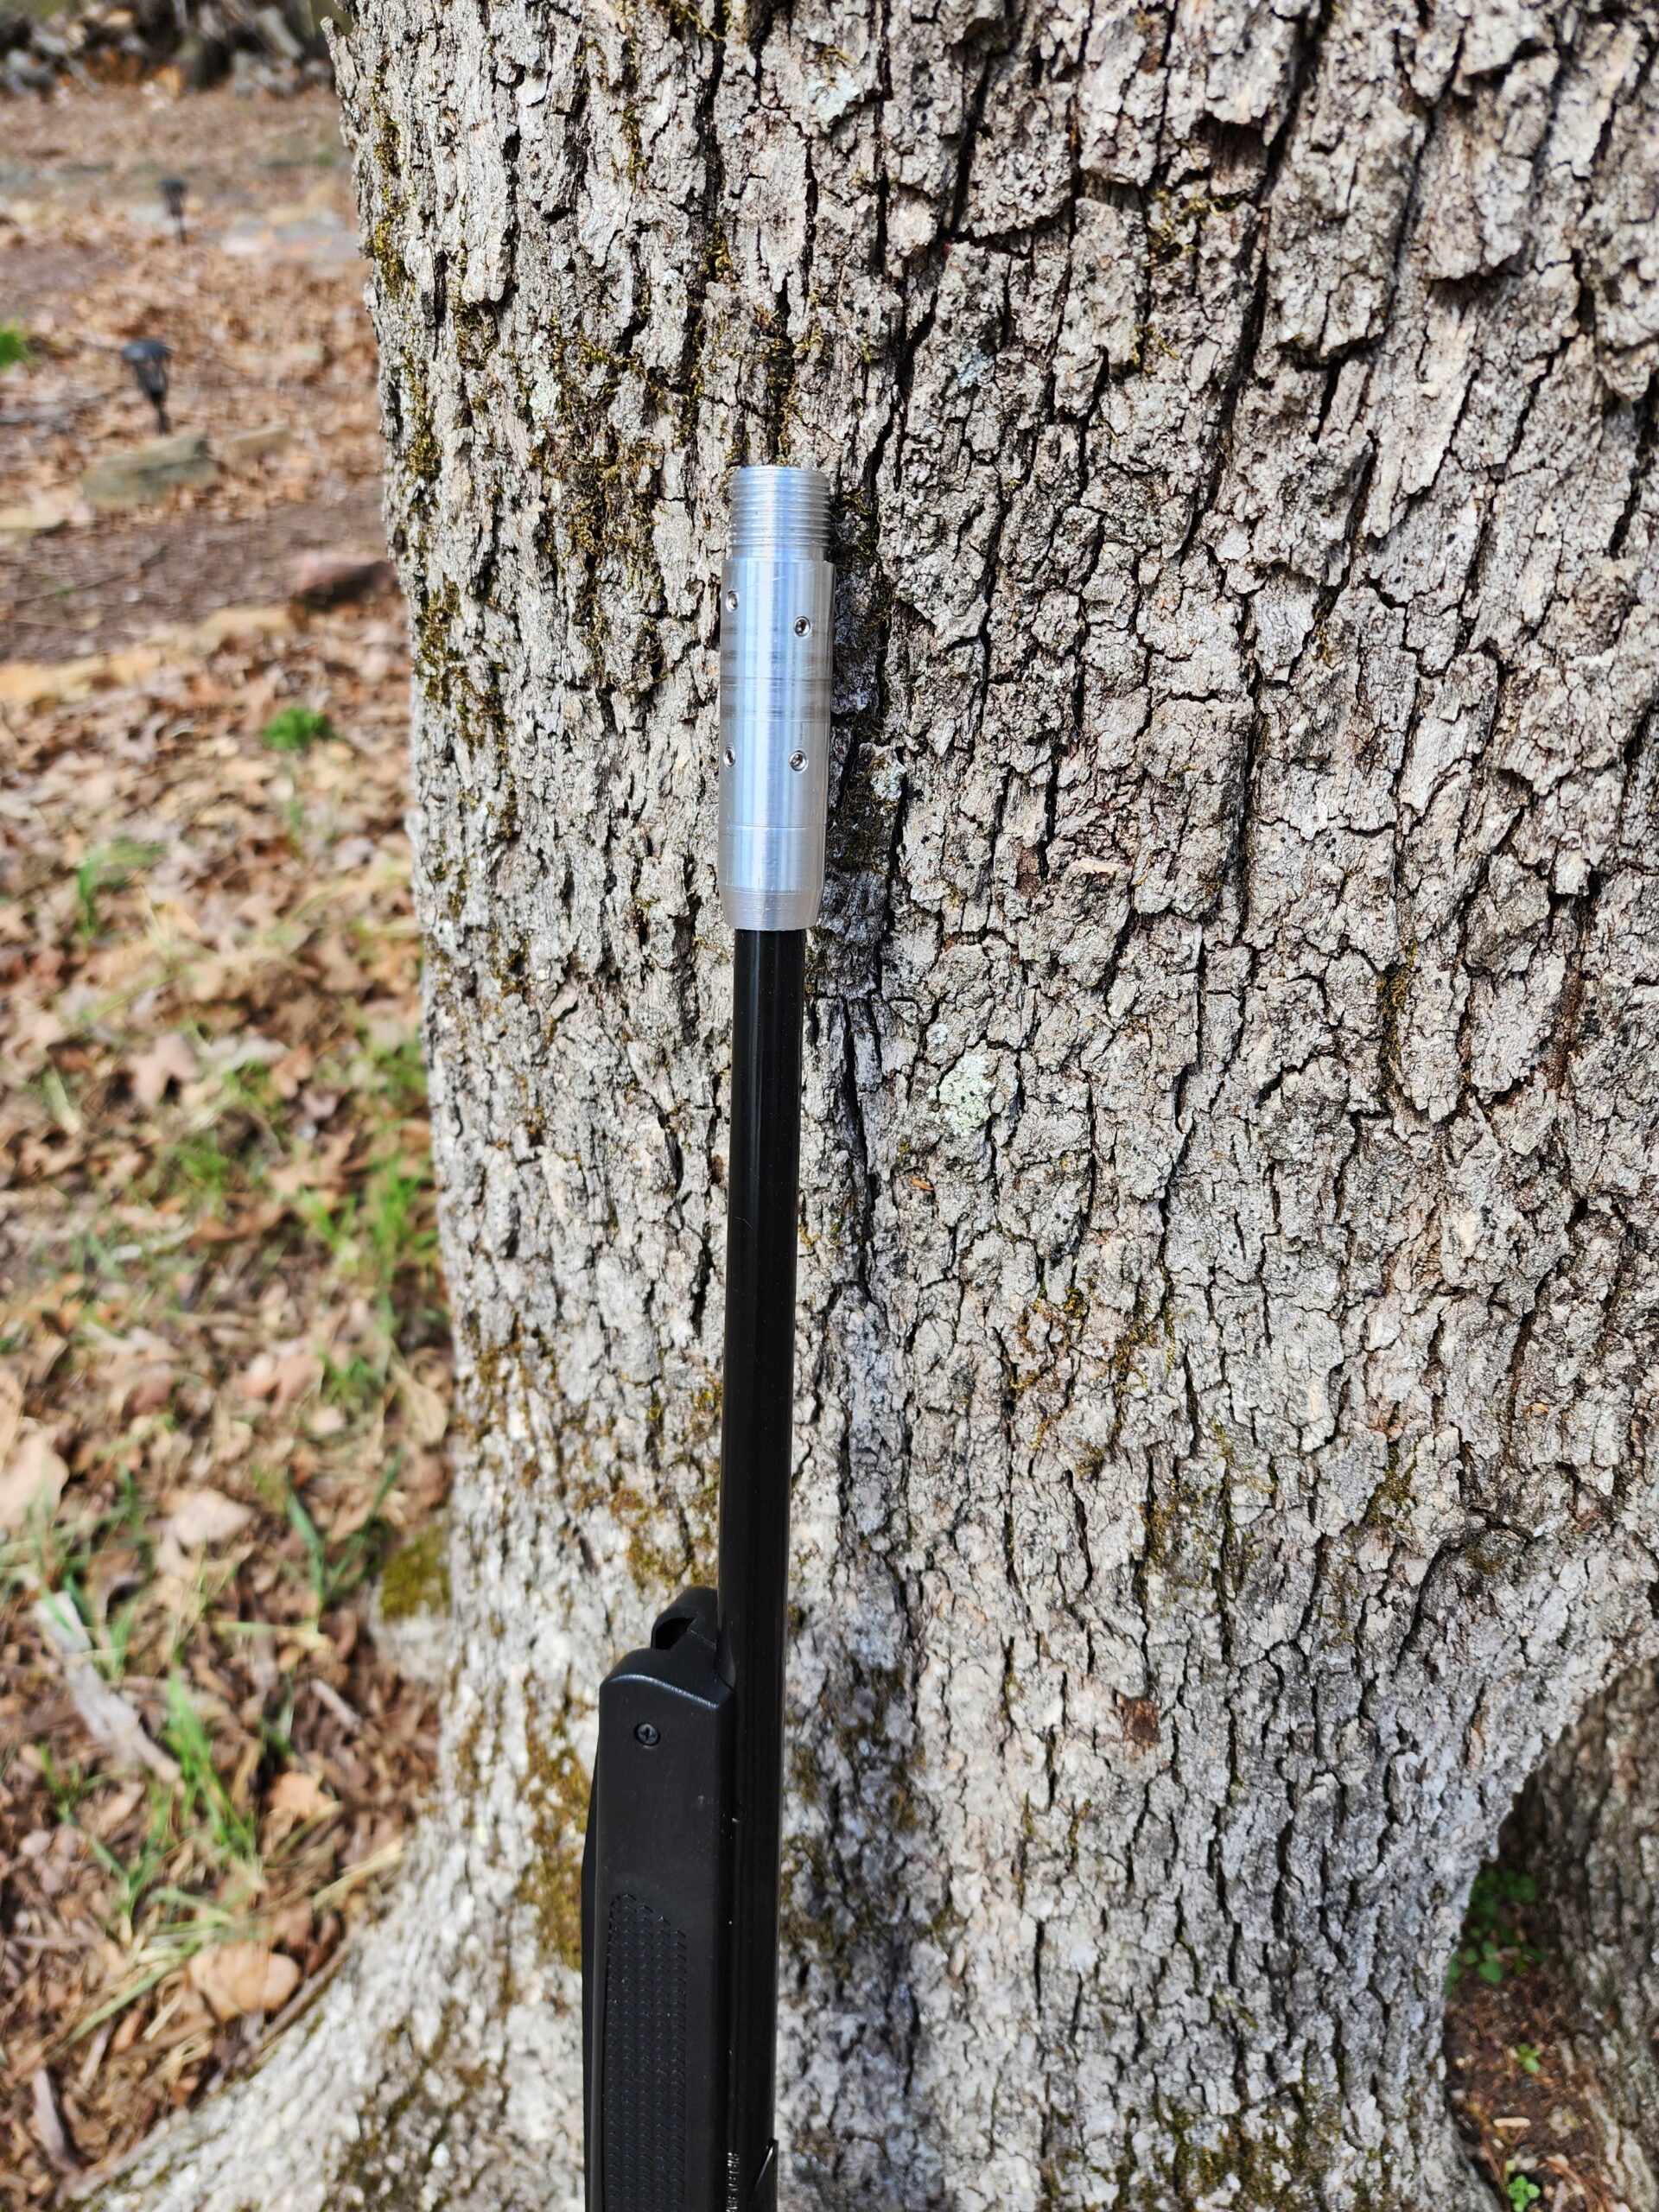
After finishing the muzzle adapter I finished assembling the gun and proceeded to shot it over the chronograph to check performance. The results can be seen below.
Pumps FPS FPE PEN
10 491 16.59 34.79
15 573 22.60 40.60
20 641 28.28 45.42
For comparison the 1922 numbers are:
20 665 24.93 49.84
and the 1977:
20 706 17.93 51.51
So the 25 picked up 3 FPE over the 22 but the 22 has a bit more penetration and flatter trajectory. I would say the 25 is not worth the extra cost and effort over the 22 but its still a COOL gun. Just for info, notice the lowest powered gun above is the 1977 verses the 1922 and 1925, but it has the highest penetration. The cross sectional density is the reason and actually makes it more deadly in many situations such as head shots on larger animals. The 22 and 25 are more forgiving and damaging in general so better choices for small game where other than head shots are taken. For a head shot only hunt the 177 is probably the best choice because of the longer point-blank-range and penetration. For general small game hunting though I prefer the 22 so vital shots are more effective. I can't wait to introduce the 1925 to some squirrels though.

